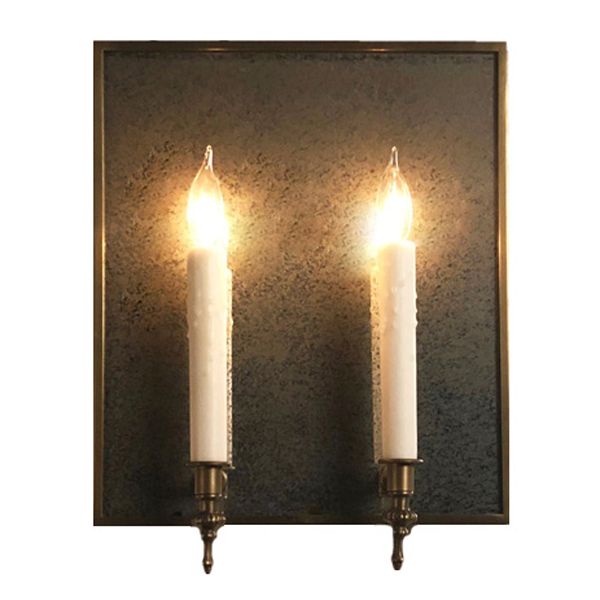
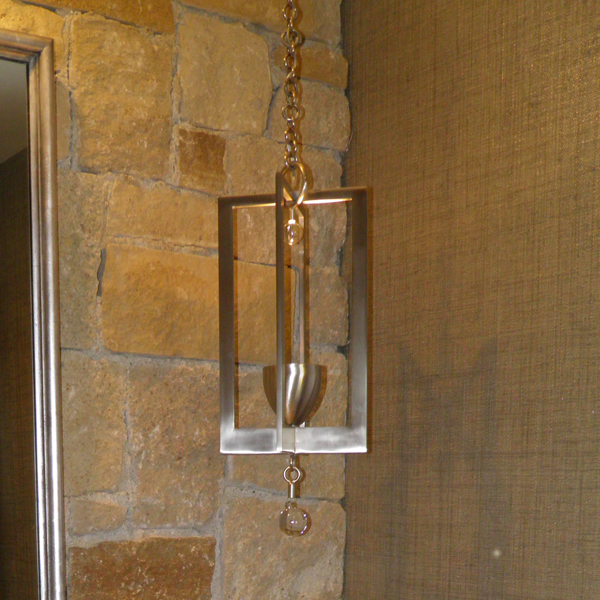
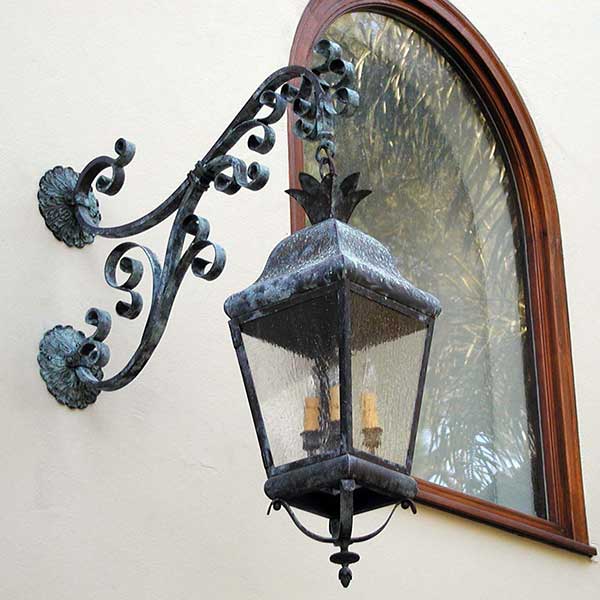
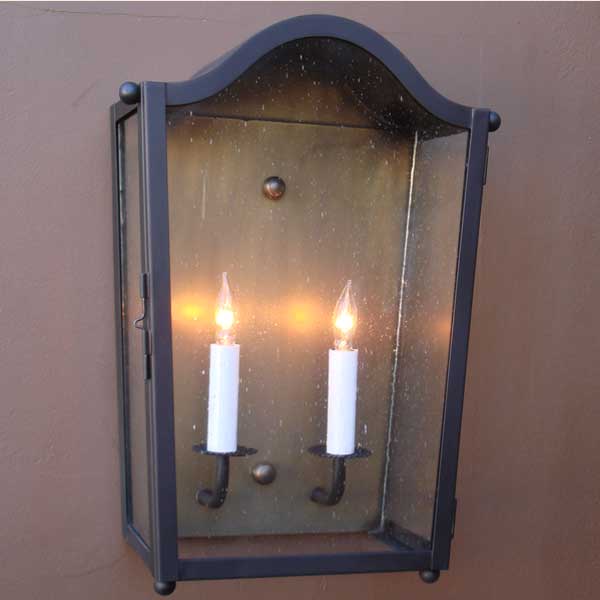
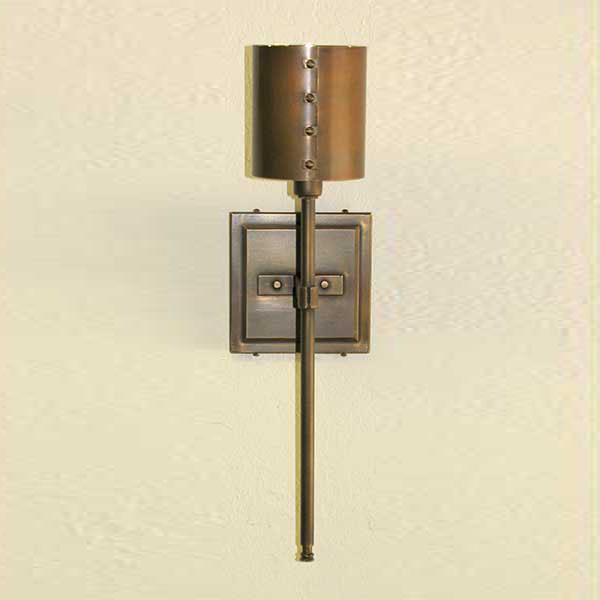
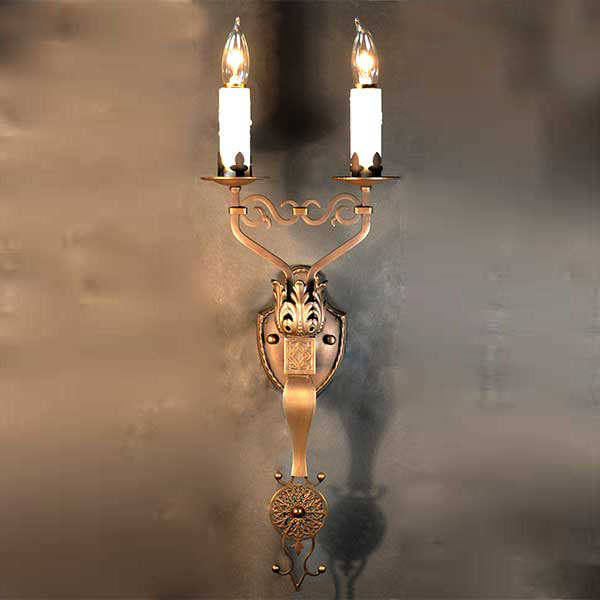
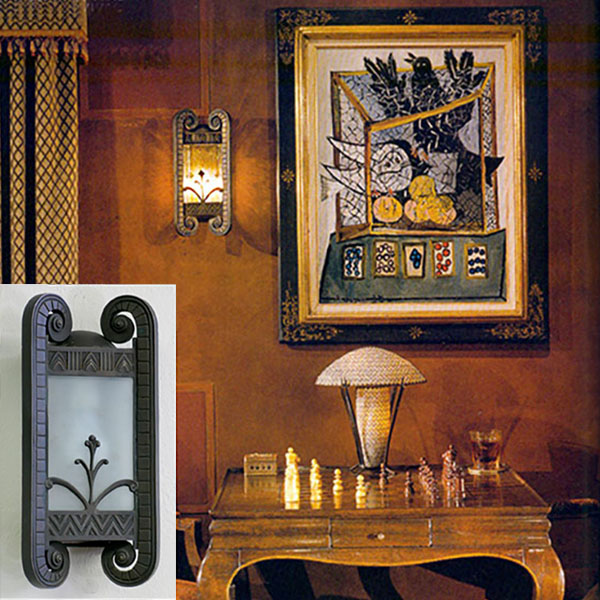
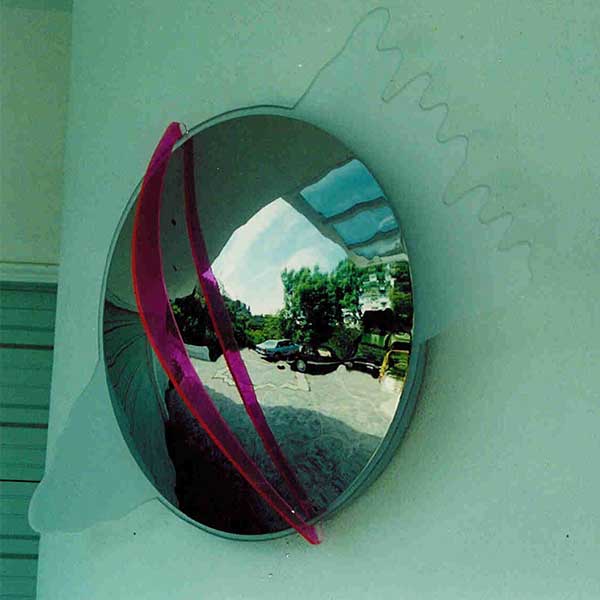
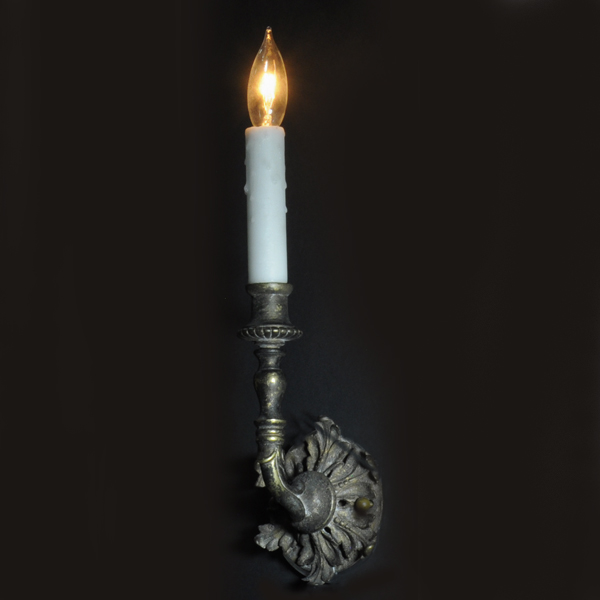
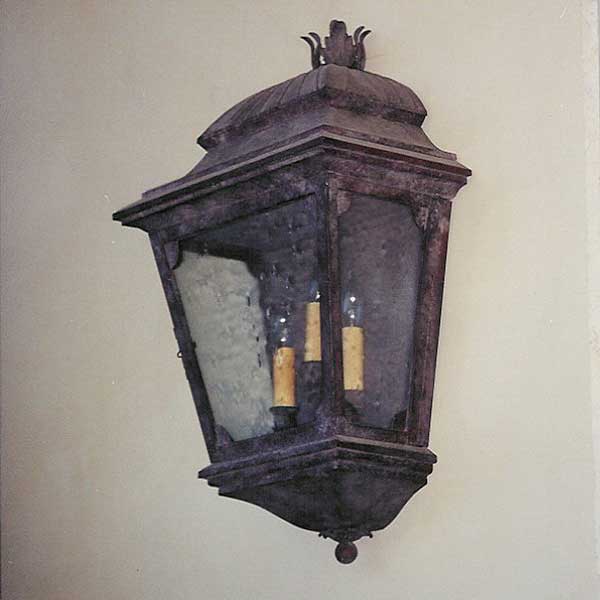
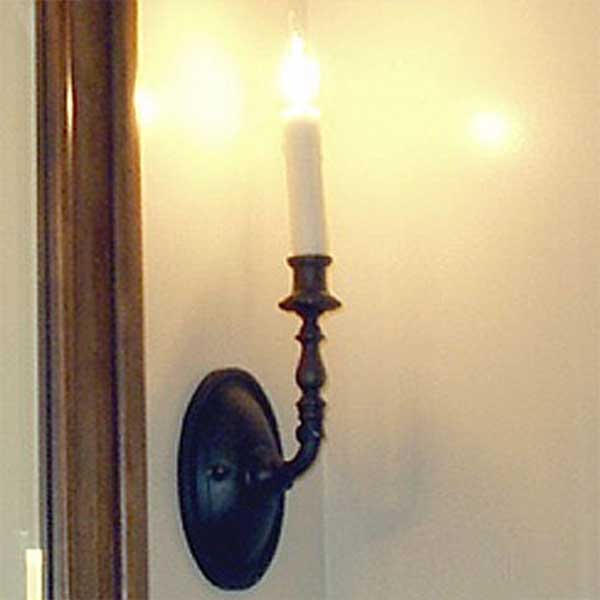
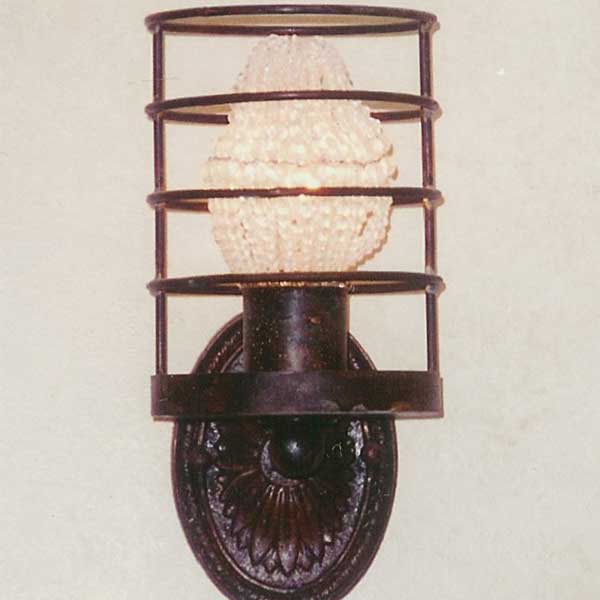
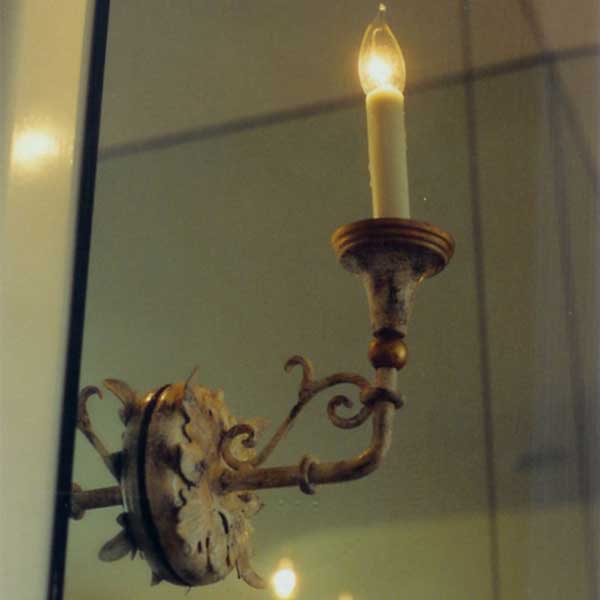
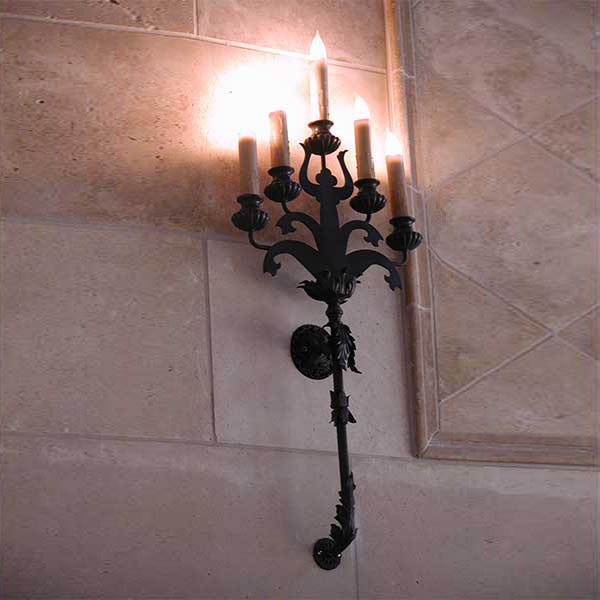
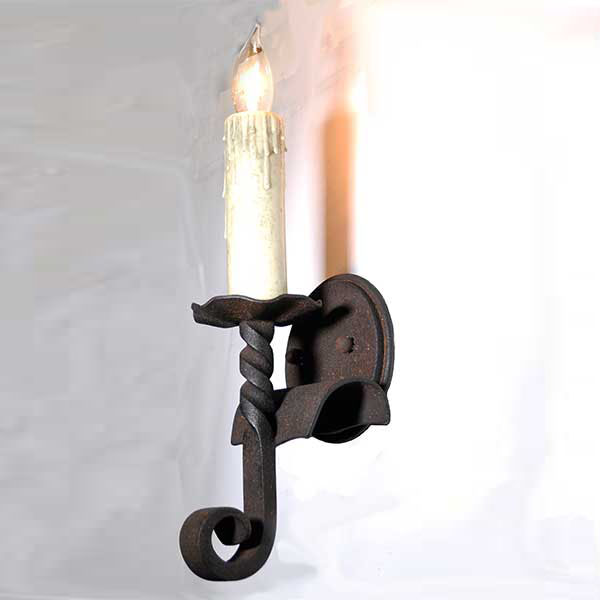
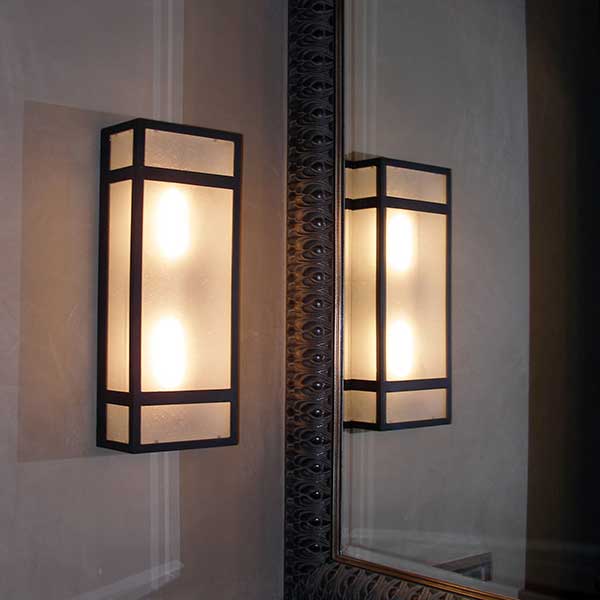
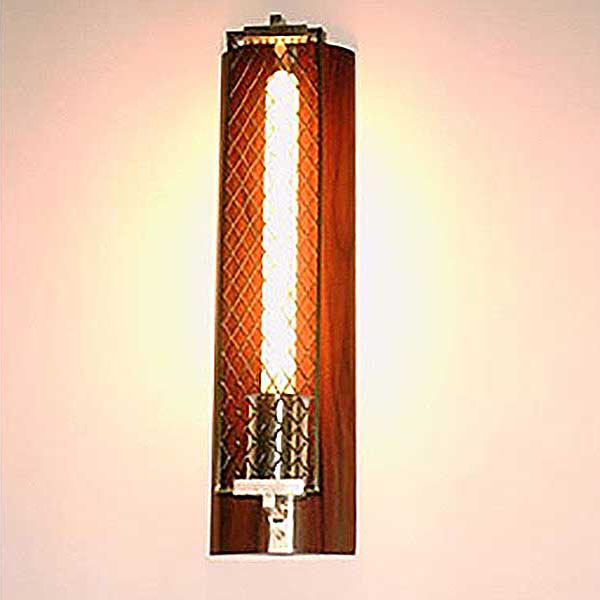
New!! - Antique Mirror Sconce
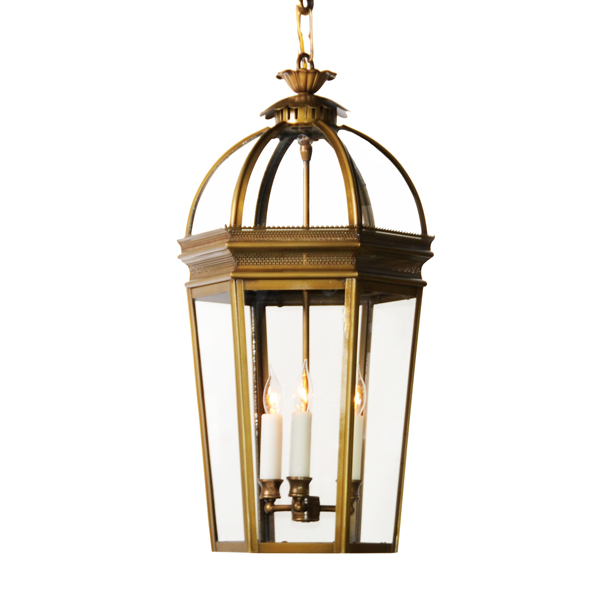
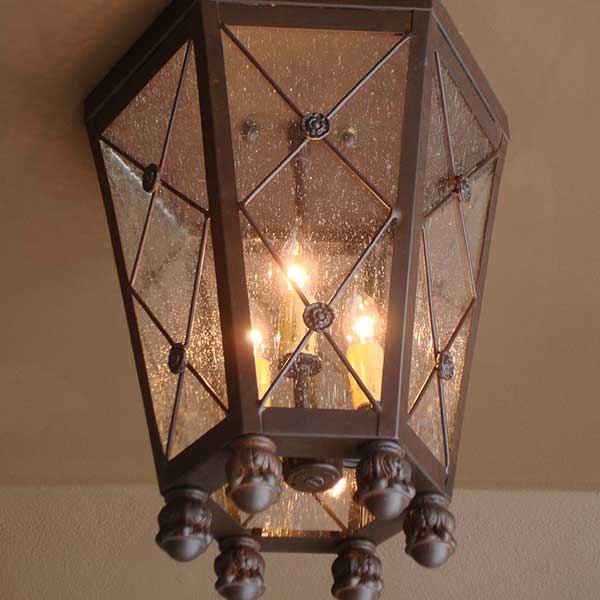
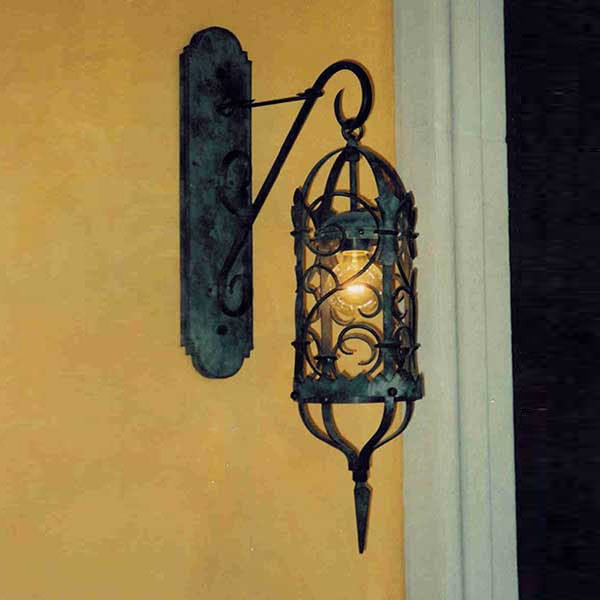
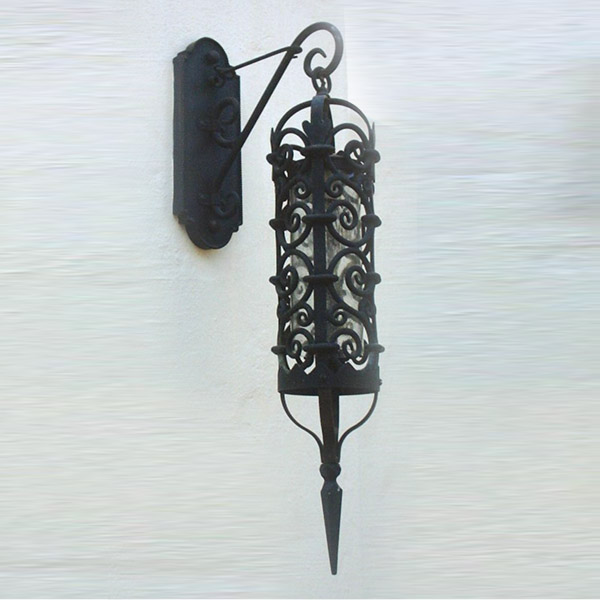
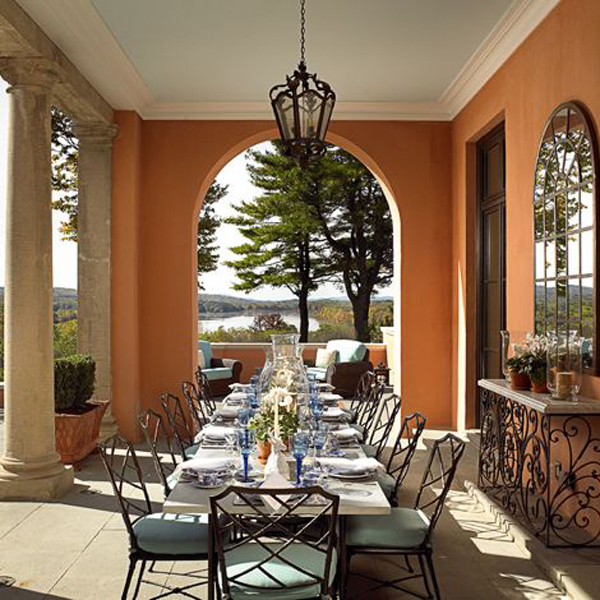
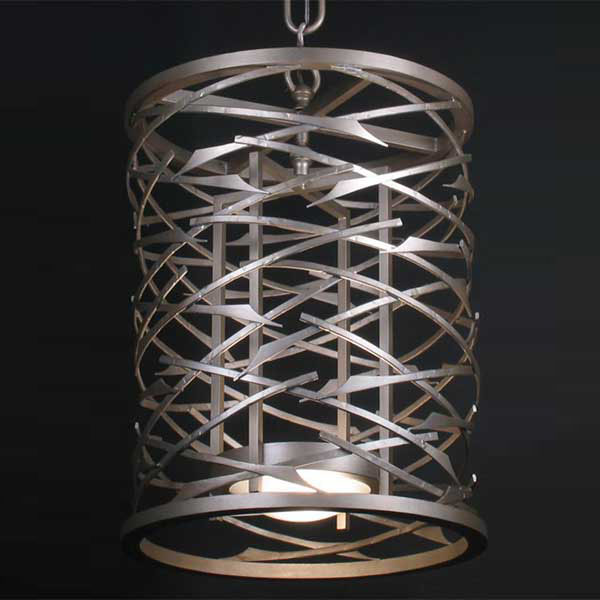
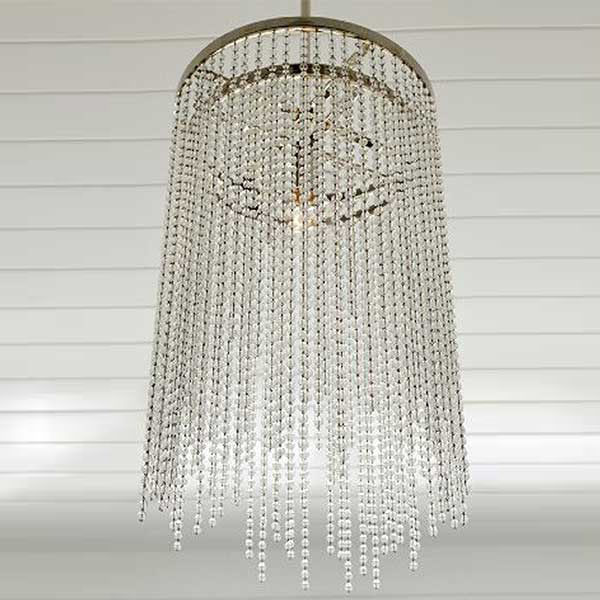
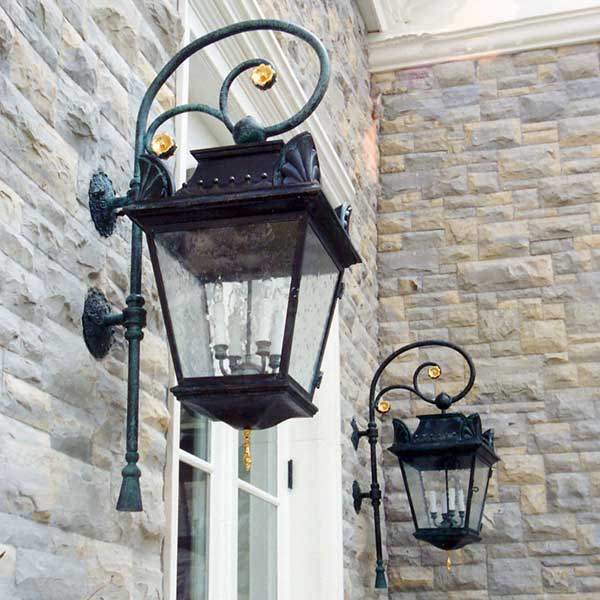
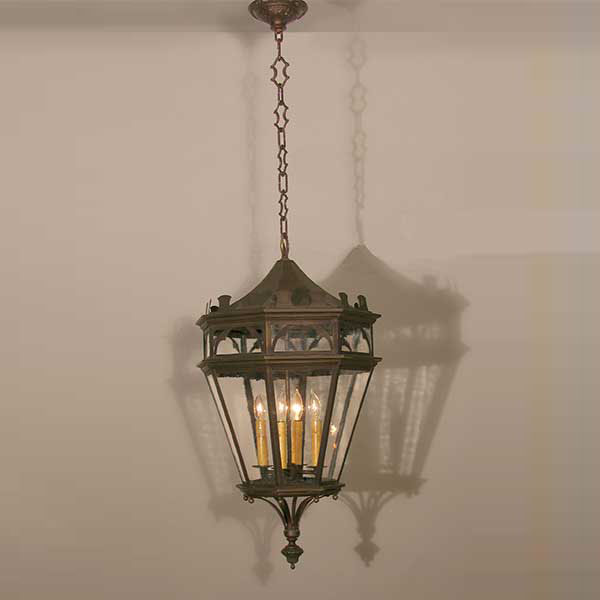
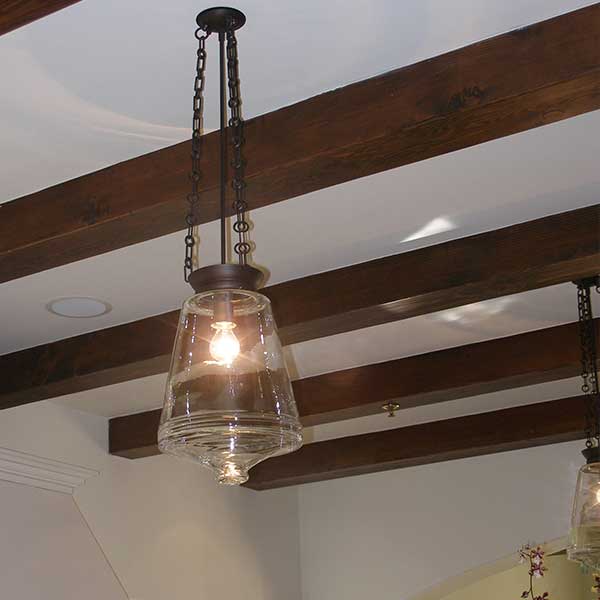
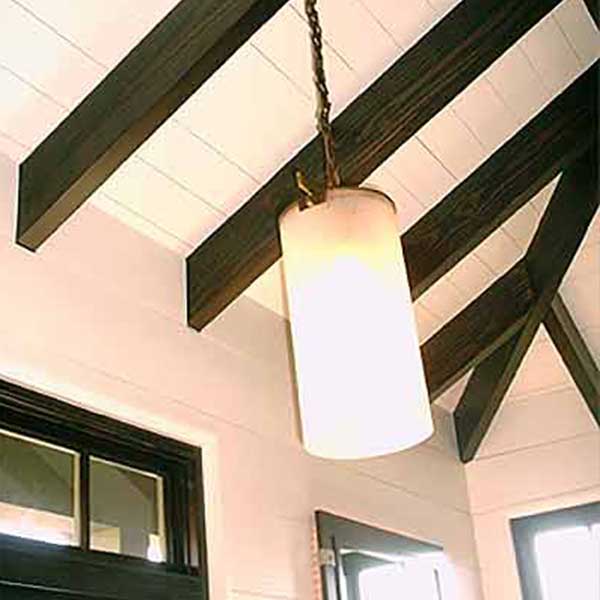
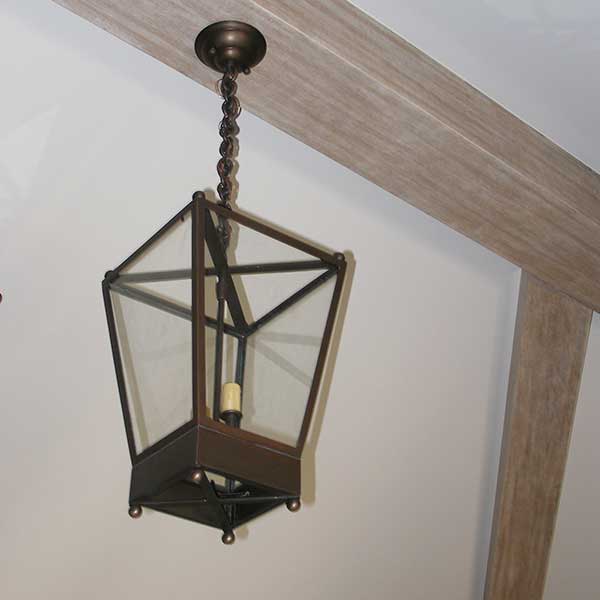
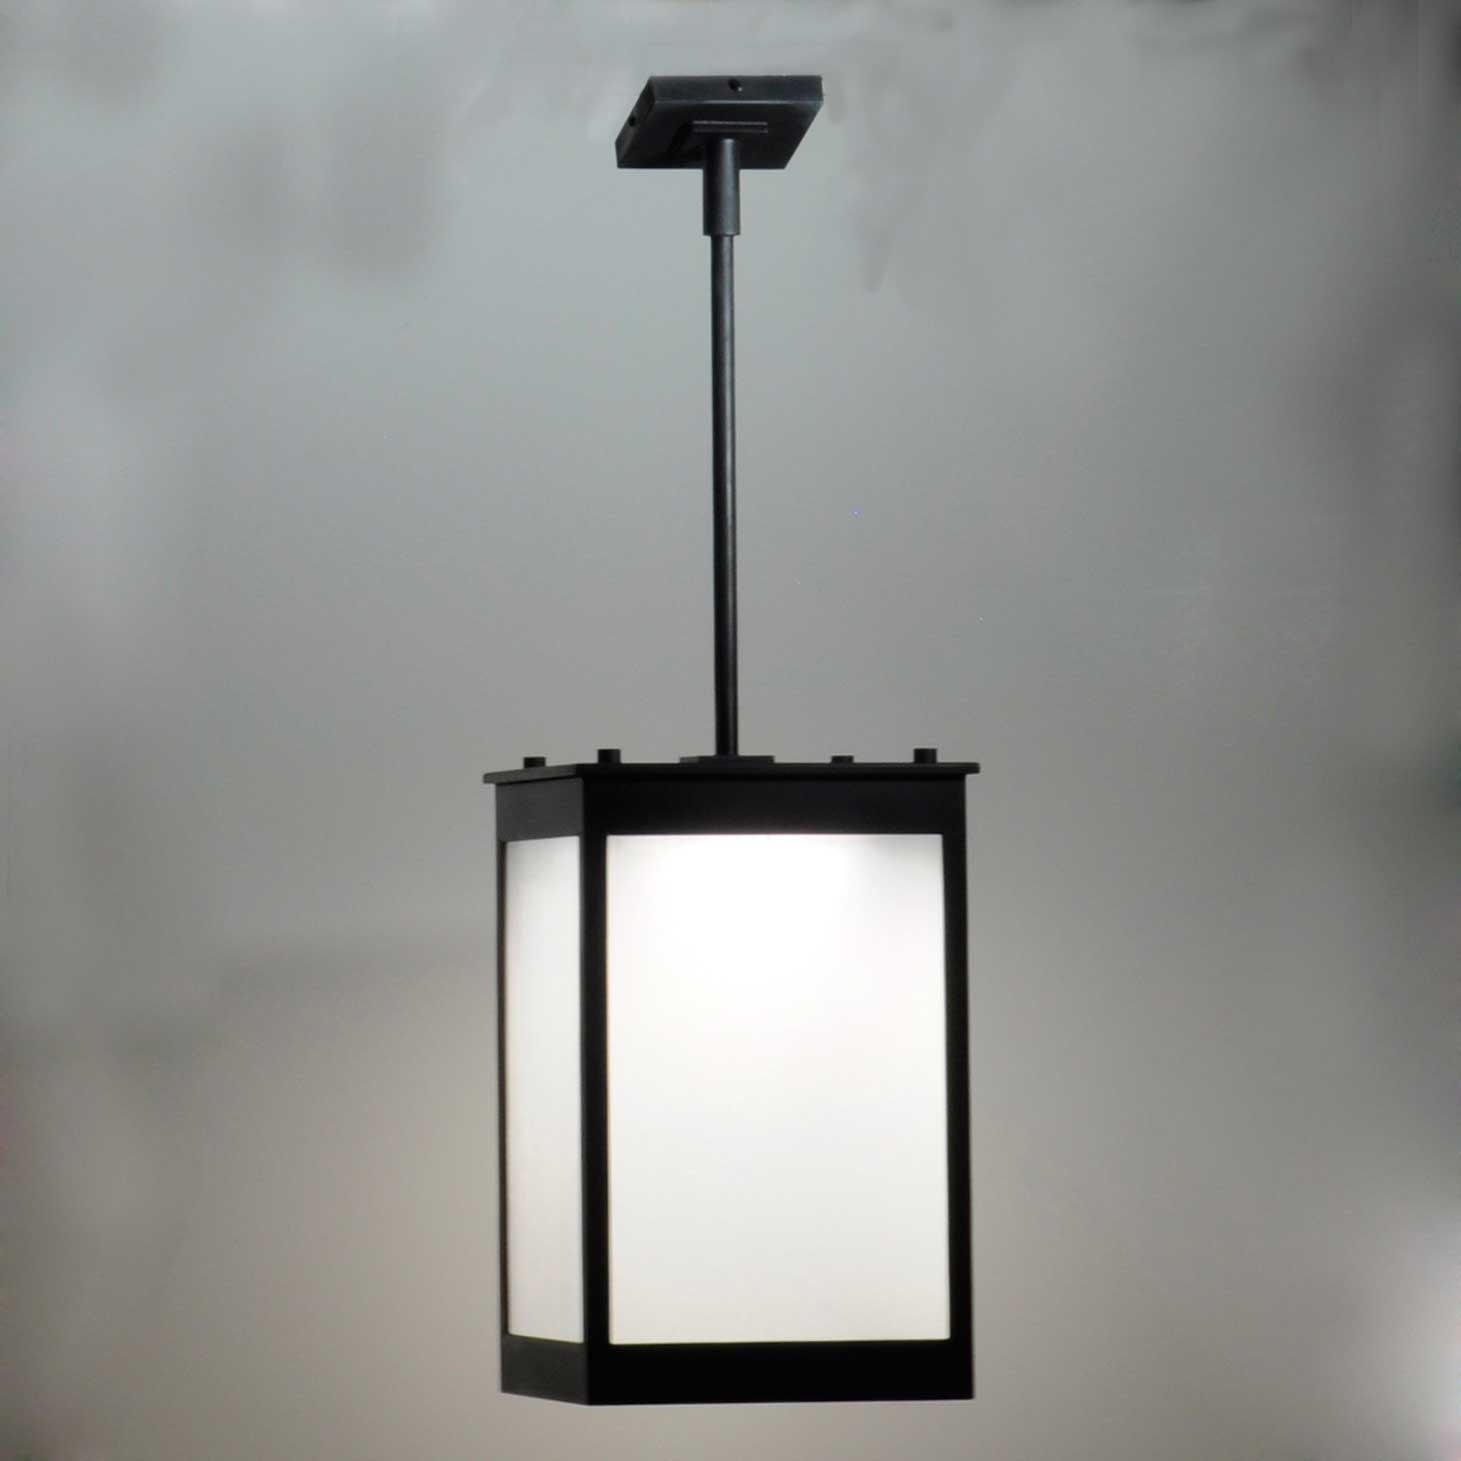
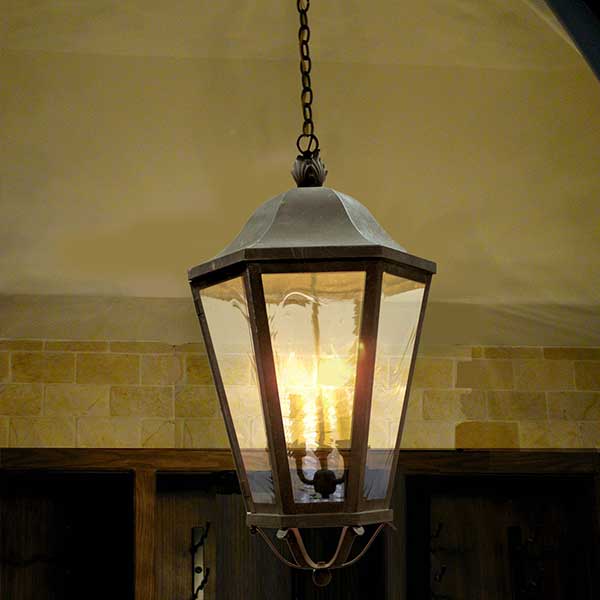
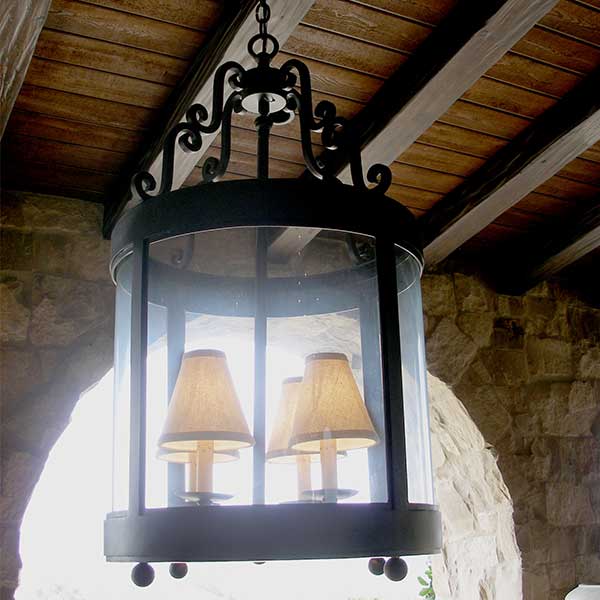
New!! - Avan Pendant
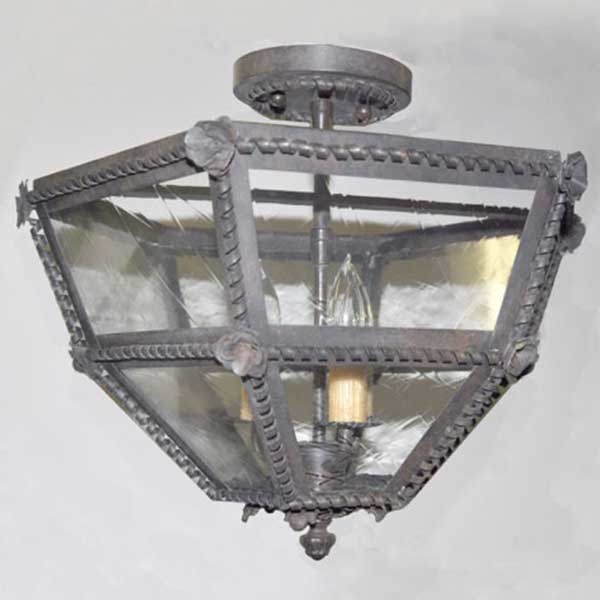
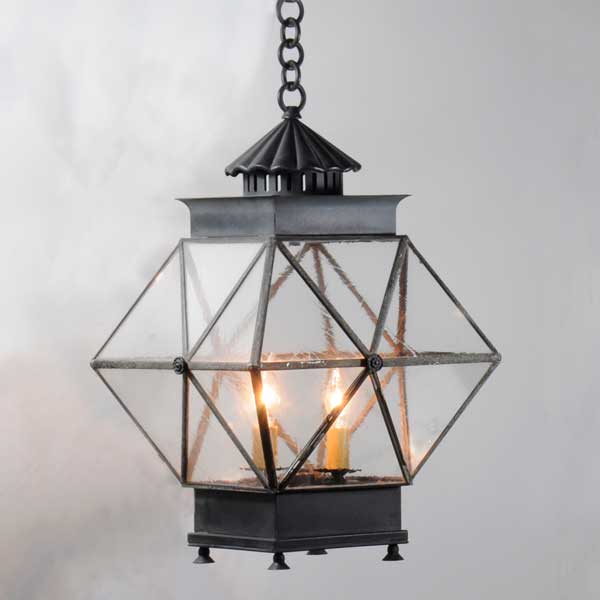
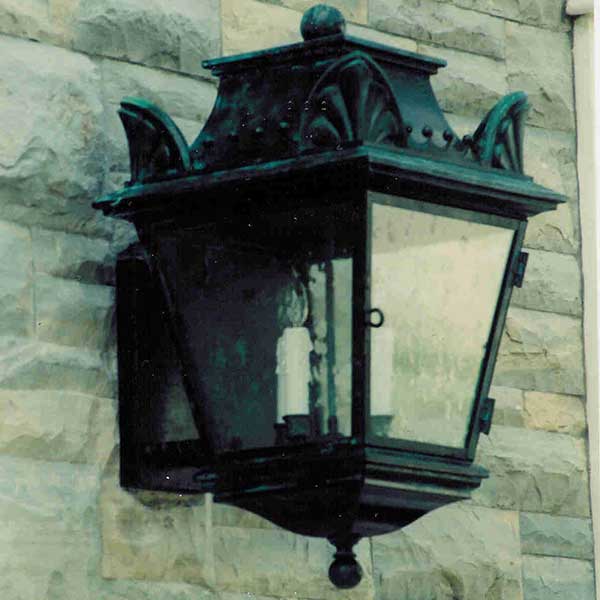
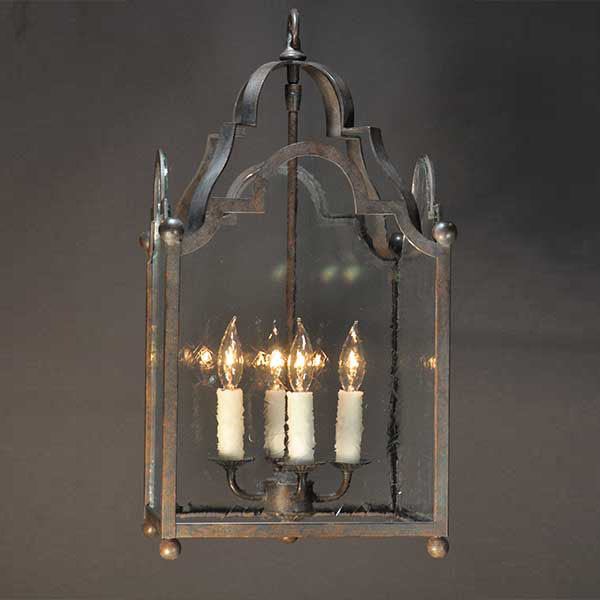
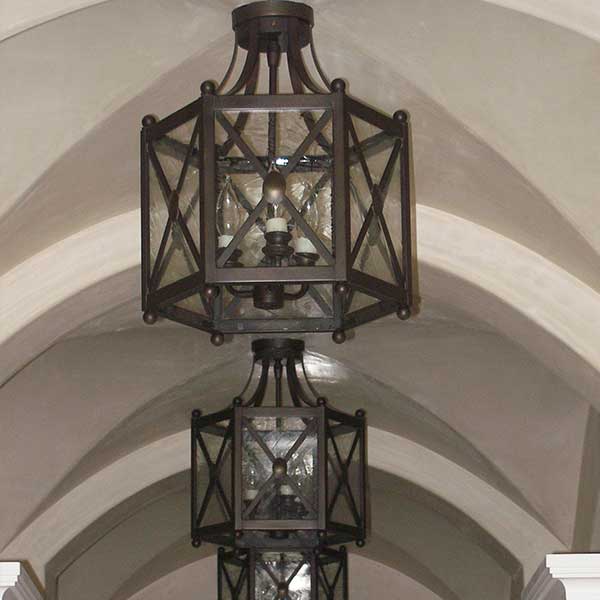
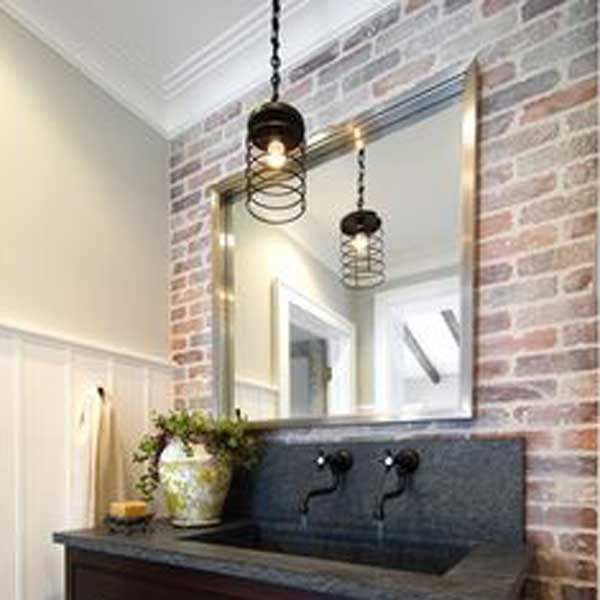
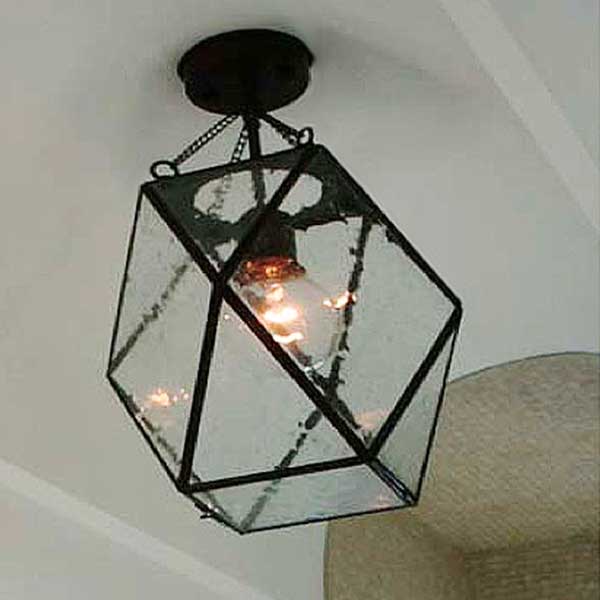
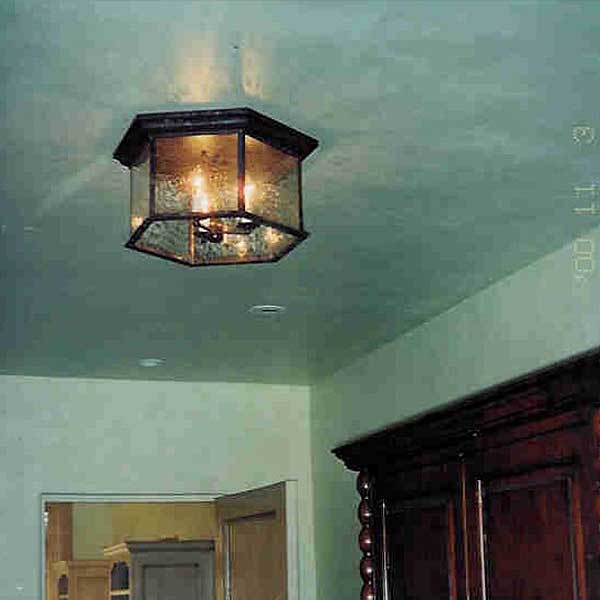
New!! - BBA Pendant
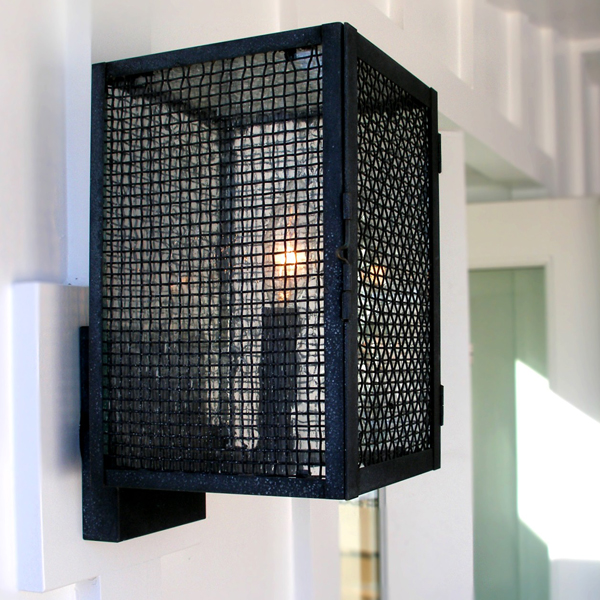
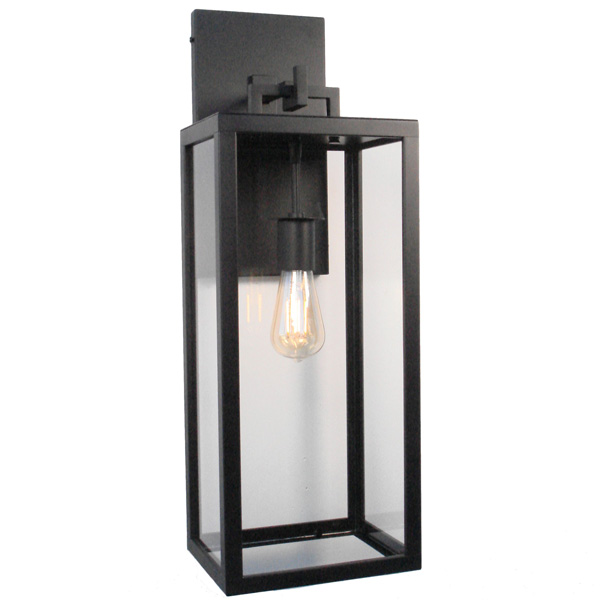
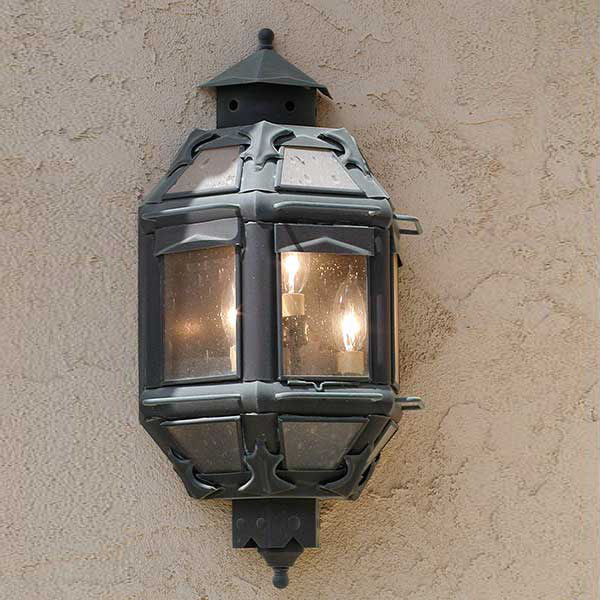
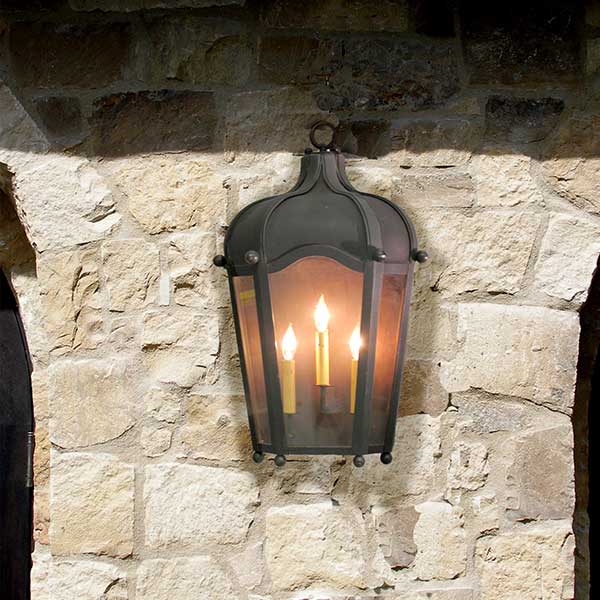
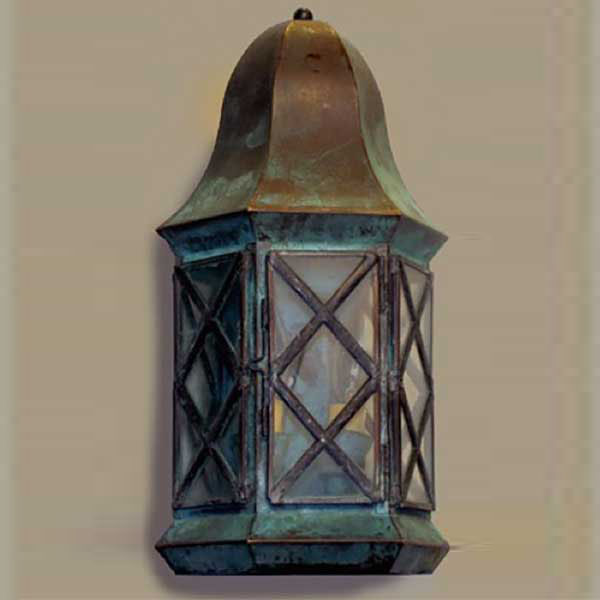
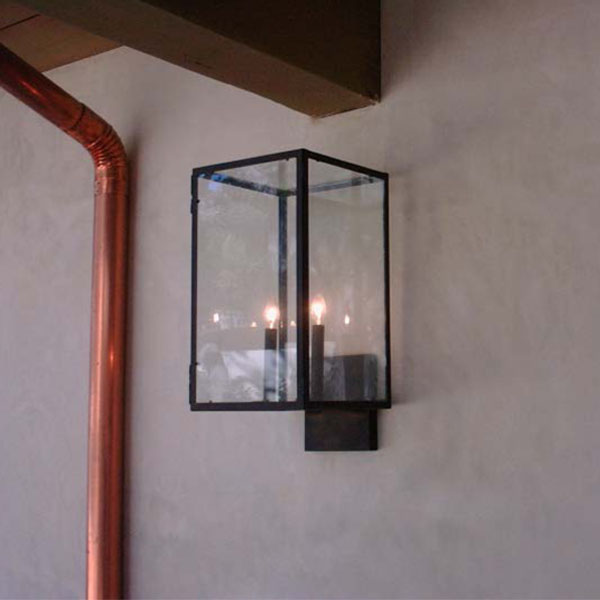
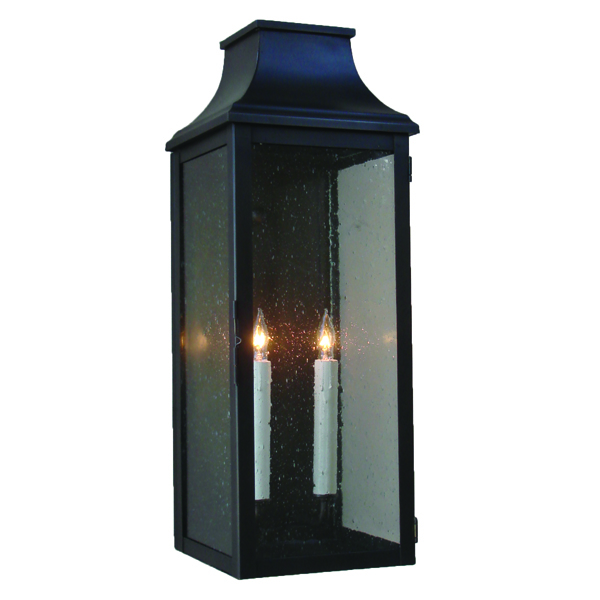
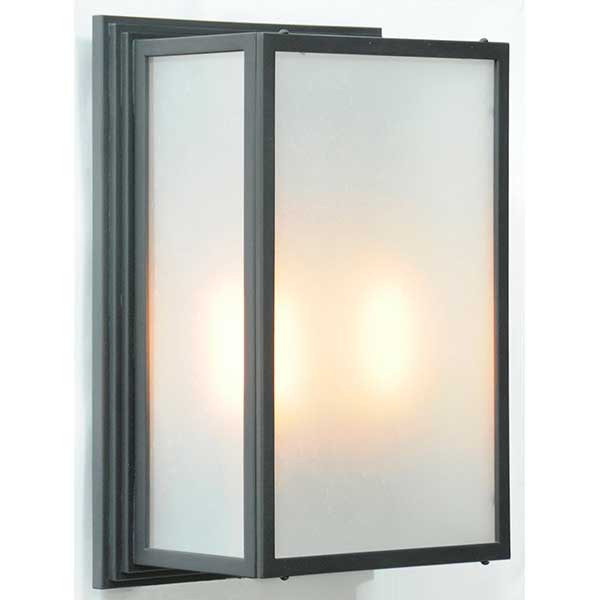
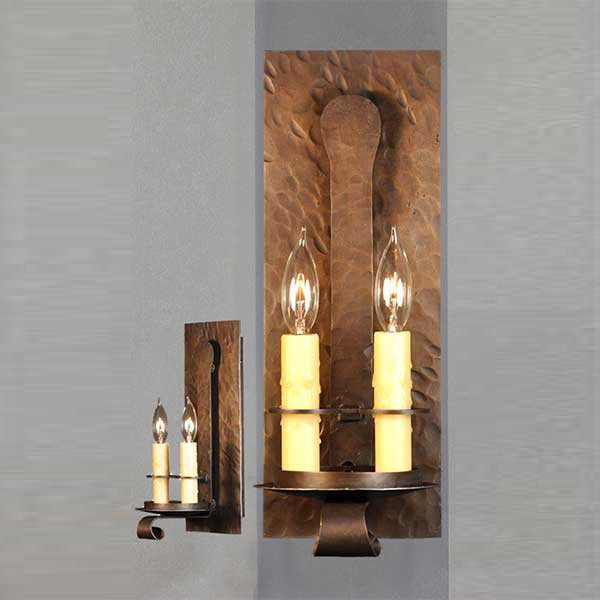
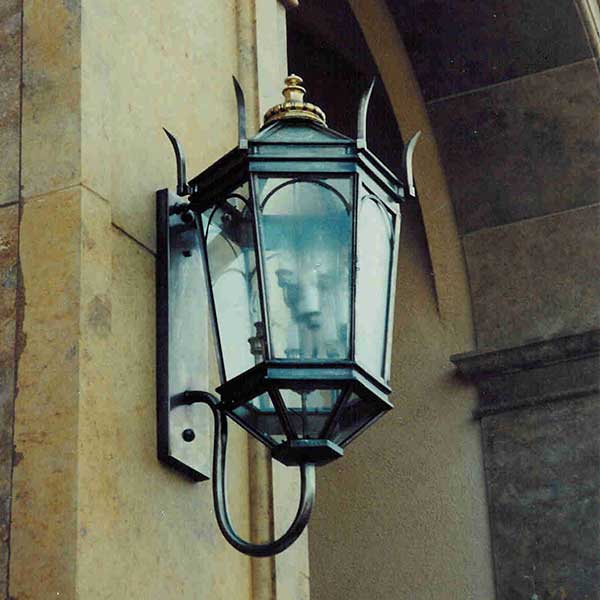
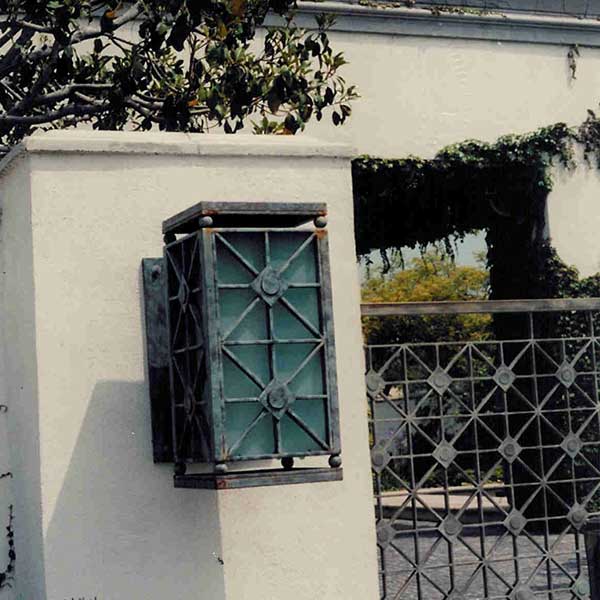
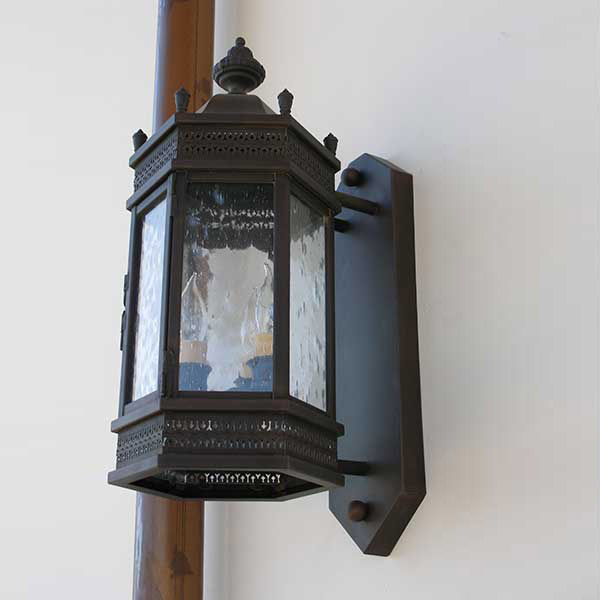
New!! - Boxter Medium Wall - Shown with Optional Mesh Inlay

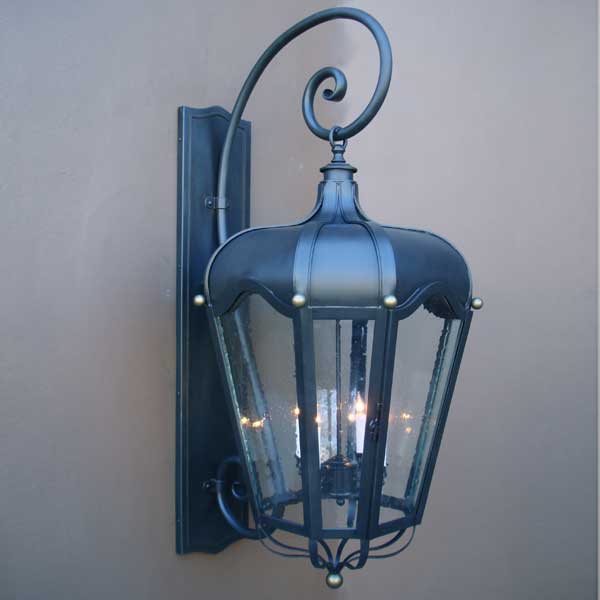
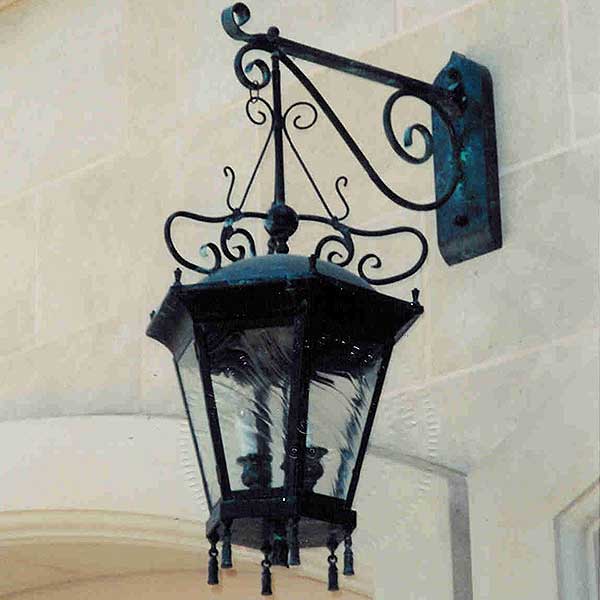
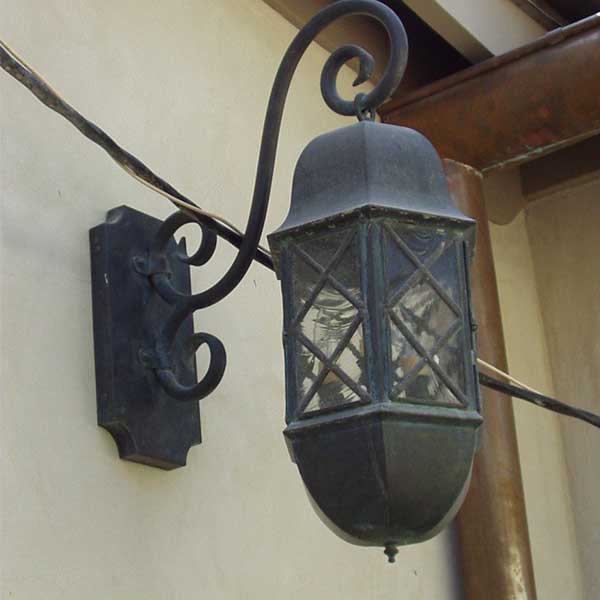
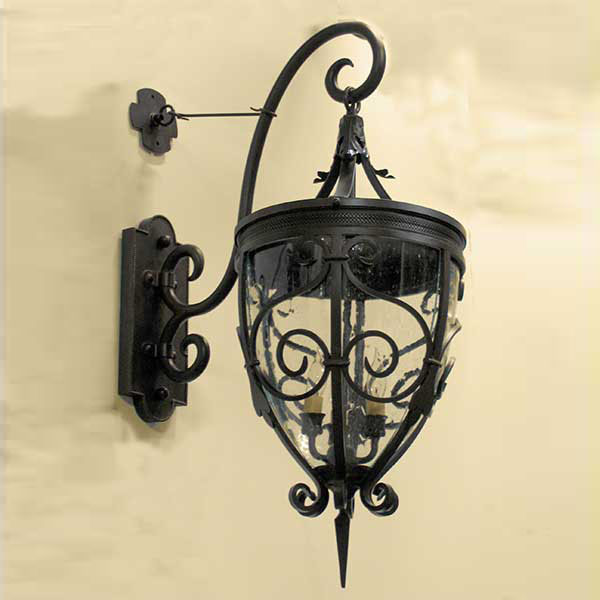
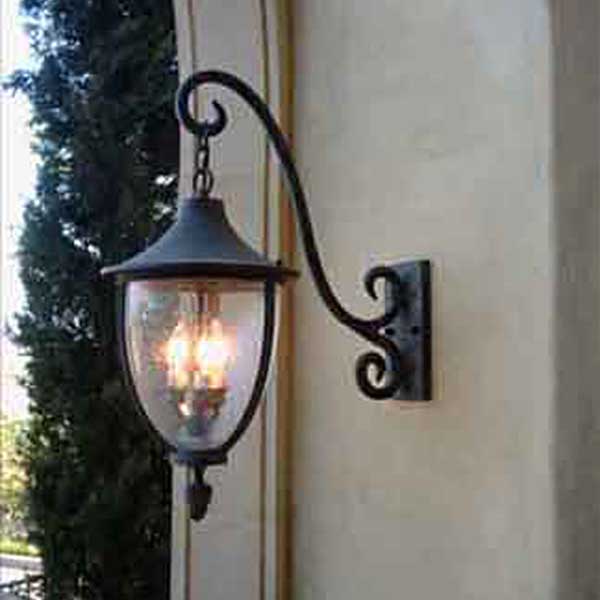
New!! - Ganz Large Wall on Arm
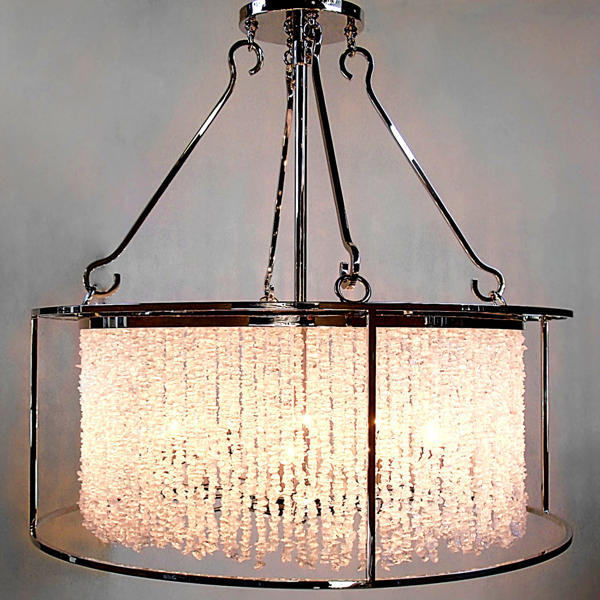
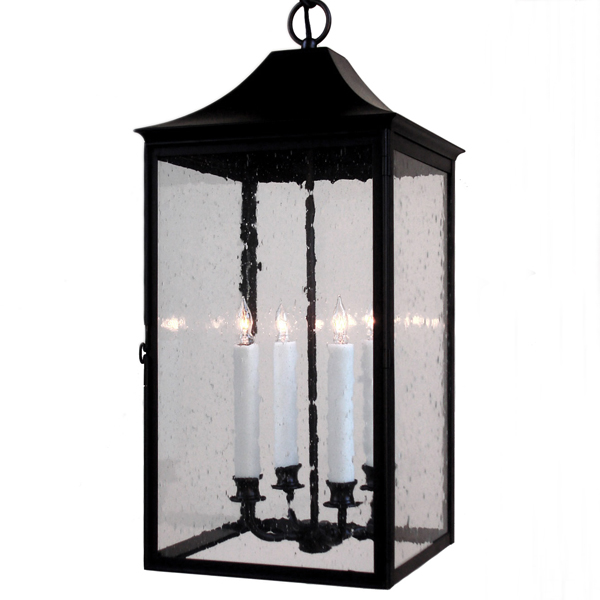
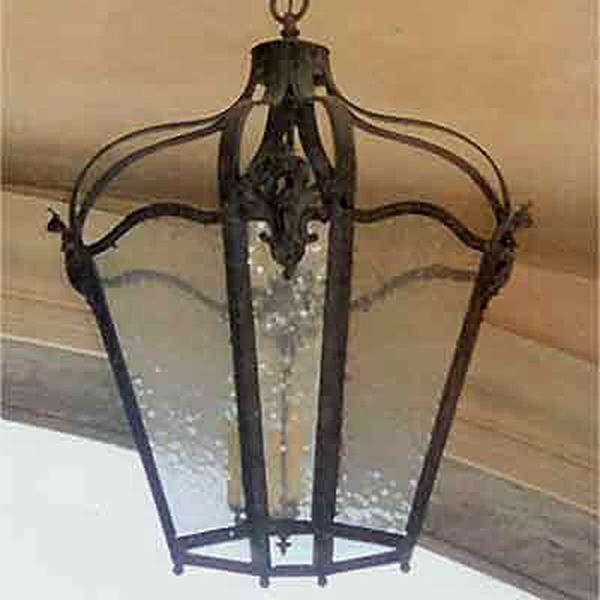
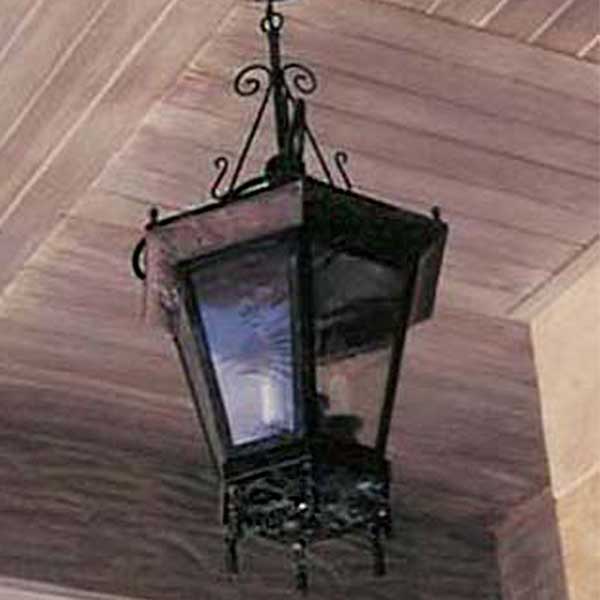
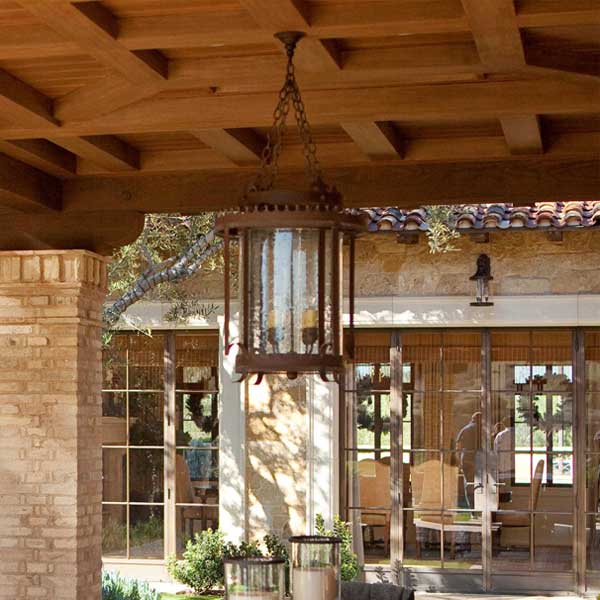
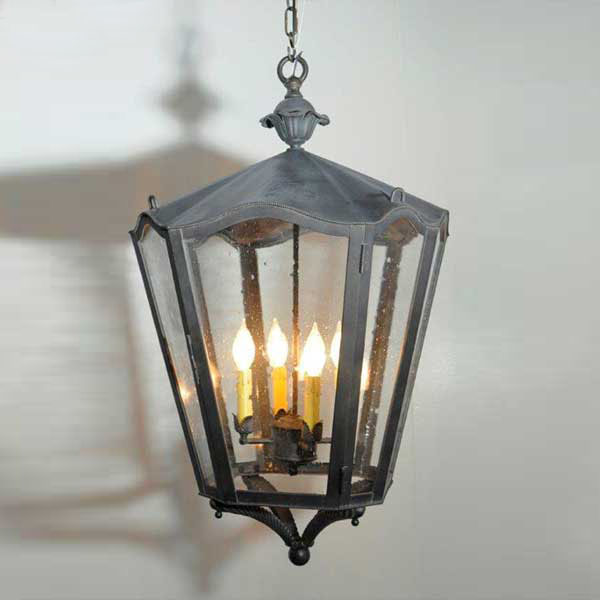
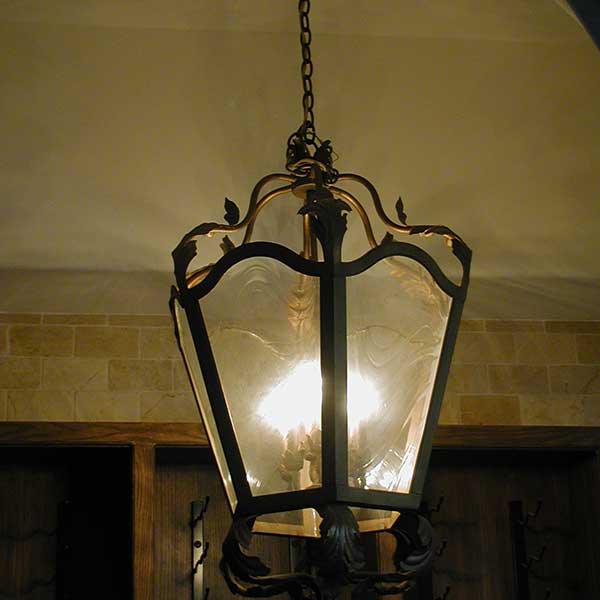
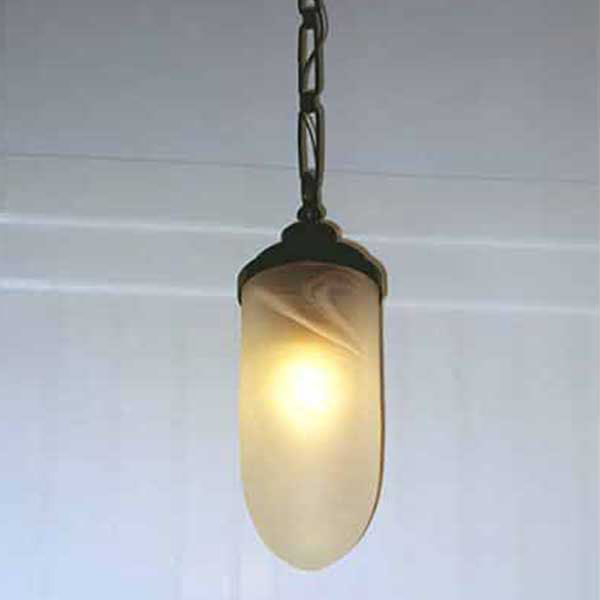
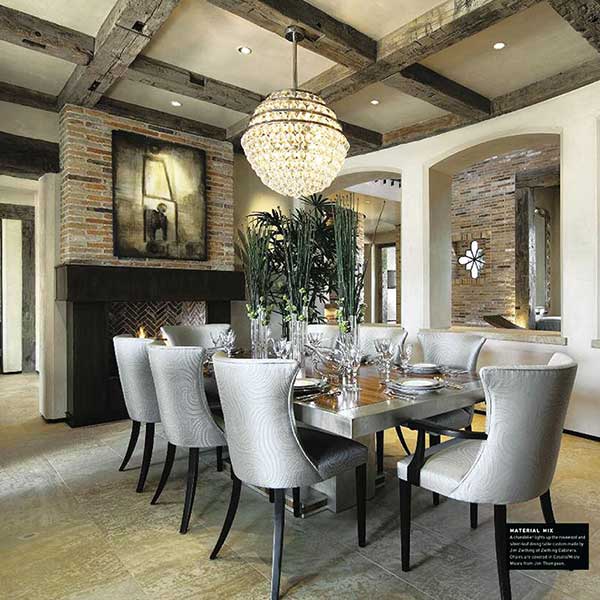
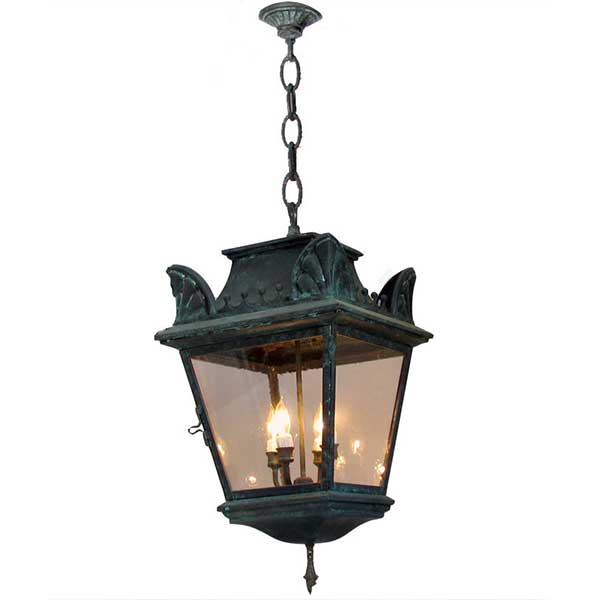
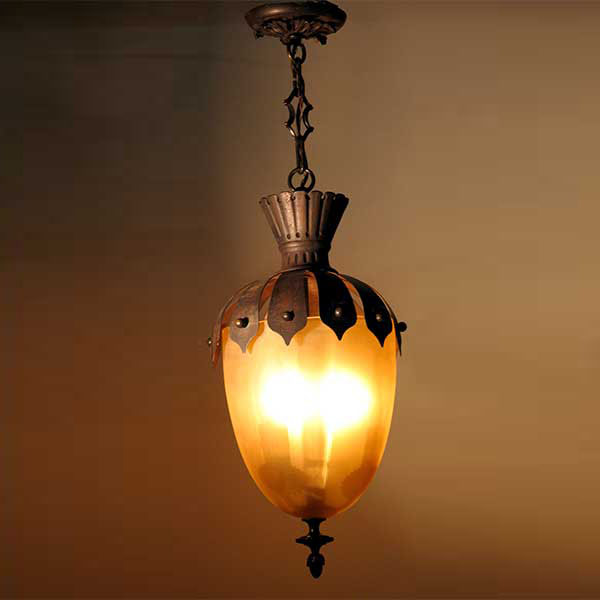
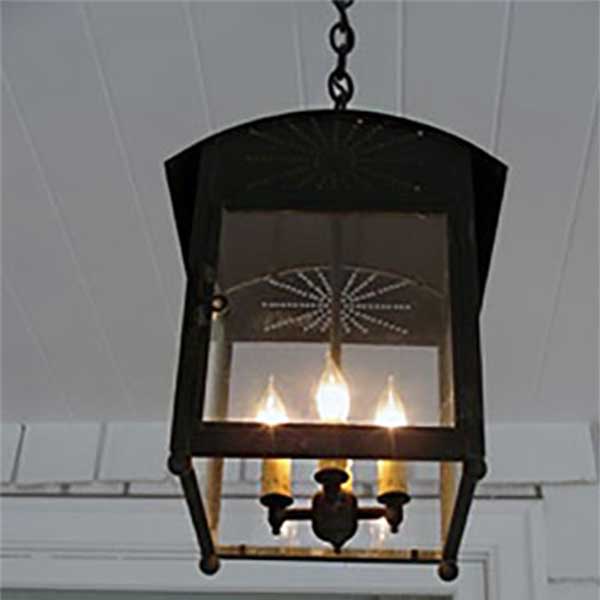
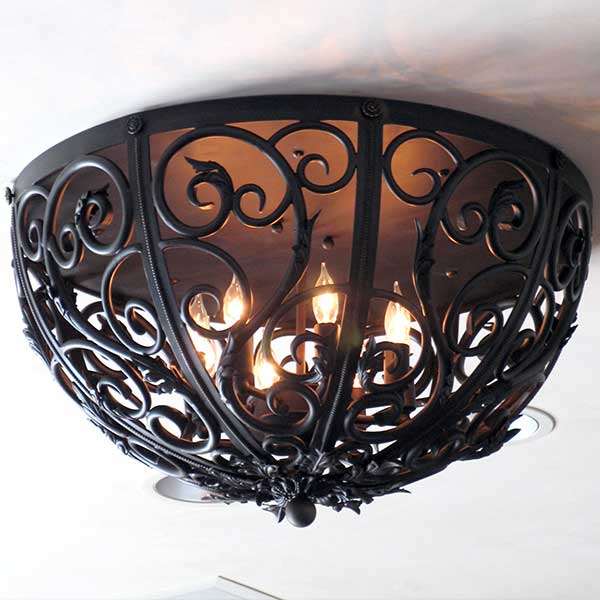
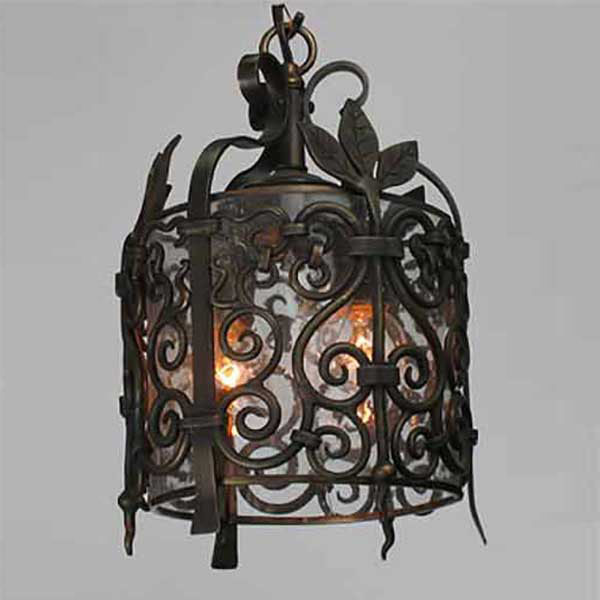
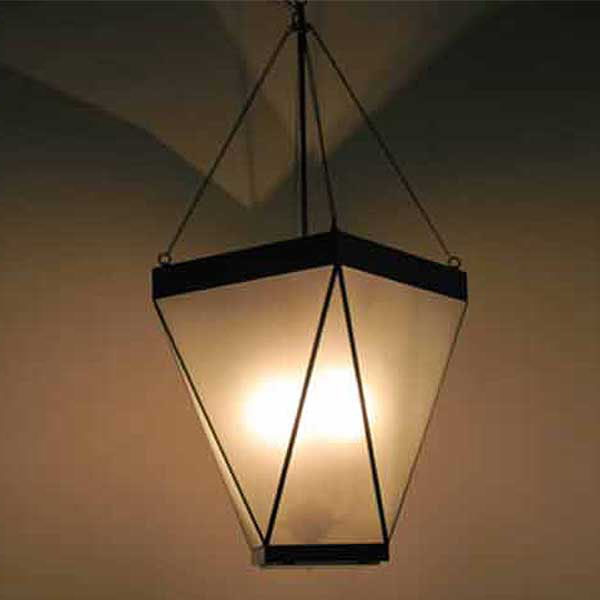
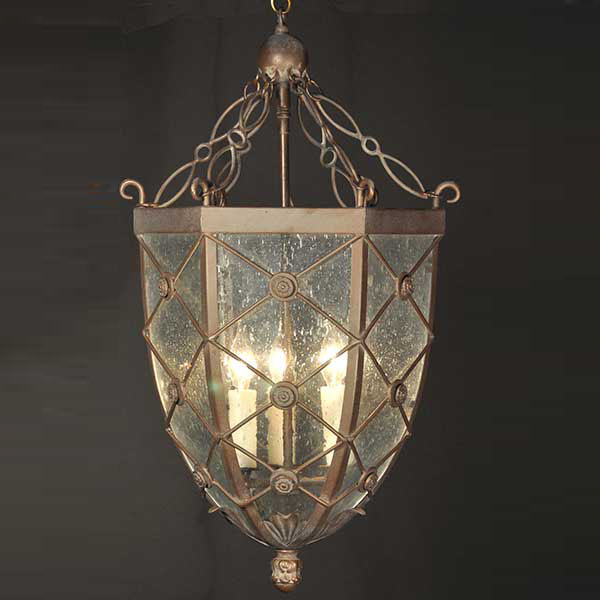
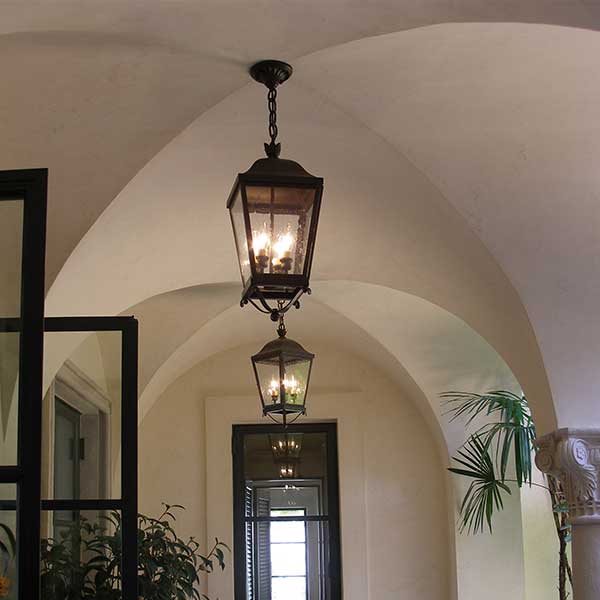
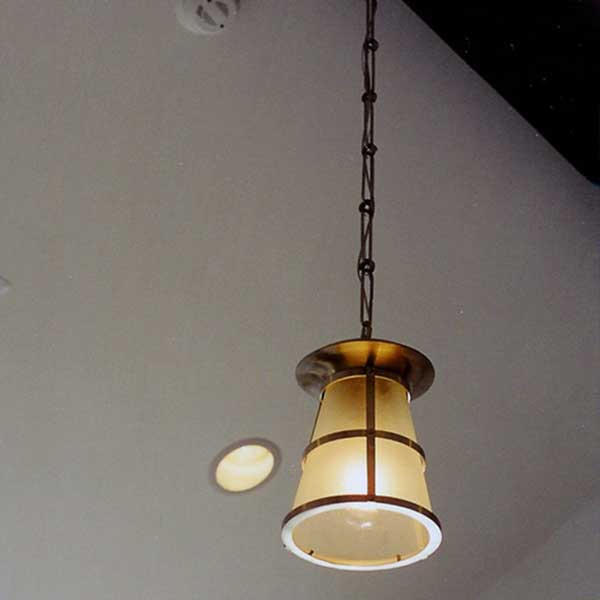
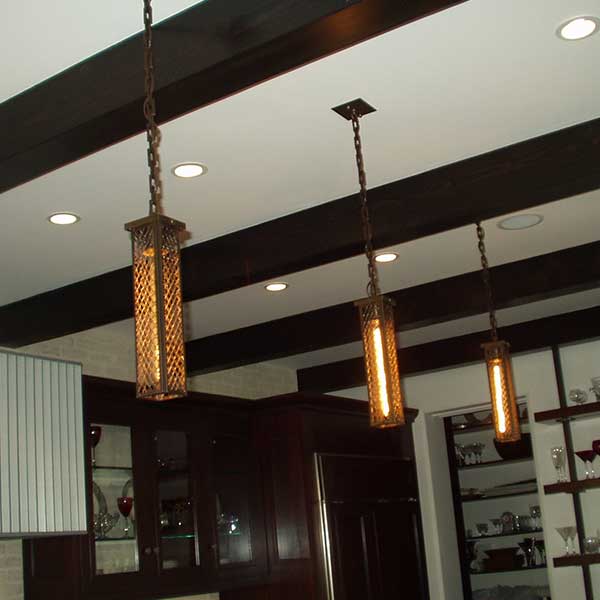
New!! - Harvana Pendant

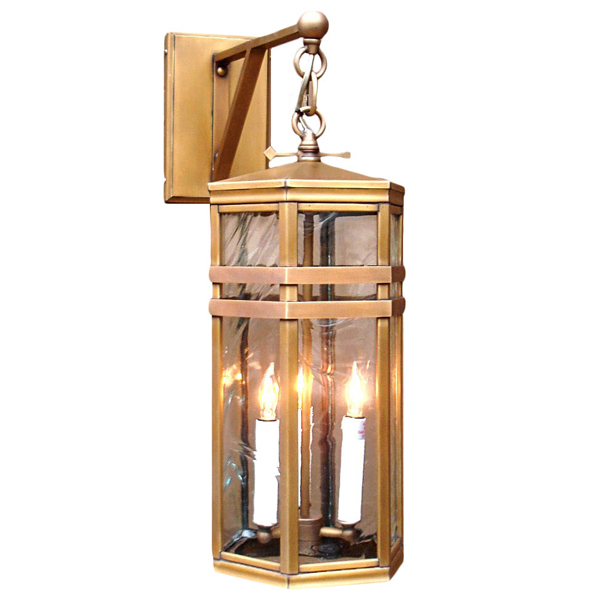
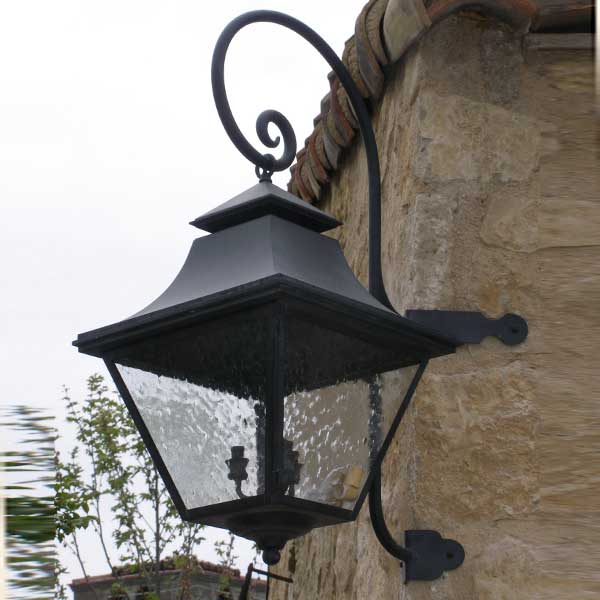
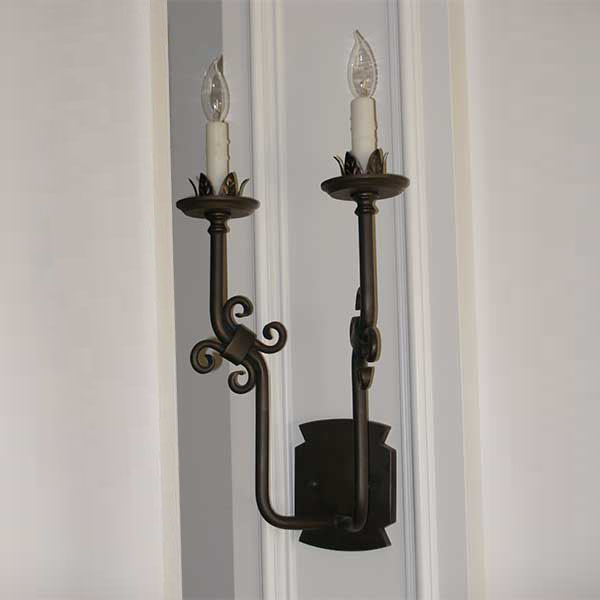
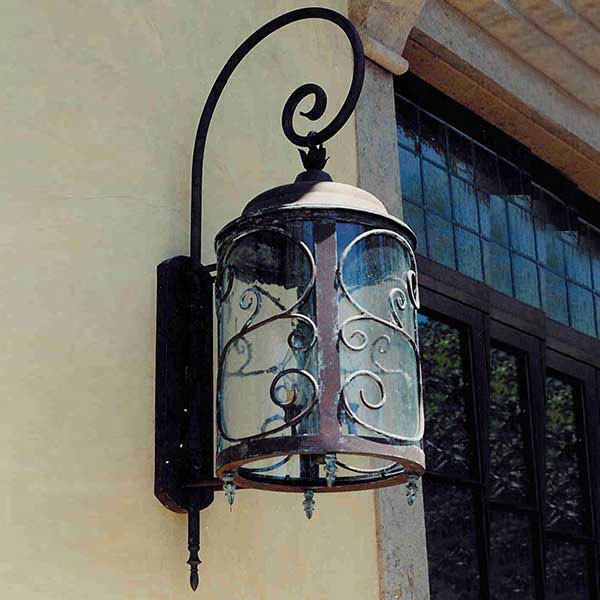
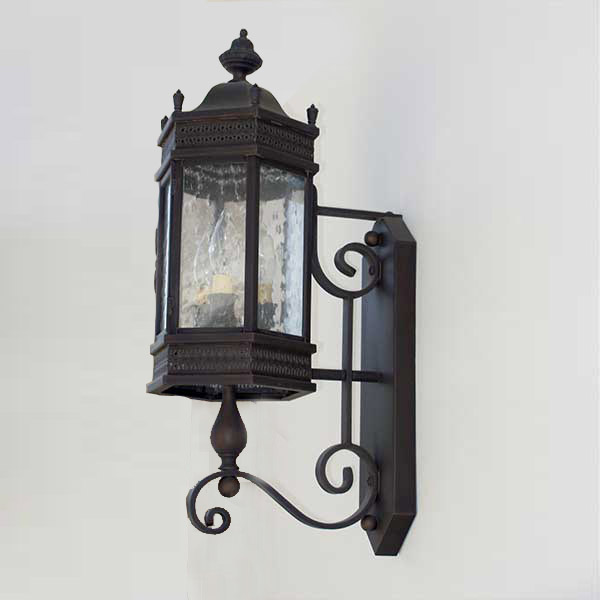
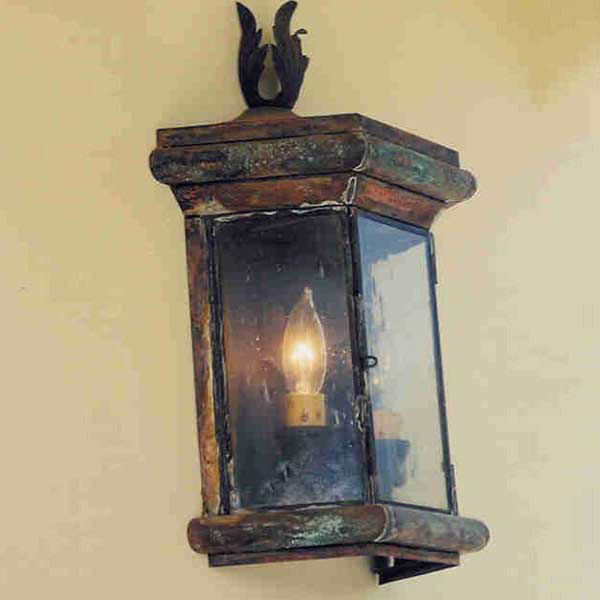
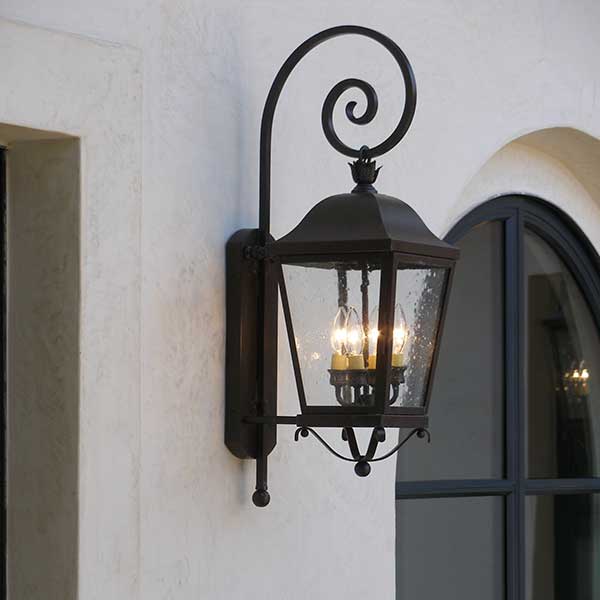
New!! - Jamil's Medium Wall on Arm

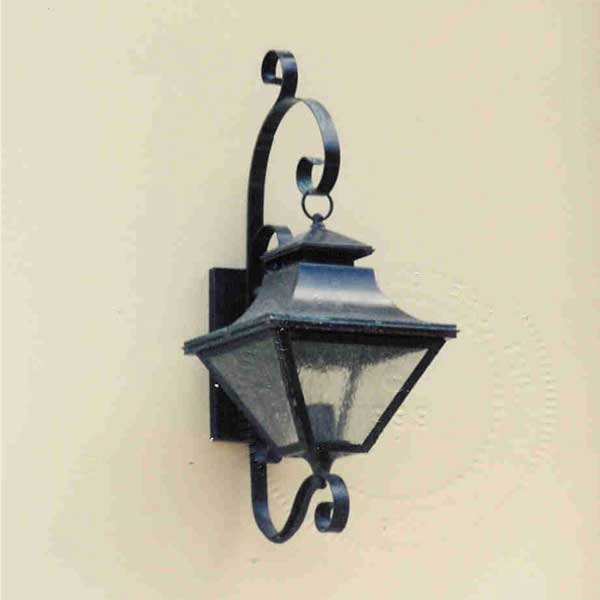
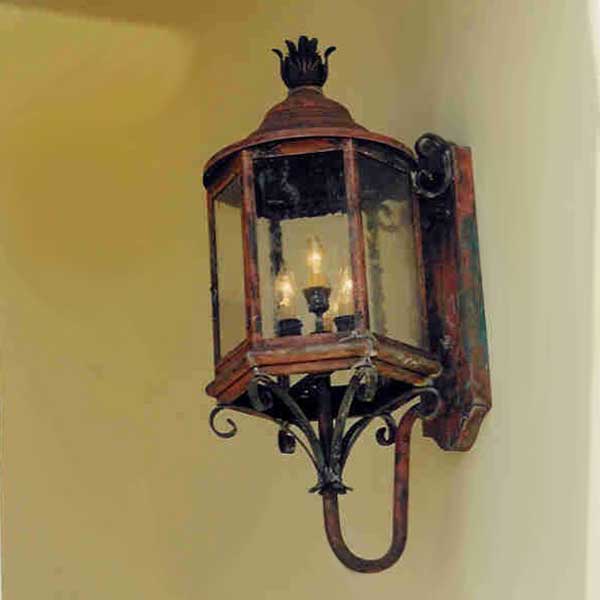
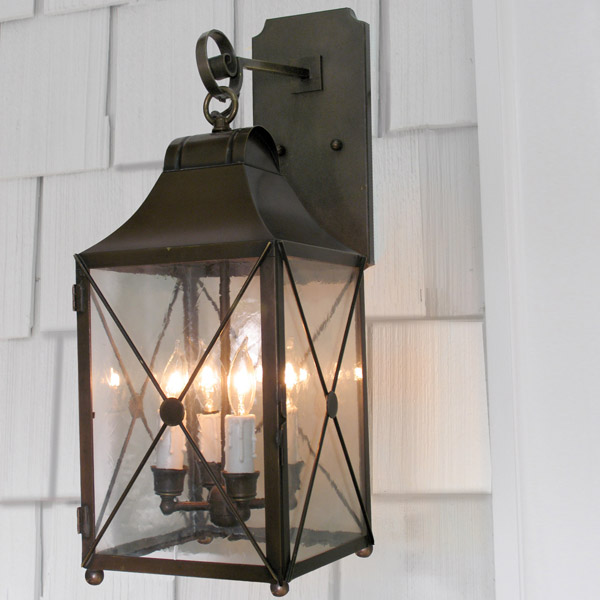
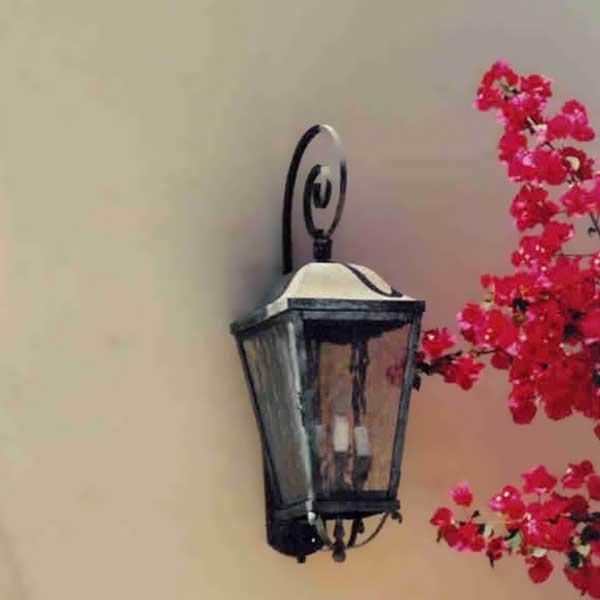
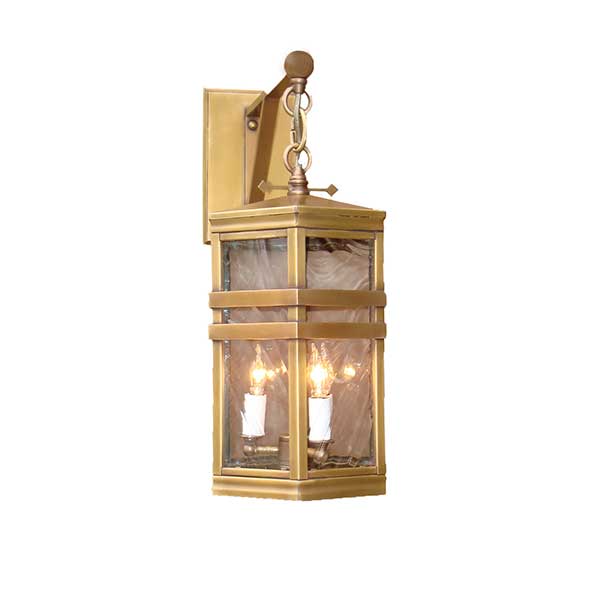
New!! - Koda Medium Wall on Arm
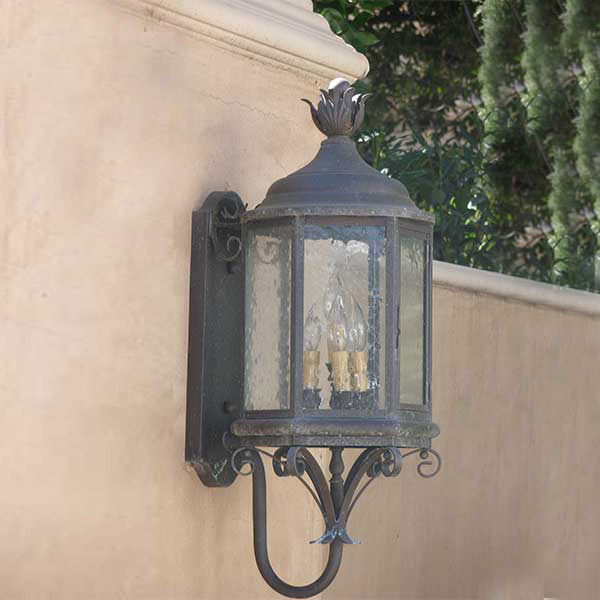
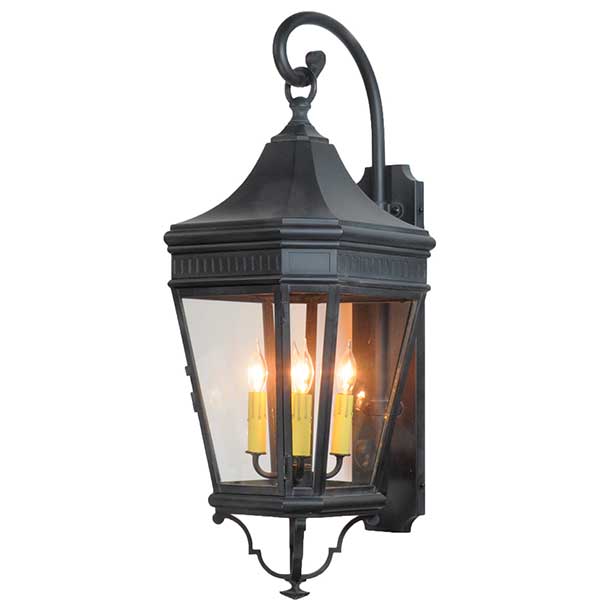
New!! - Niles Medium Wall on Arm
-edit--3544.jpg)
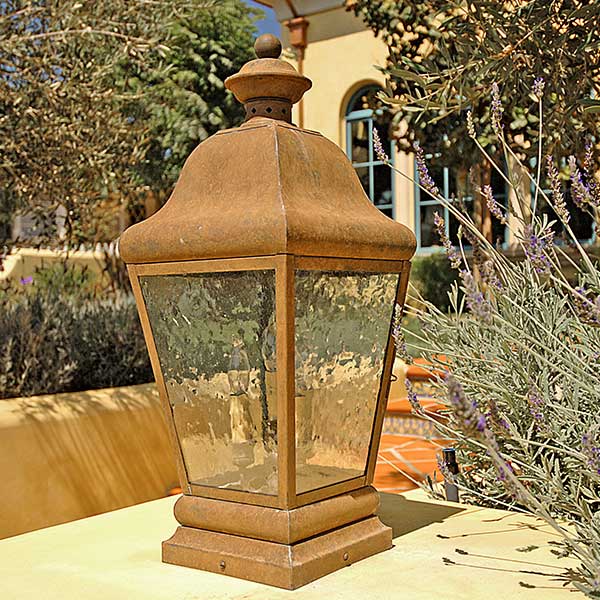
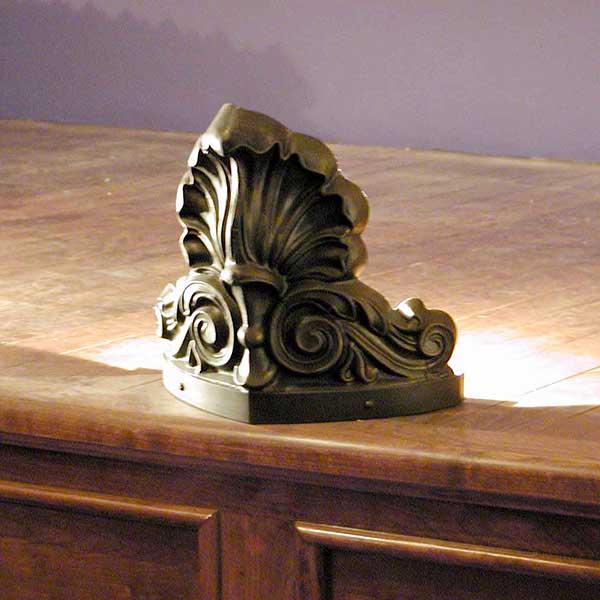
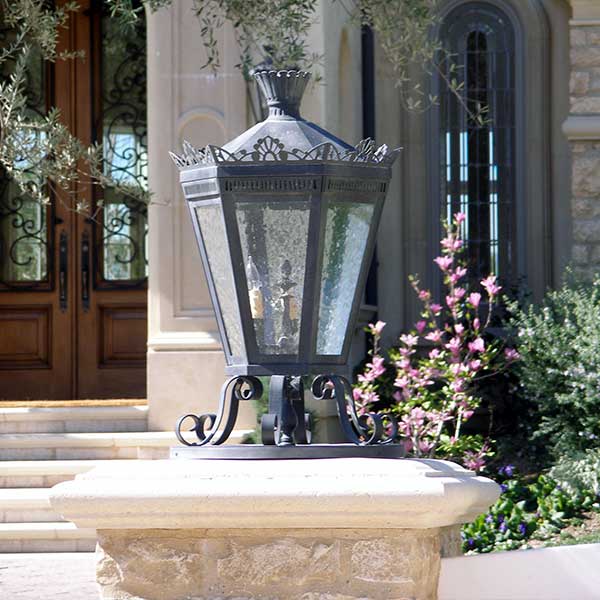
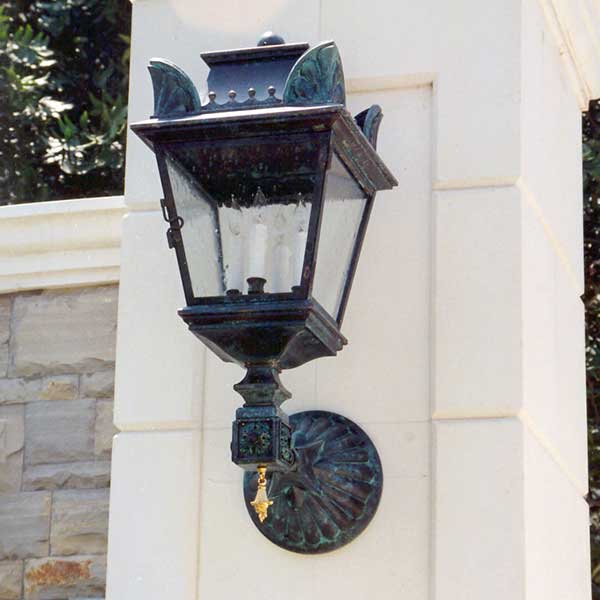
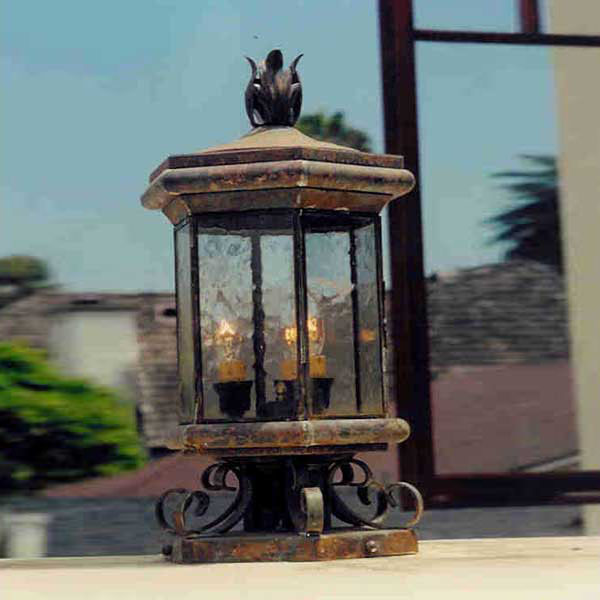
New!! - Parigi Small Pilaster
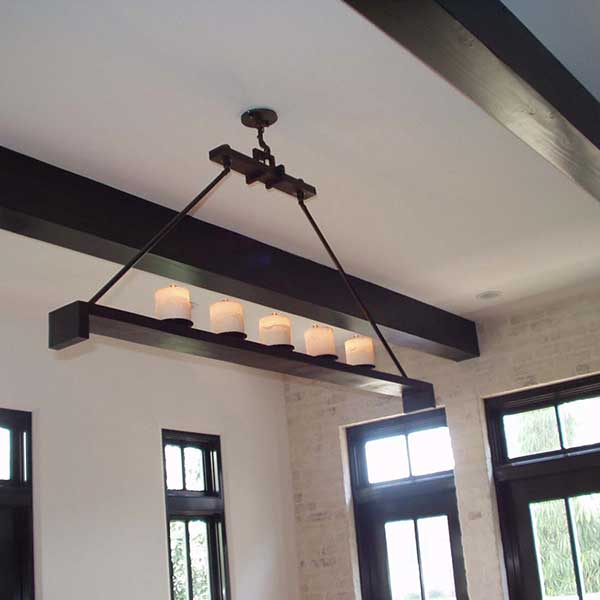
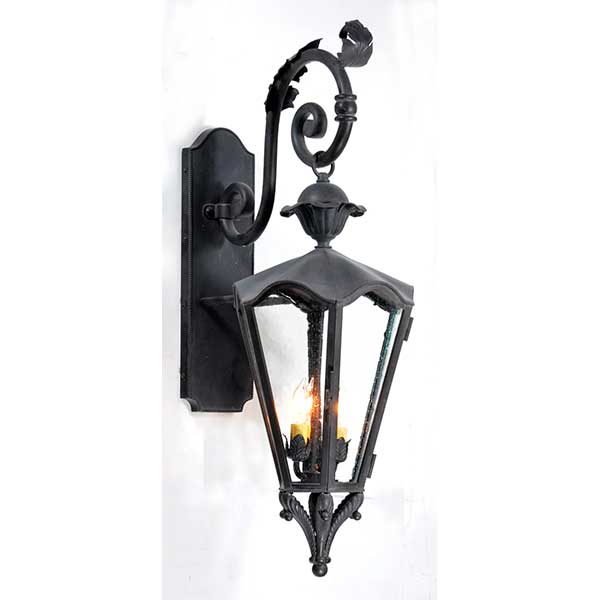
New!! - Taft Large Wall on Arm
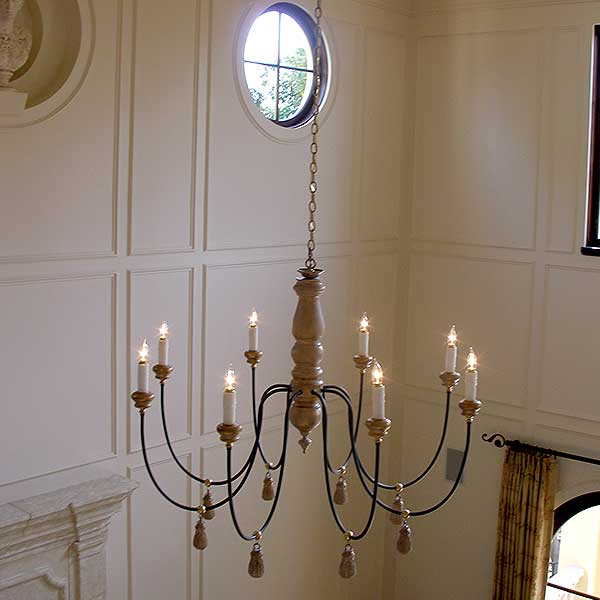
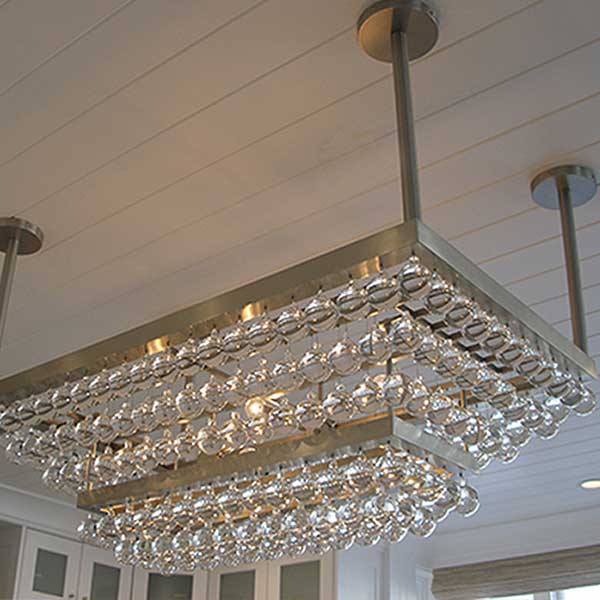
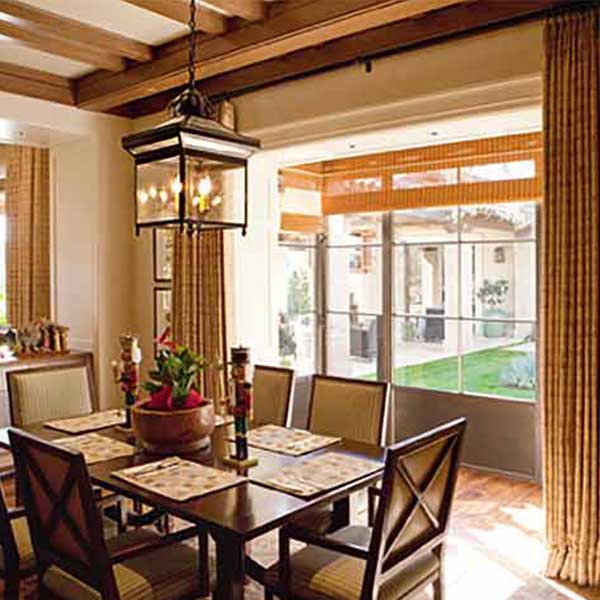
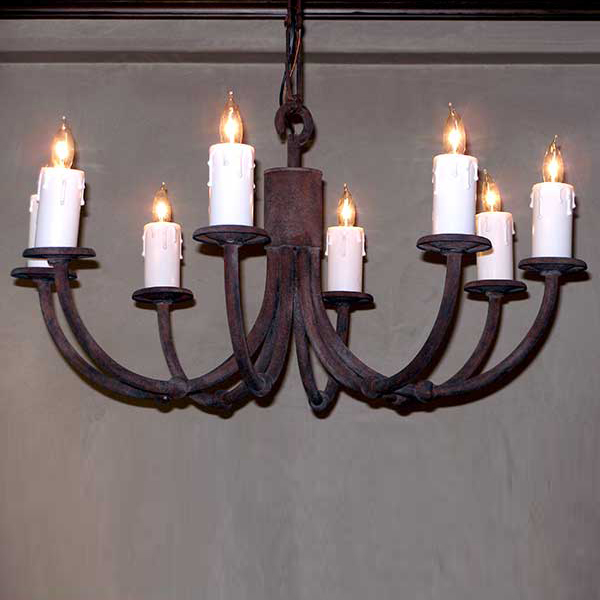
New!! - Young Custom Pendant

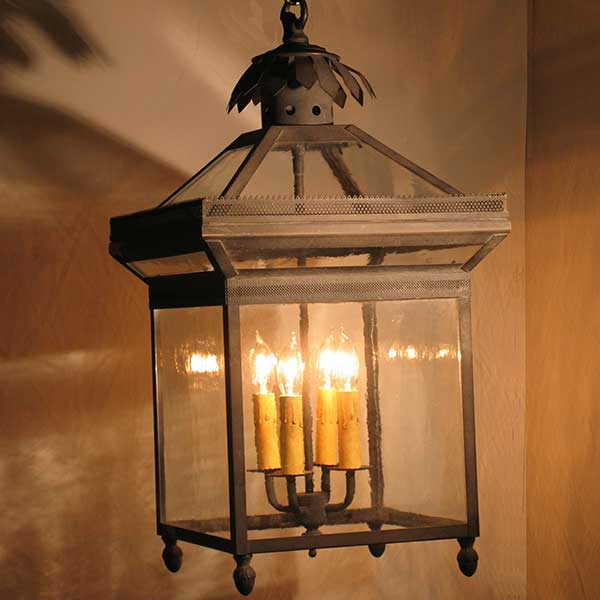
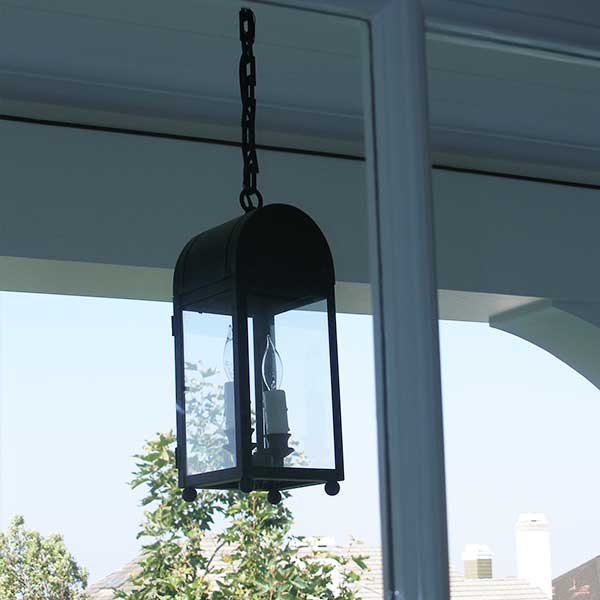
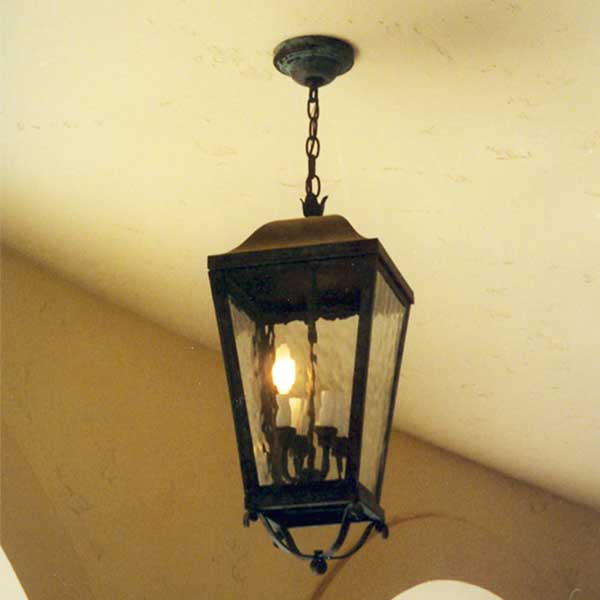
1002 Medium Pendant
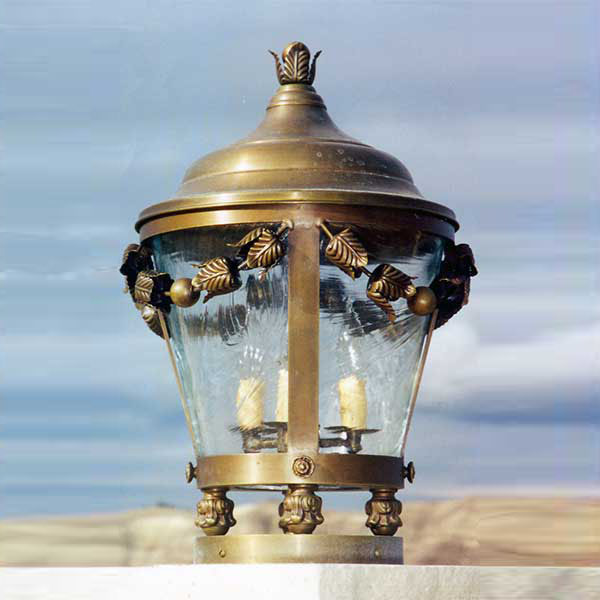
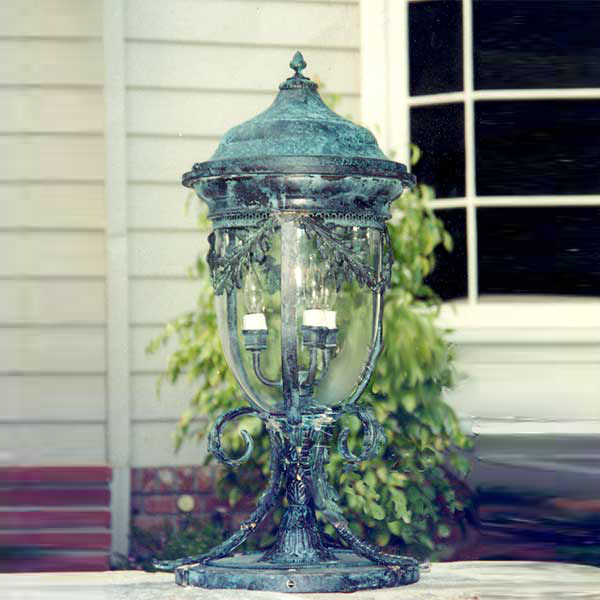
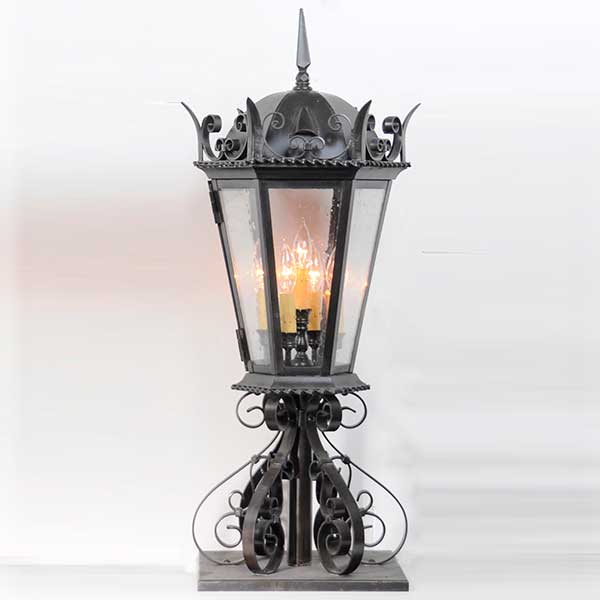
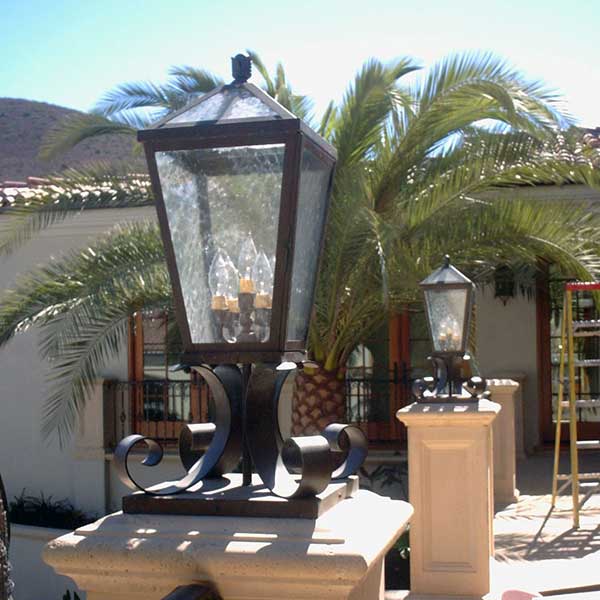
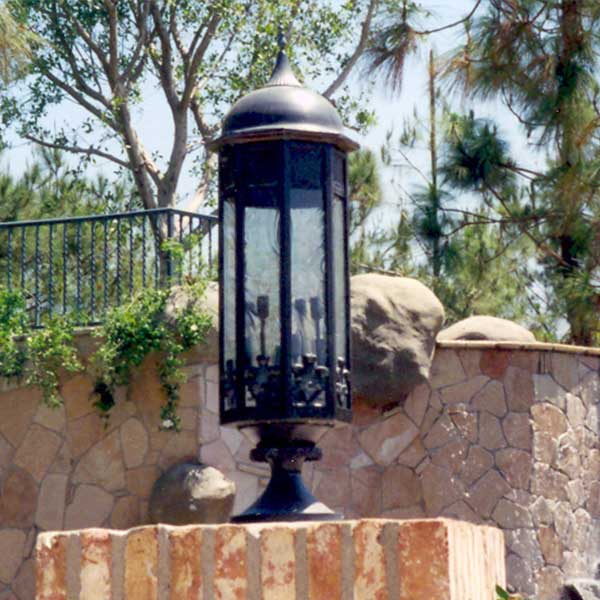
1002 Medium Pilaster
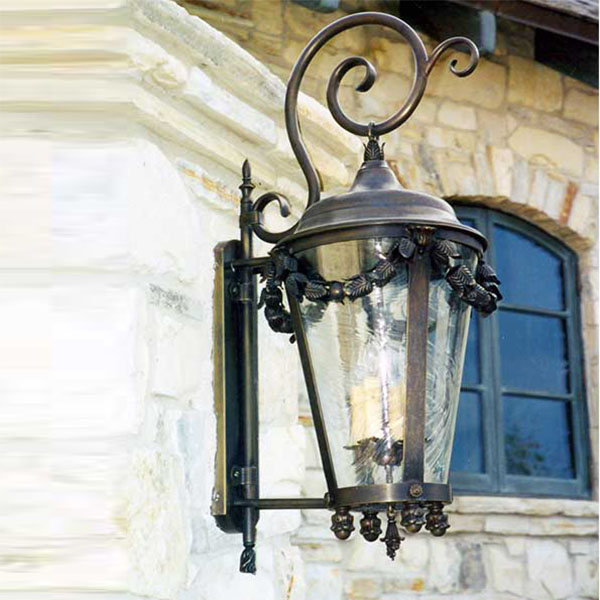
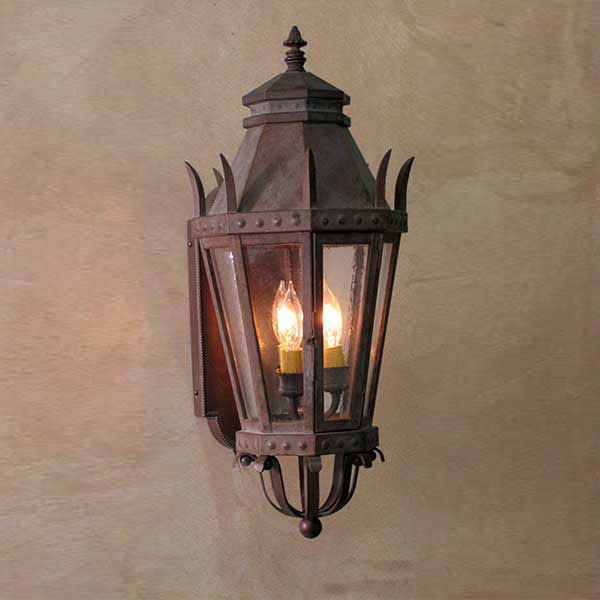
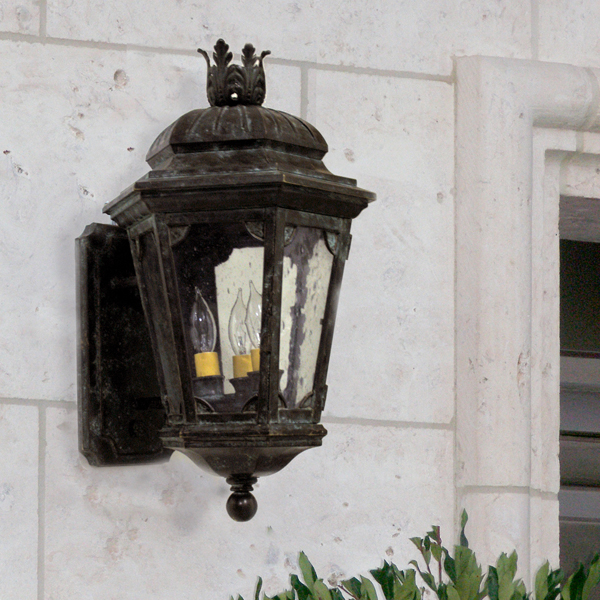
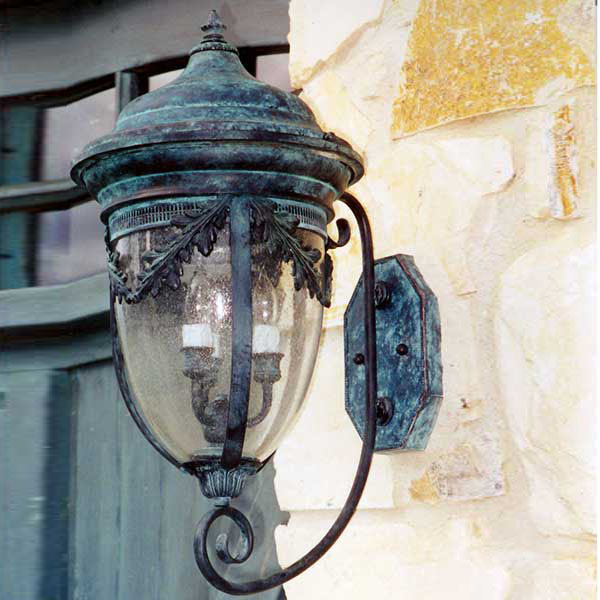
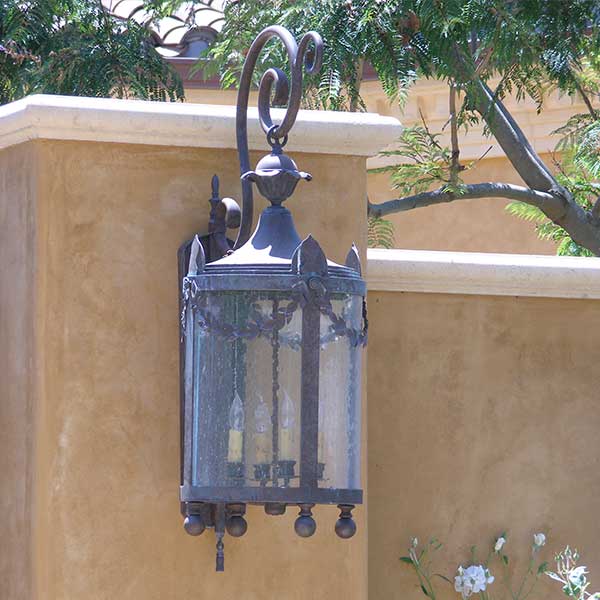
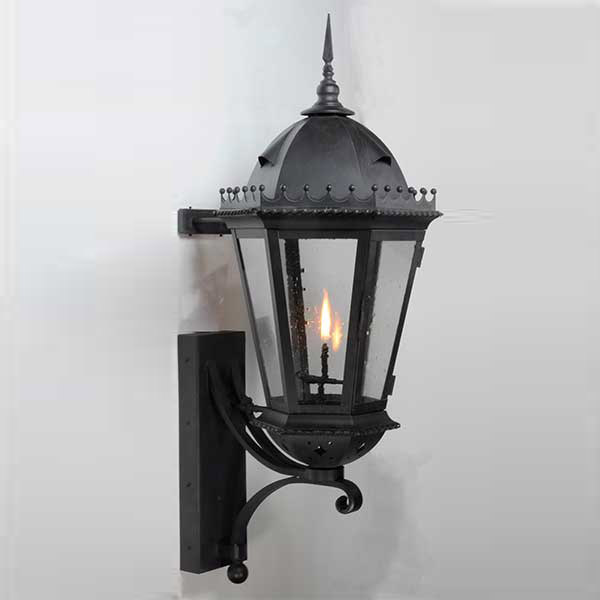
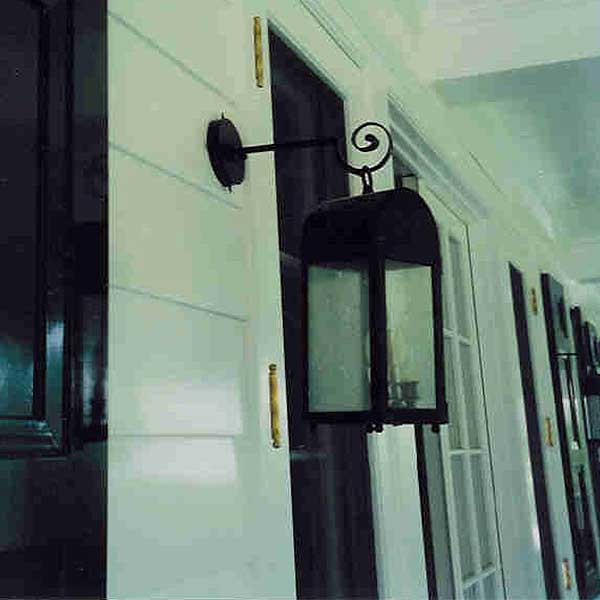
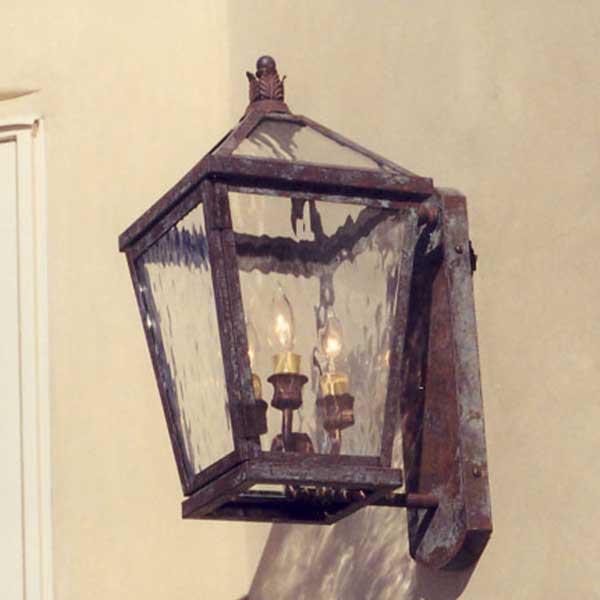
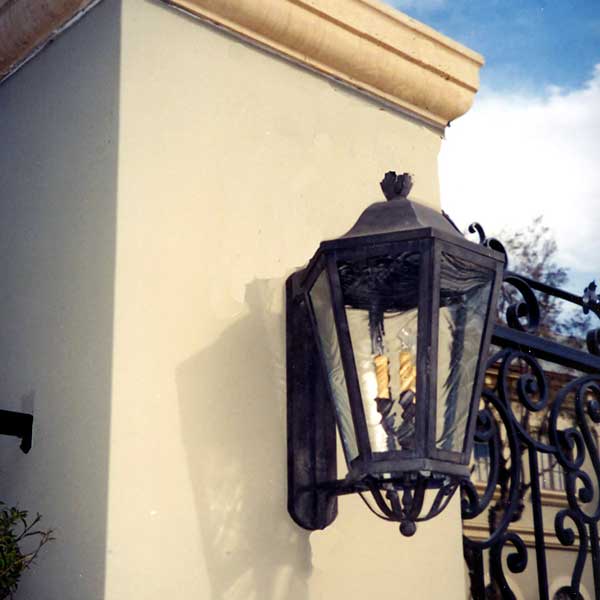
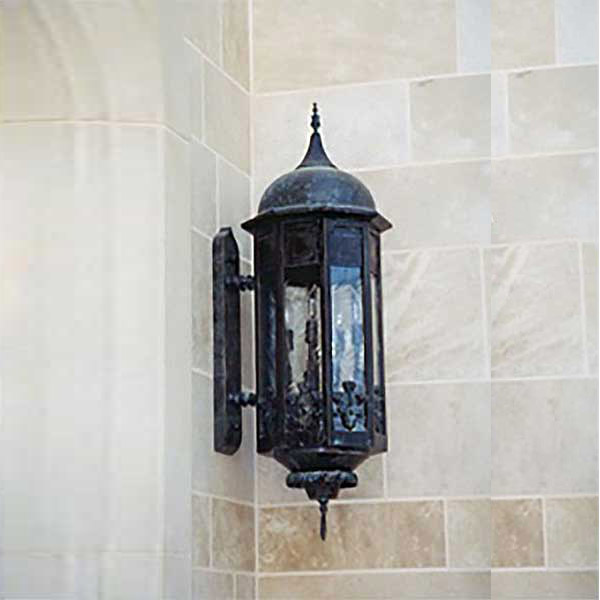
1002 Medium Wall with Crown Finial
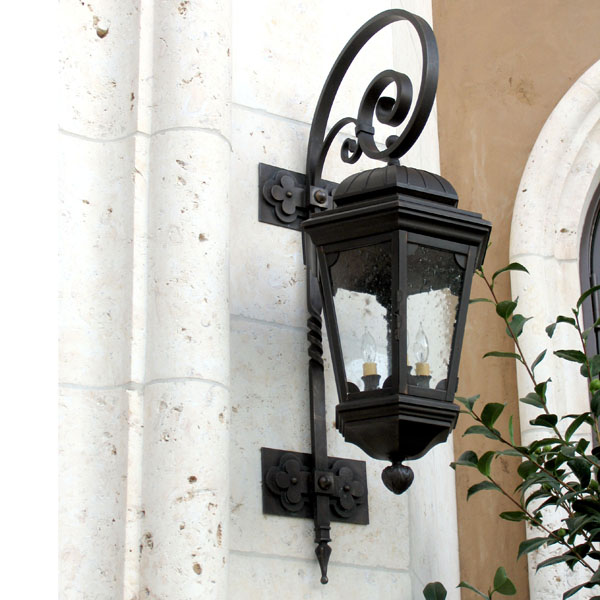
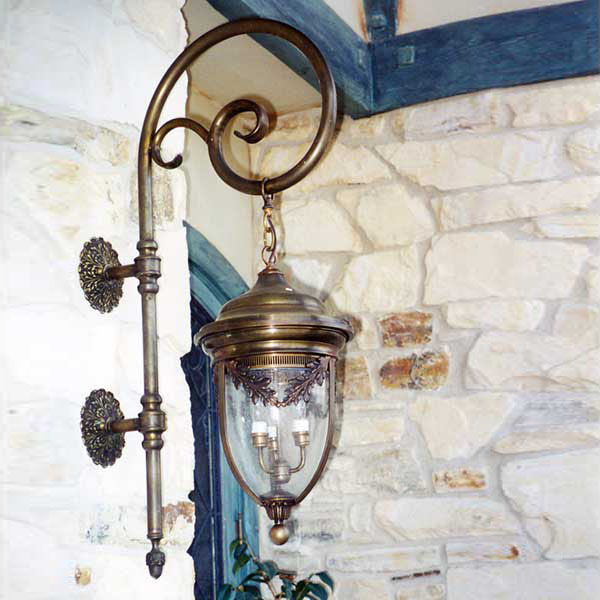
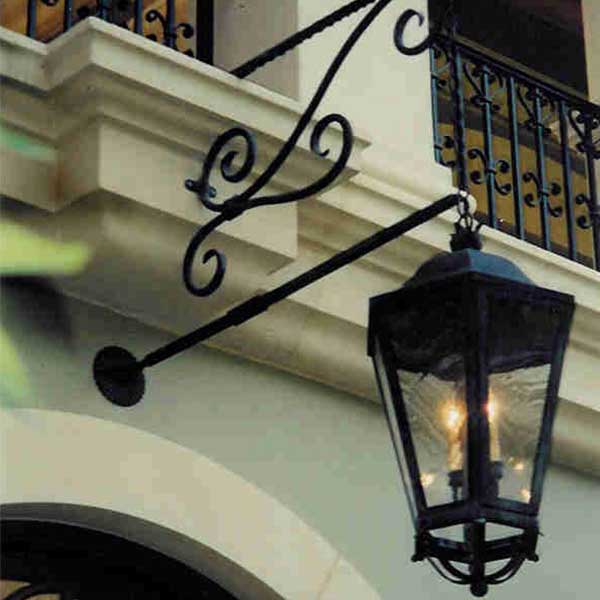
1002 Medium Wall with Crown Finial on Paris Arm
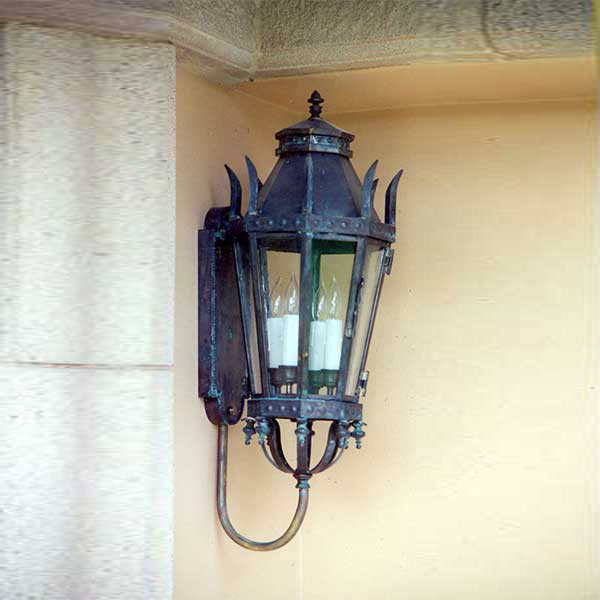
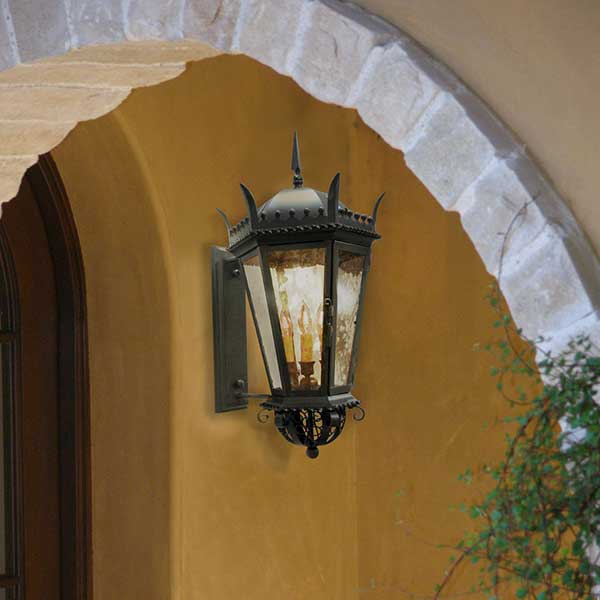
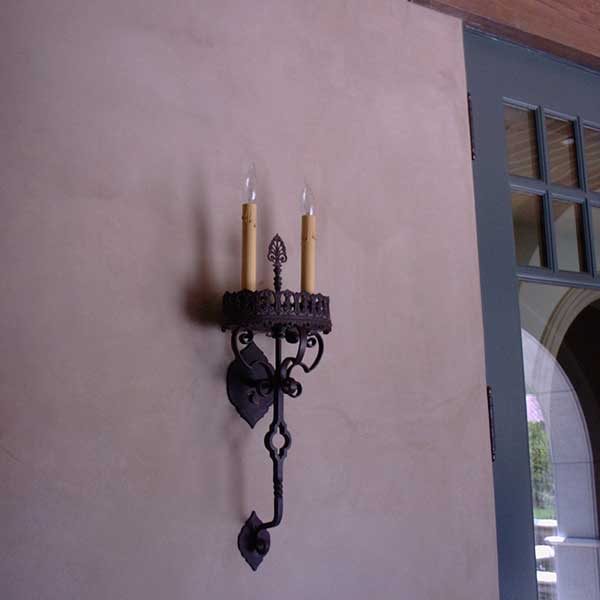
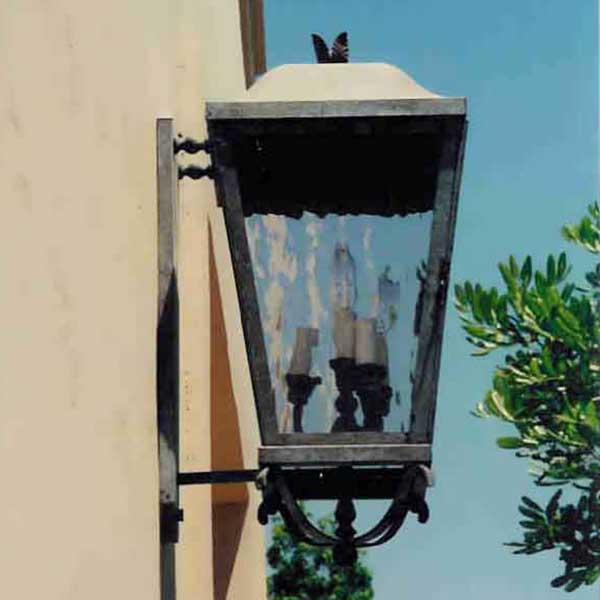
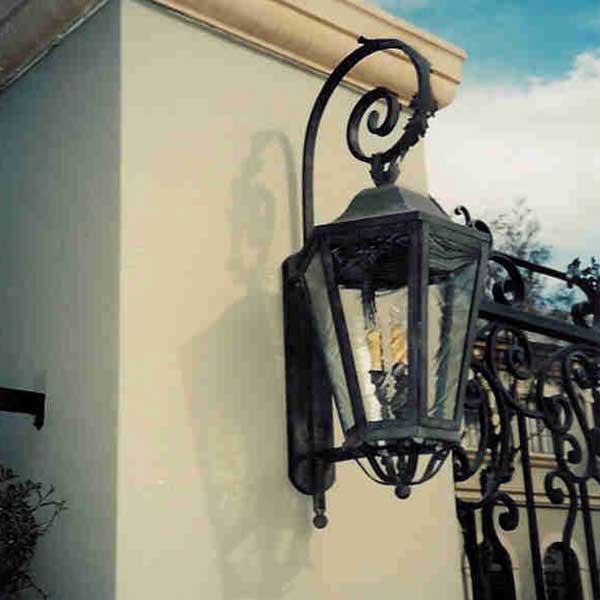
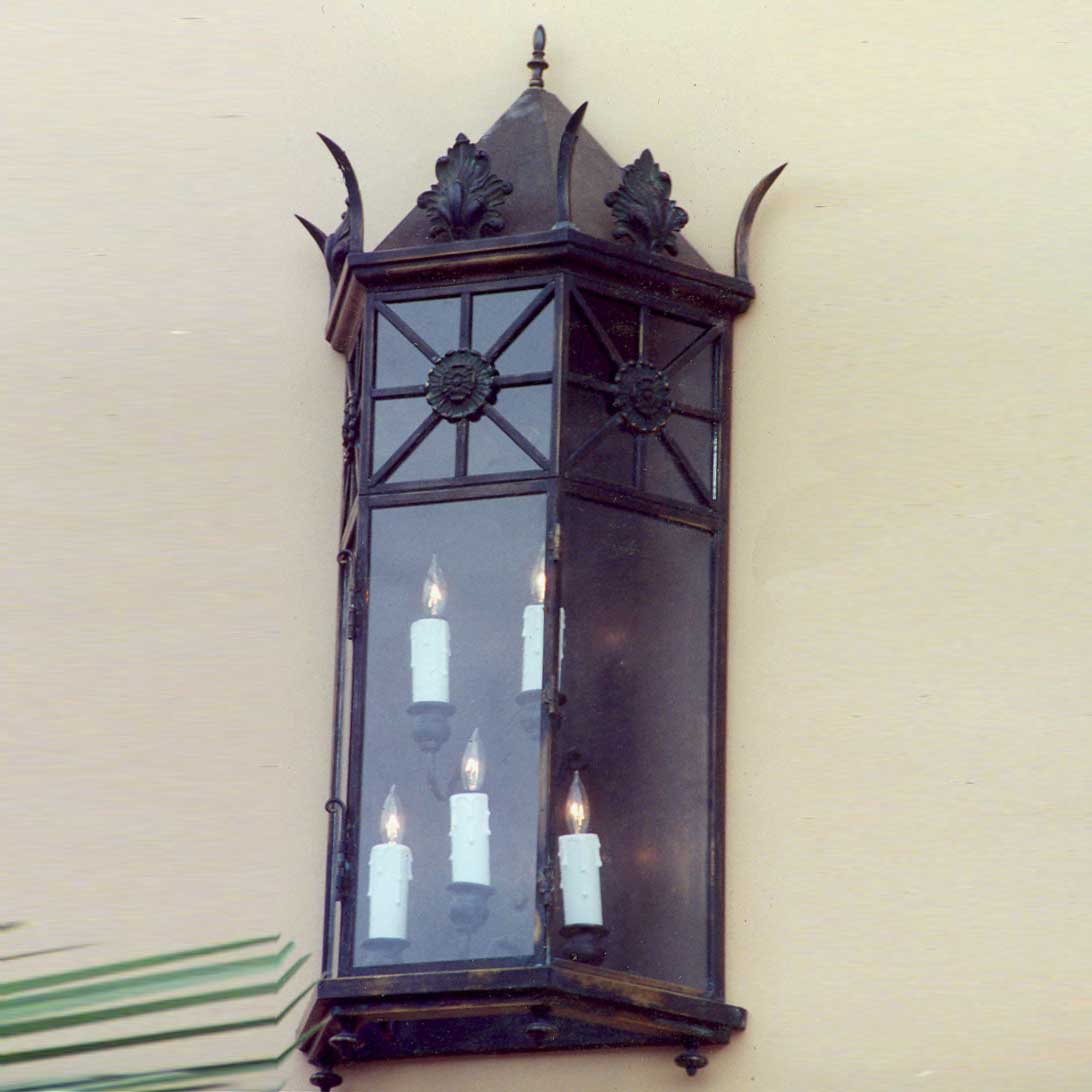
1002 Medium Wall with Moustache
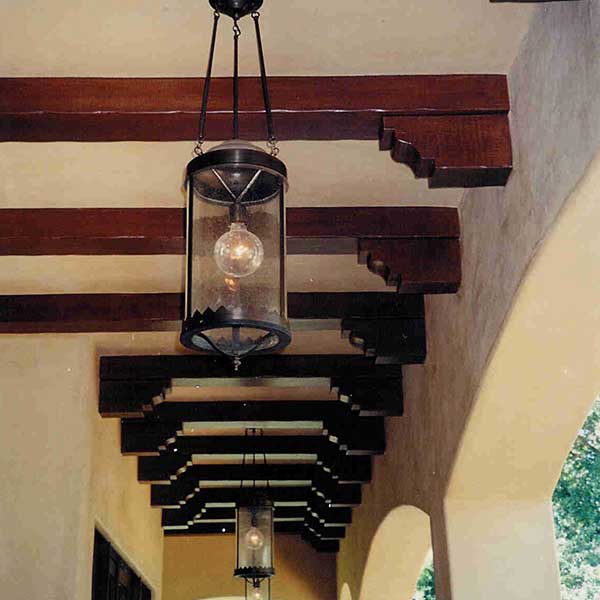
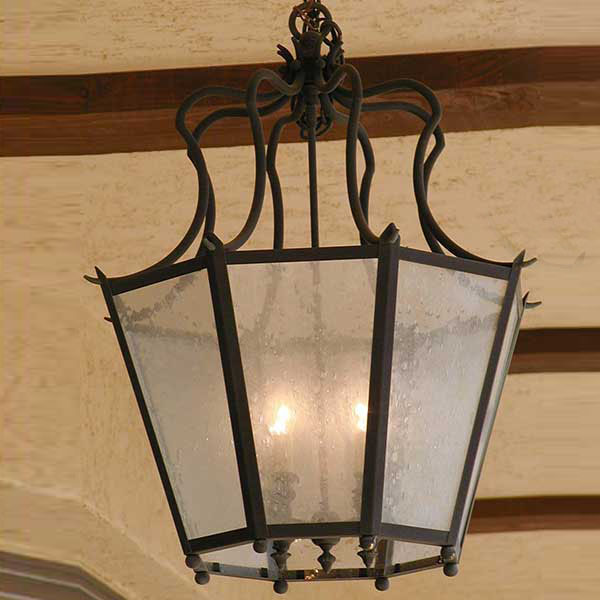
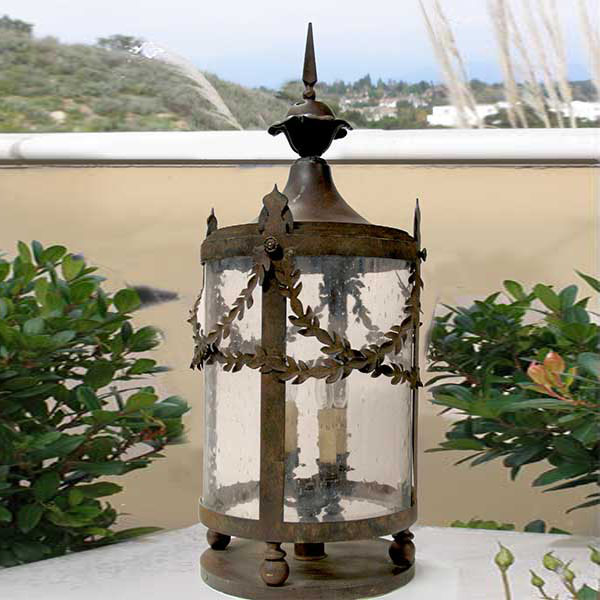
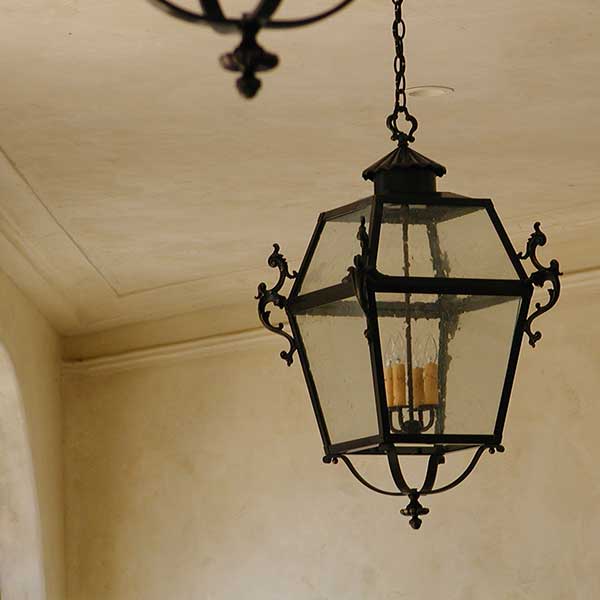
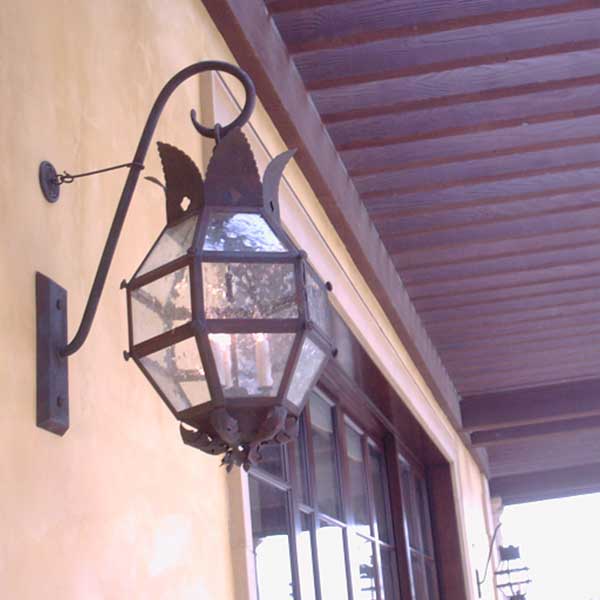
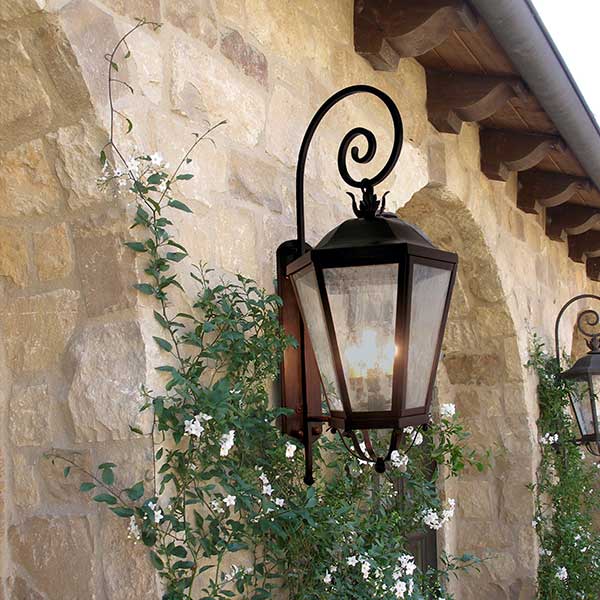
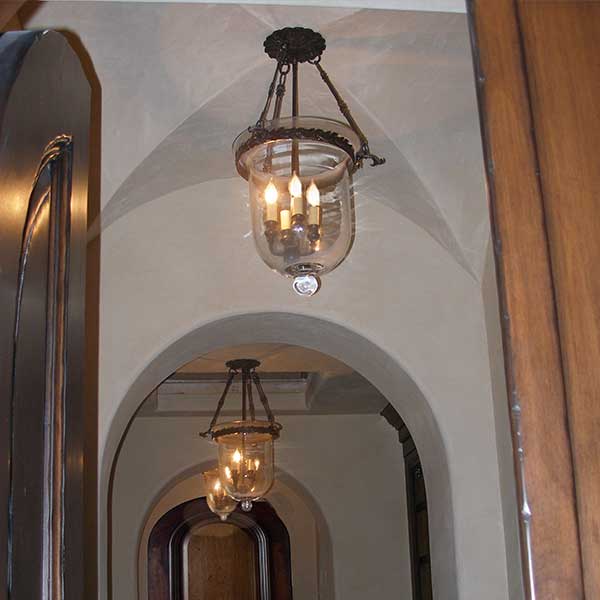
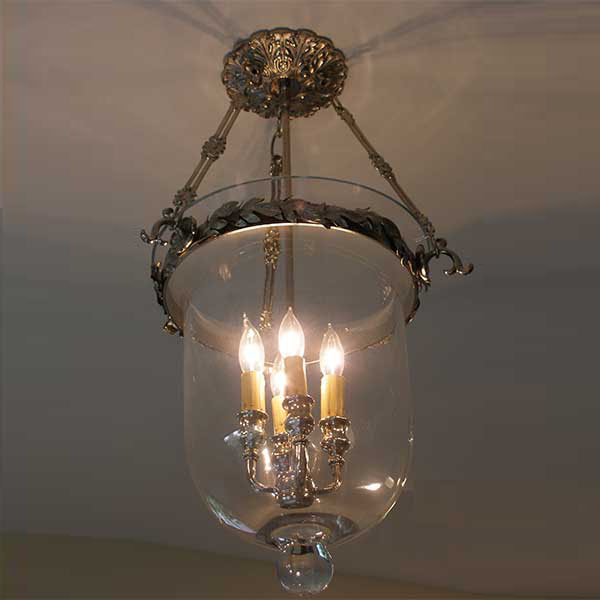
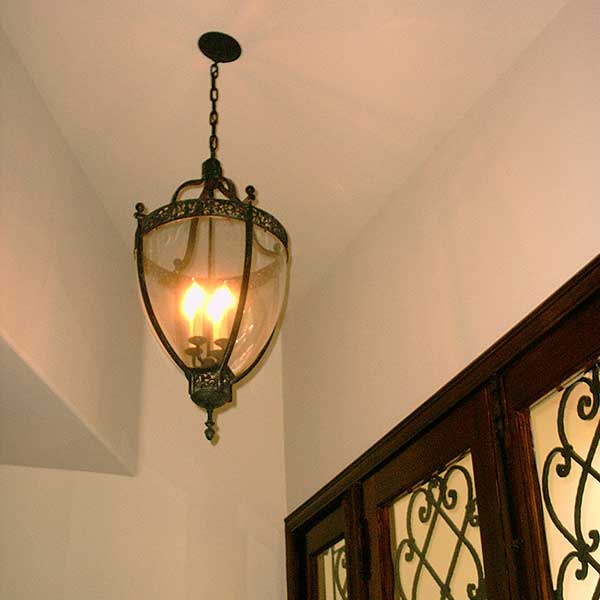
1936 Medium Pendant
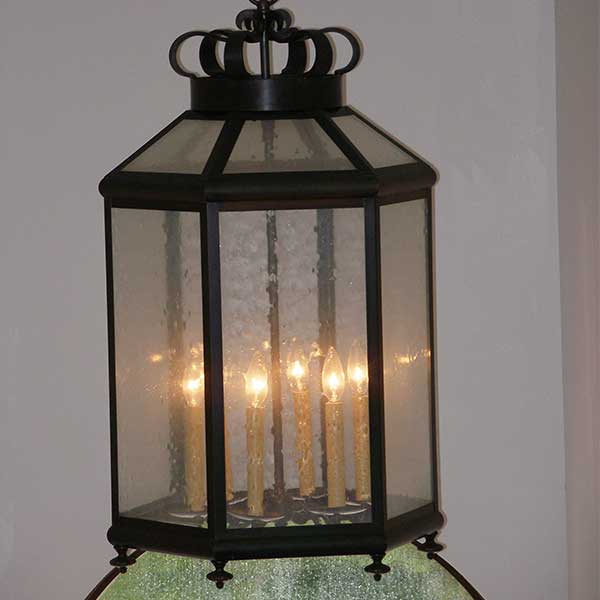
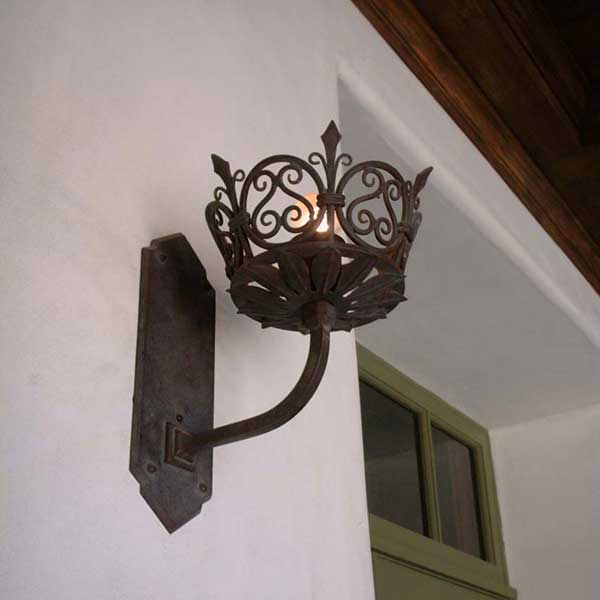
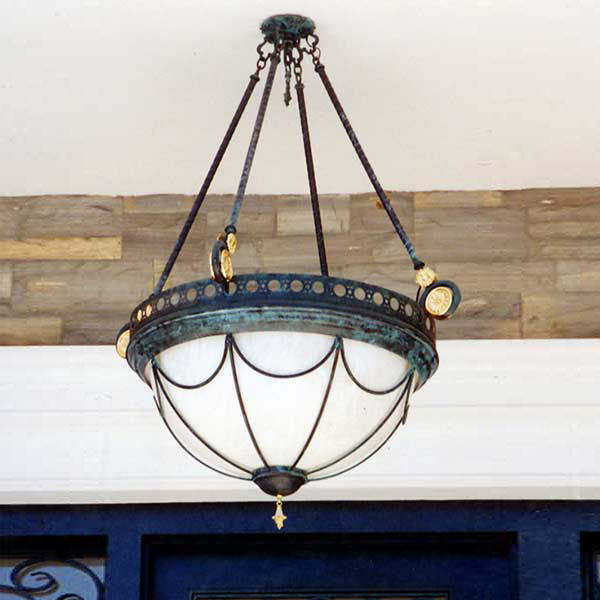
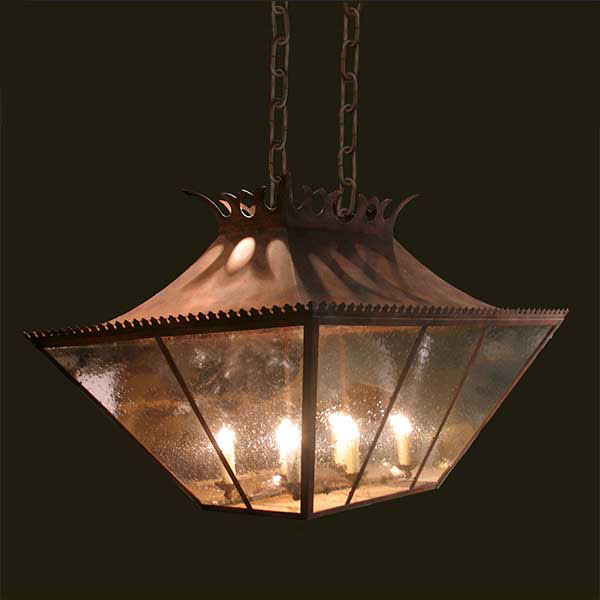
7043 Crown Large Pendant
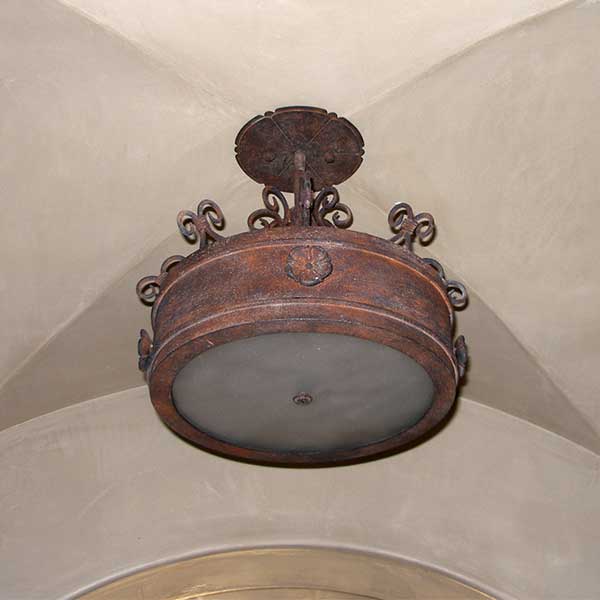
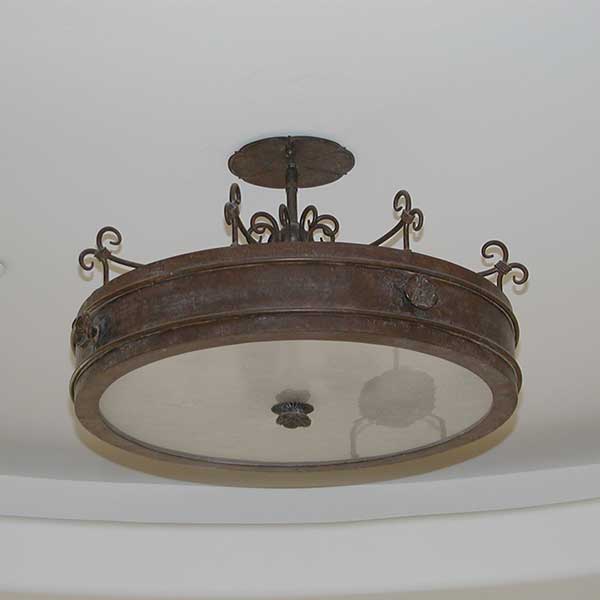
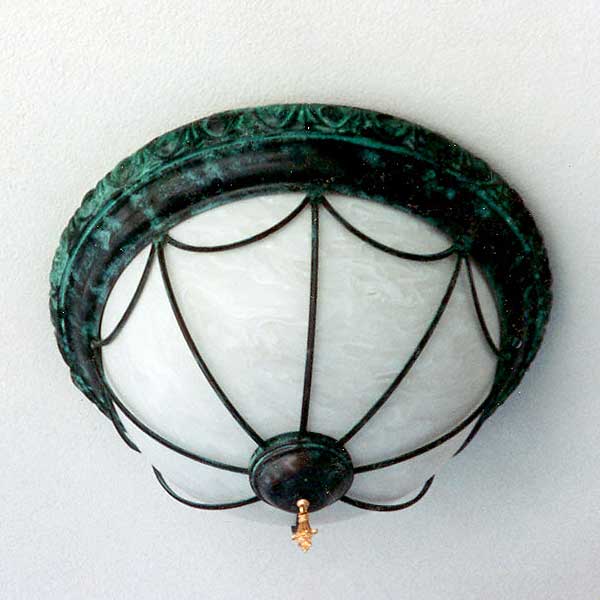
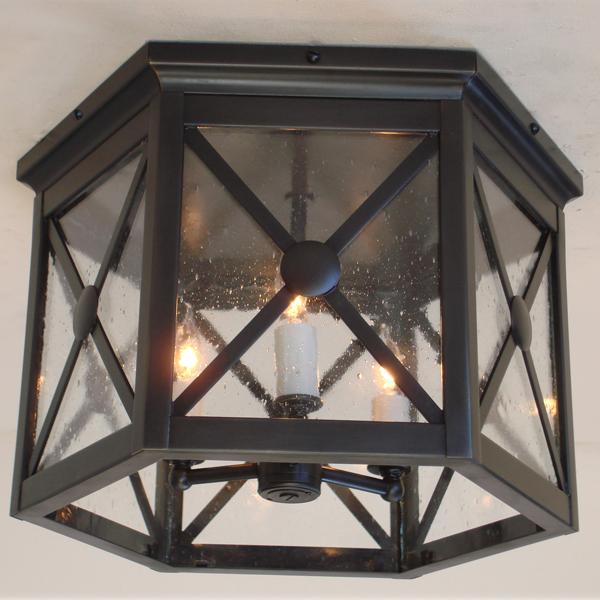
7054 Medium Flush
7054 Medium Wall on Javi Arm

7054 Small Wall on Double Garage Arm
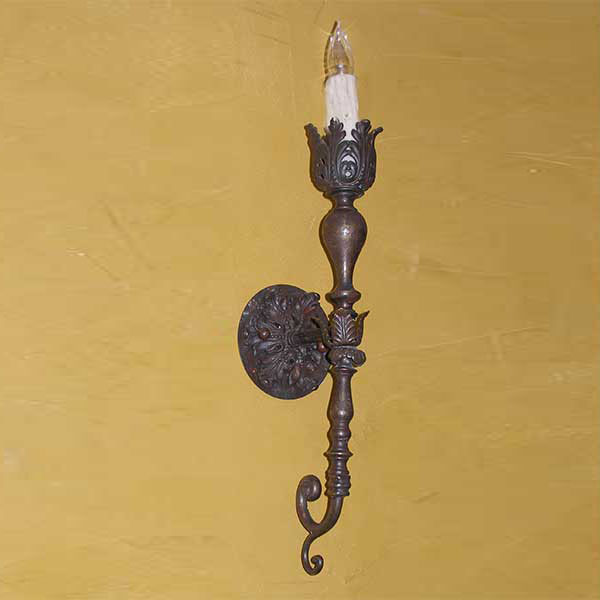
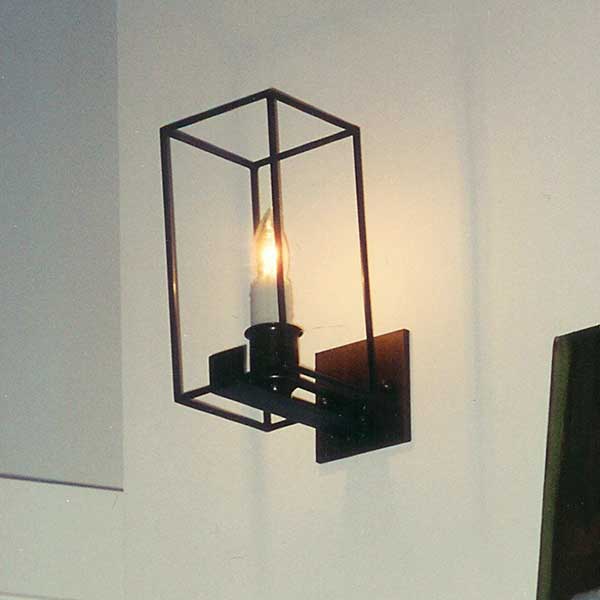
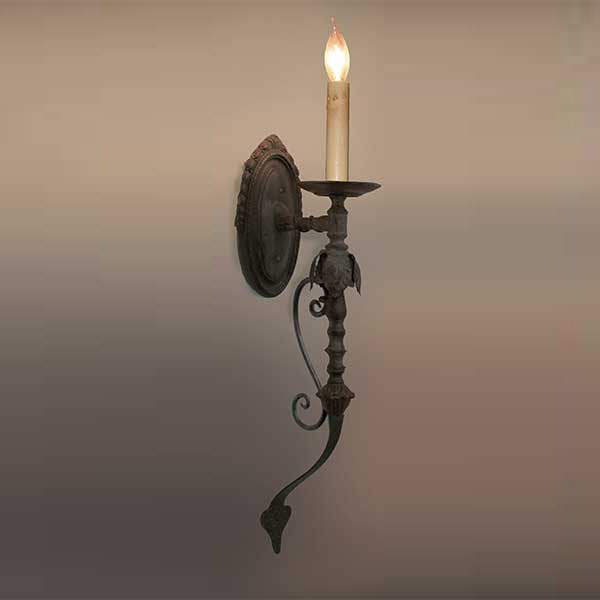
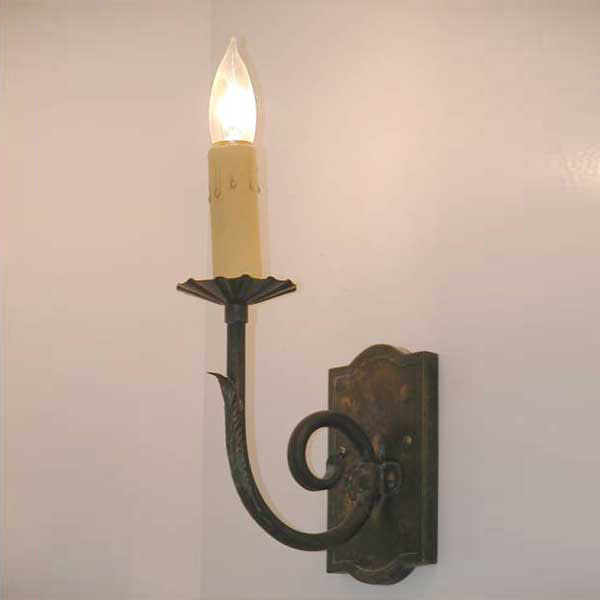
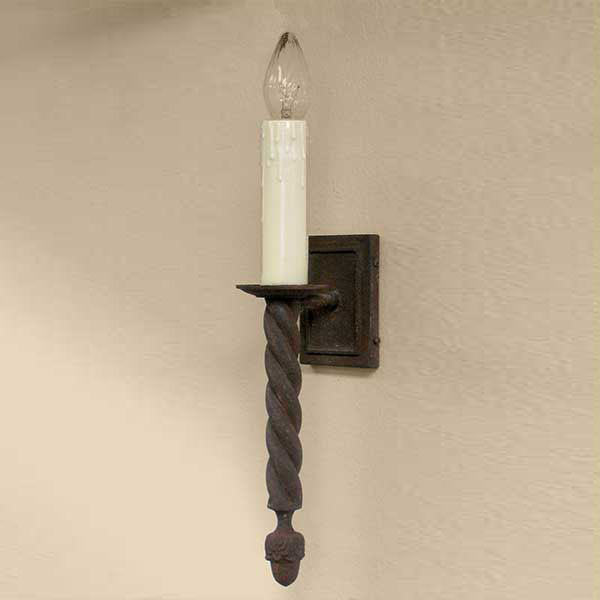
Abel Sconce
Addison's Large Pendant
Addison's Medium Flush
Addison's Medium Wall on Addison's Medium Arm with Stabilizer
AJ's 12 Ceiling Flush with Drop
AJ's 20 Ceiling Flush with Drop

Alexa's Medium Wall
Alexa's Pilaster - Modified
Ali's Medium Wall
Alice Medium Wide Wall with Alice Scroll - Closed Metal Top

Alice Extra-Small Flush with Closed Metal Top
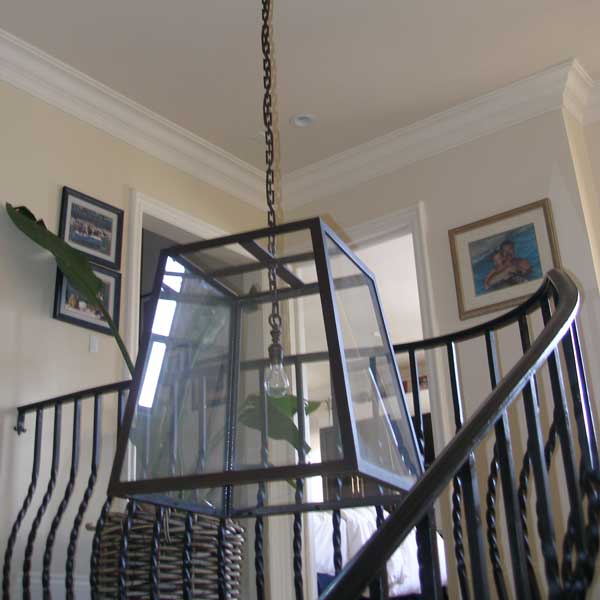
Alice Medium Wide Pendant with Cast Fleur de Lis

Alice Medium Wide Pilaster with Scrolled Base, Closed Metal Top and Optional Fleur de Lis
Alice Minuette Medium Flush
Alice Small Flush with Closed Metal Top
Alladin 6 Large Pendant

Allesandra's Medium Wall with Scroll - Gas

AM Medium pilaster

Amalfi Large Pilaster with Custom Base
Amalfi Large Wall with Roundida Scroll
Amalfi Large Wall with Roundida Scroll and Amalfi Moustache
Amalfi Large Wall with Roundida Scroll and Custom Strapping
Amalfi Large Wall with Val Verde Corner Scroll
Amalfi Medium Wall with Scroll
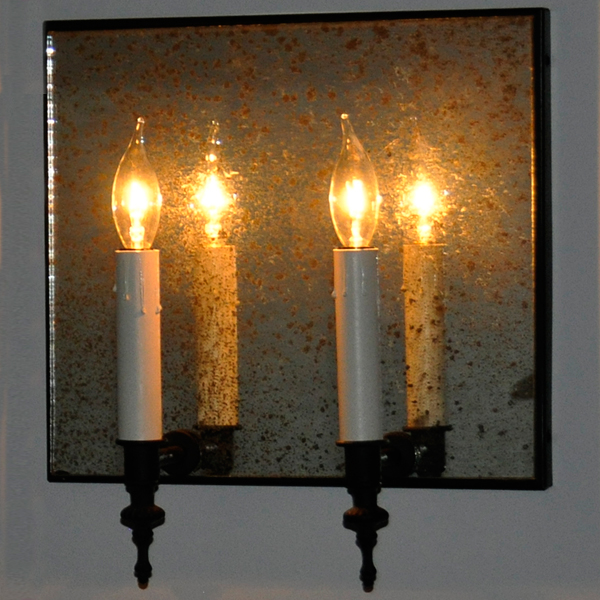
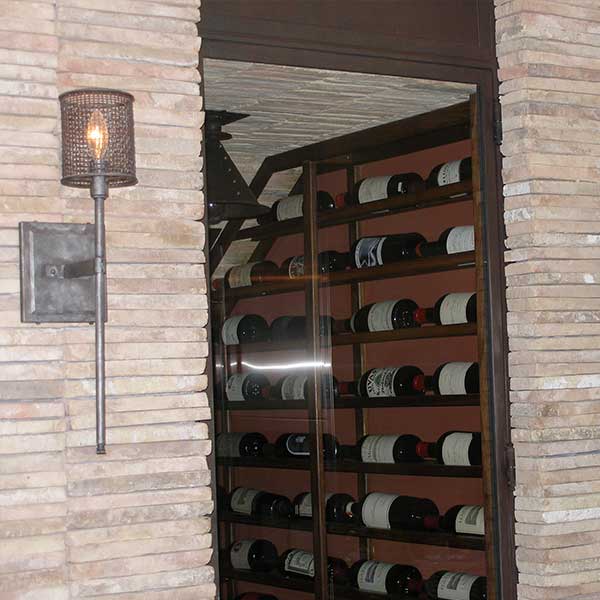
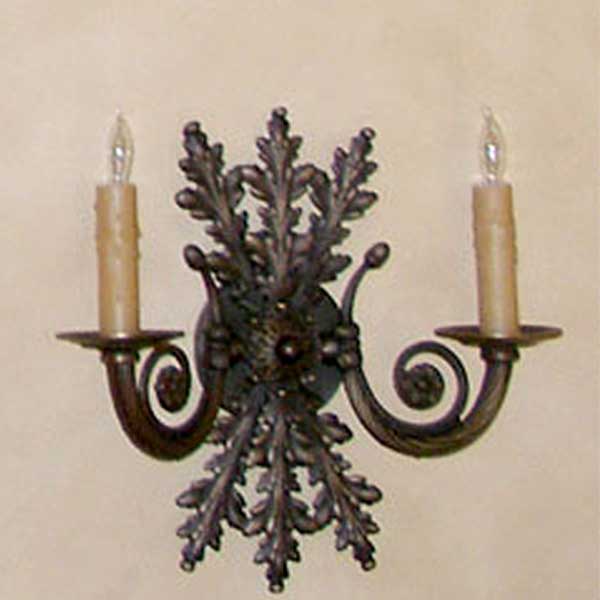
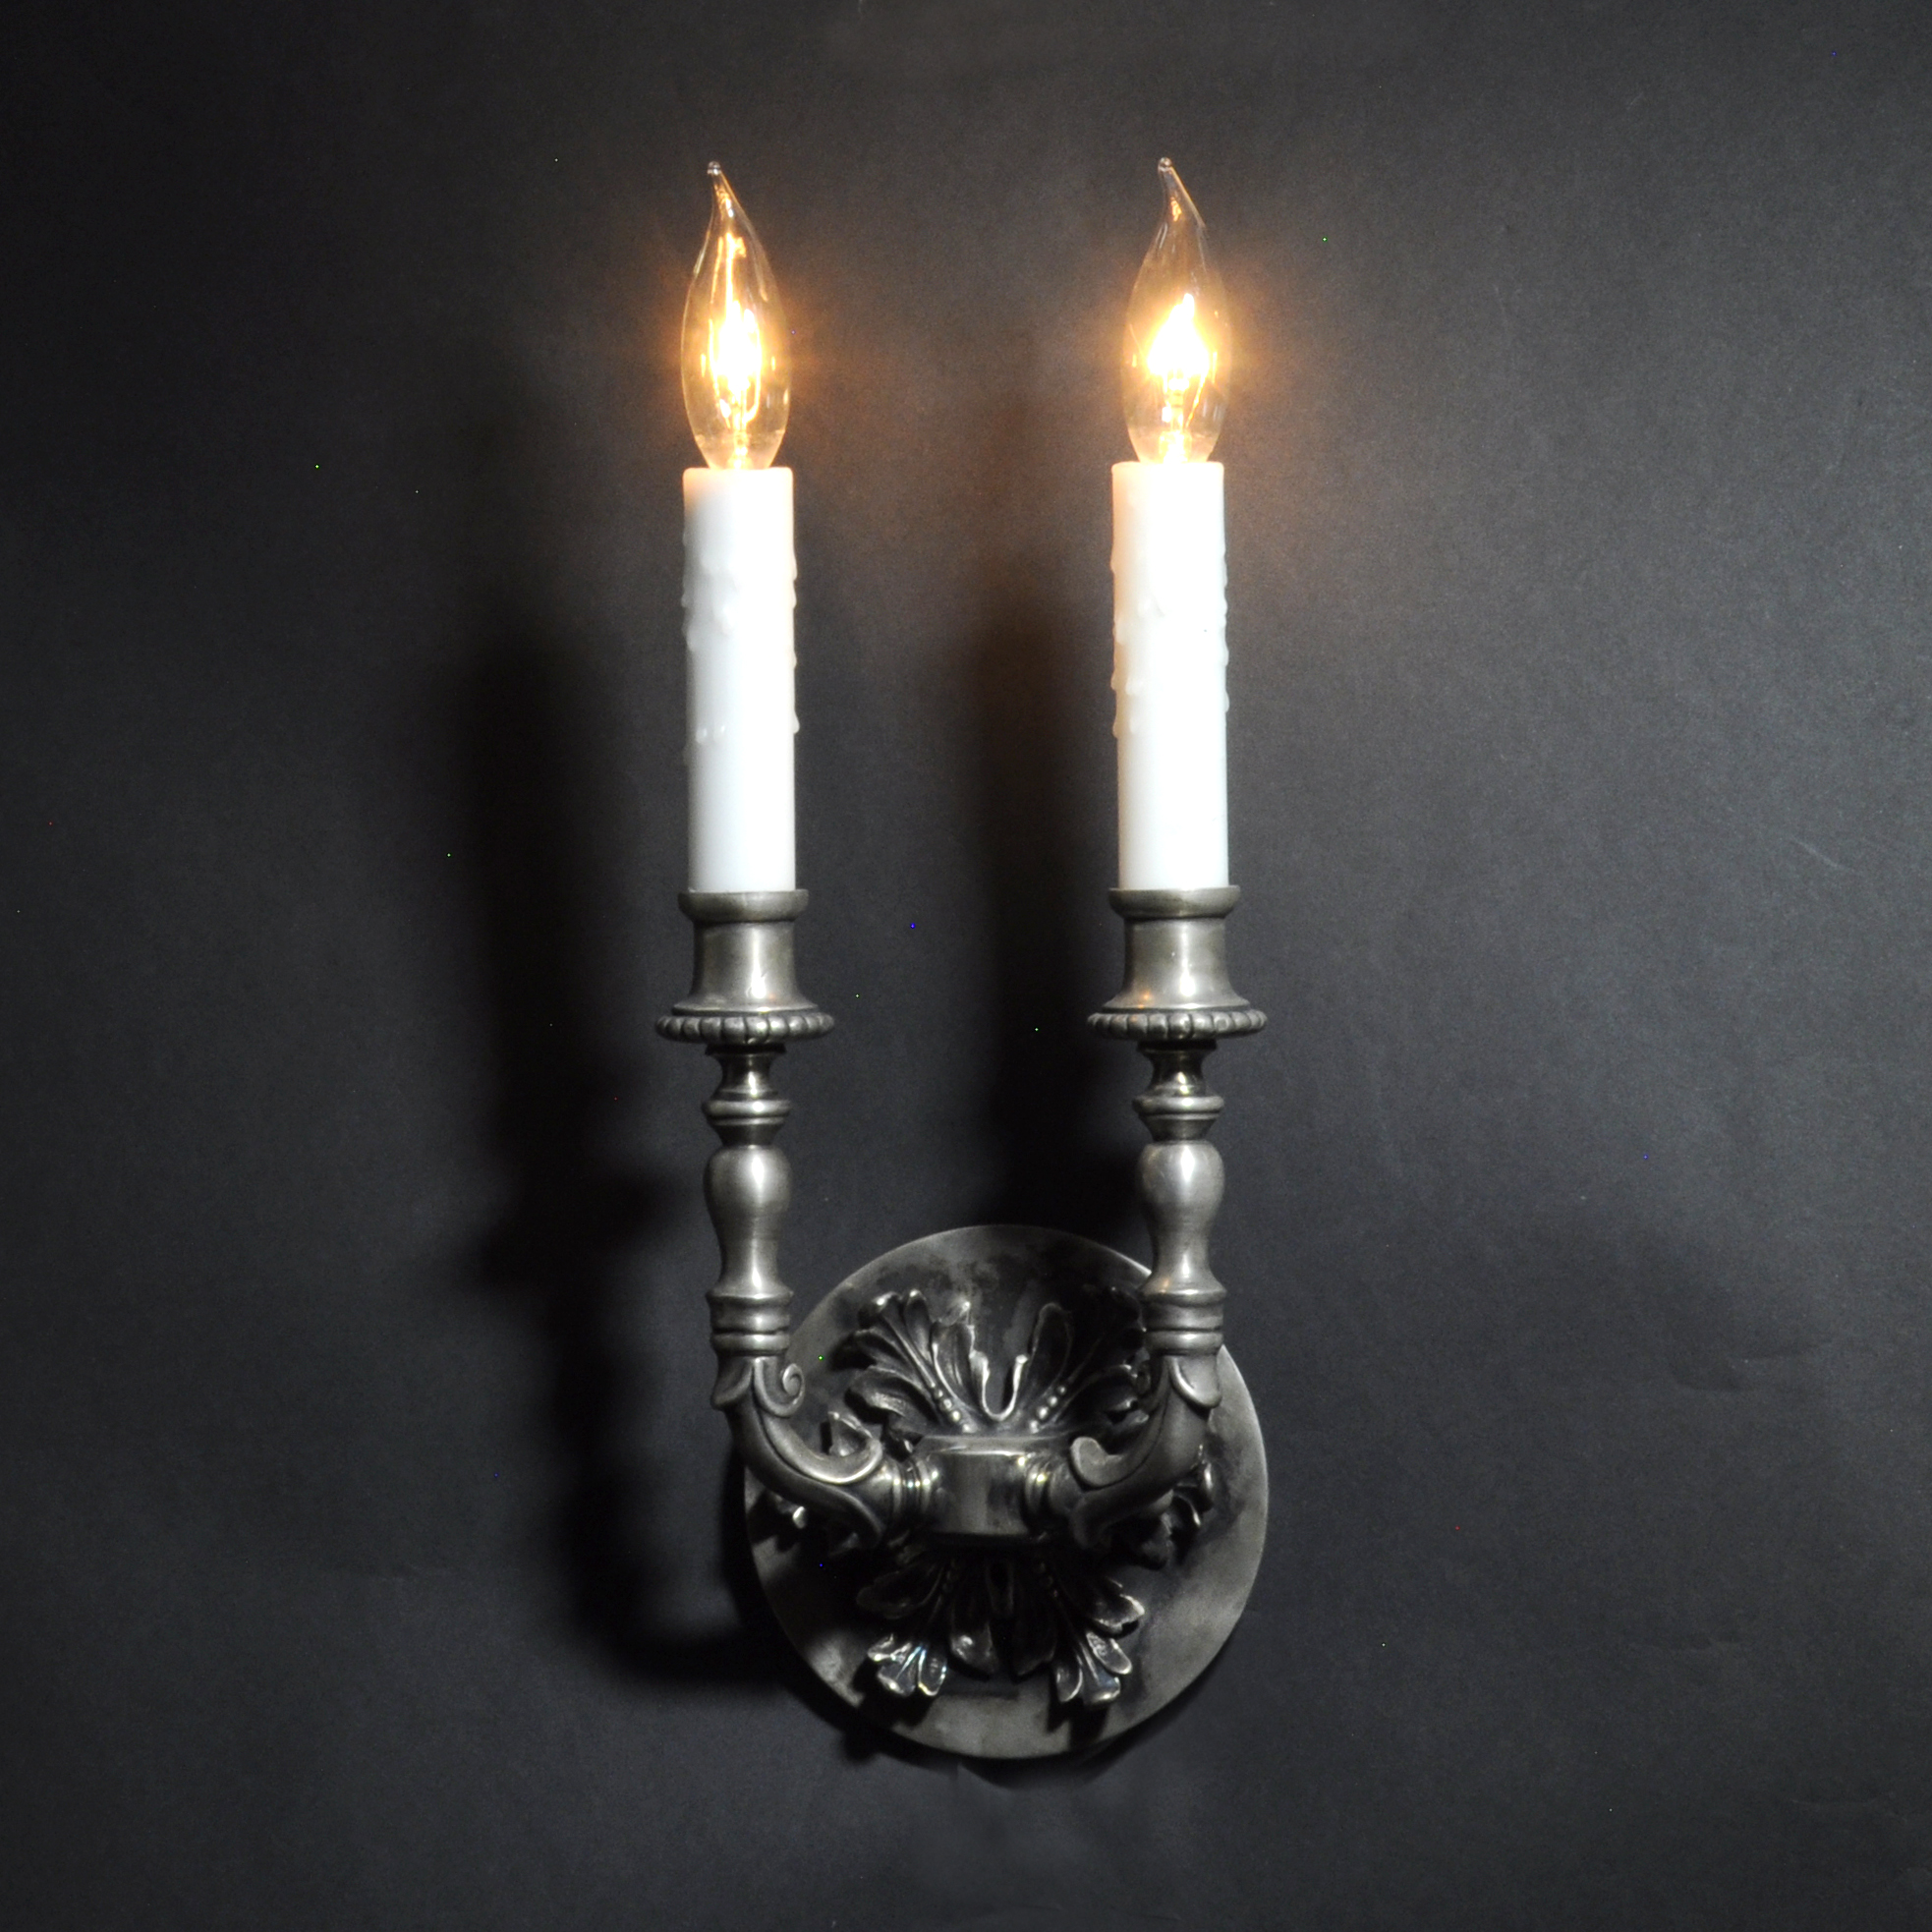
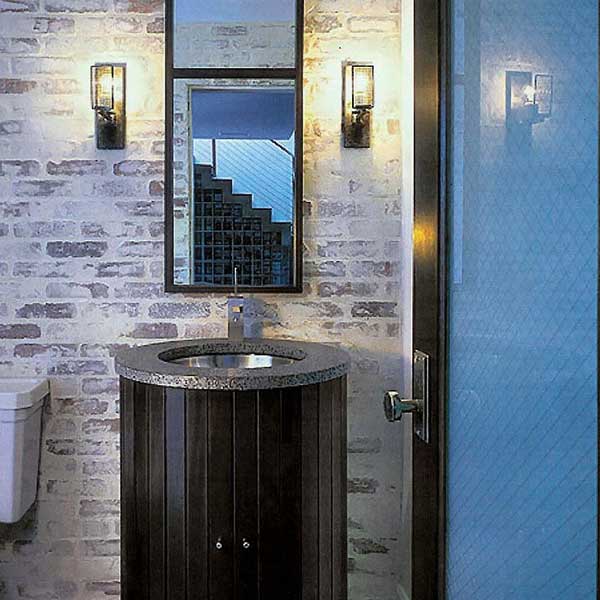
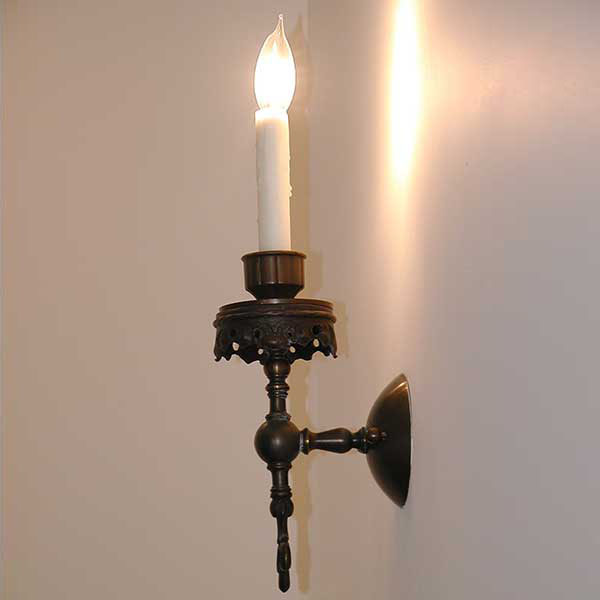
Antique Mirror Sconce
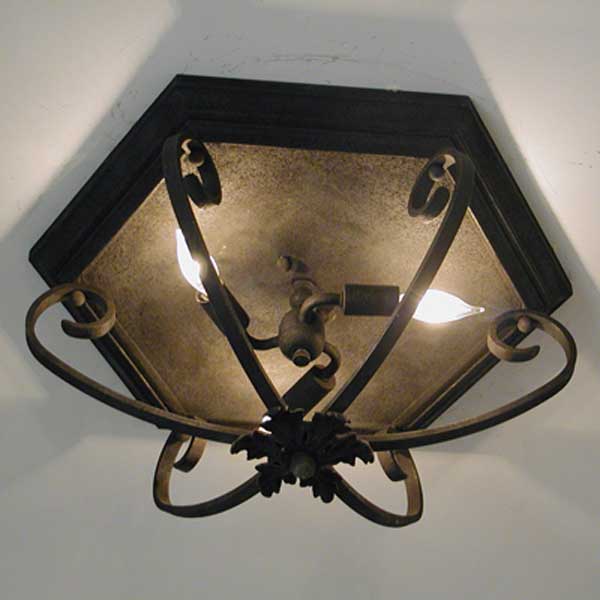
Antonio's Ceiling Flush
Appelton Medium Wall on Appleton Medium Arm
Appleton Medium Pendant
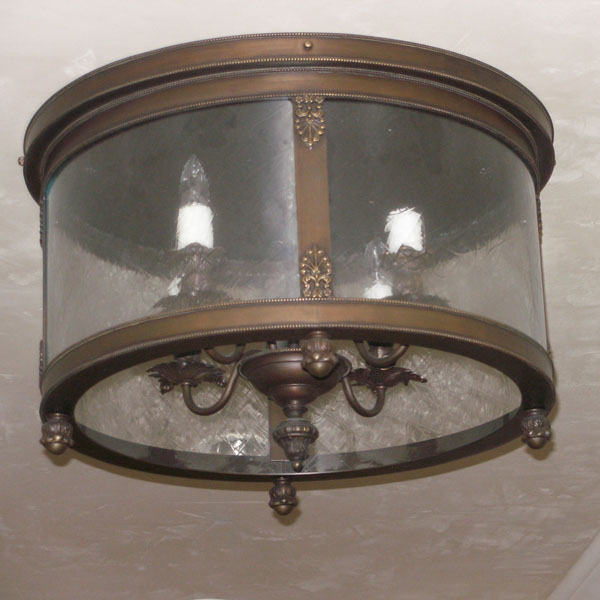
Arcade Ceiling Flush

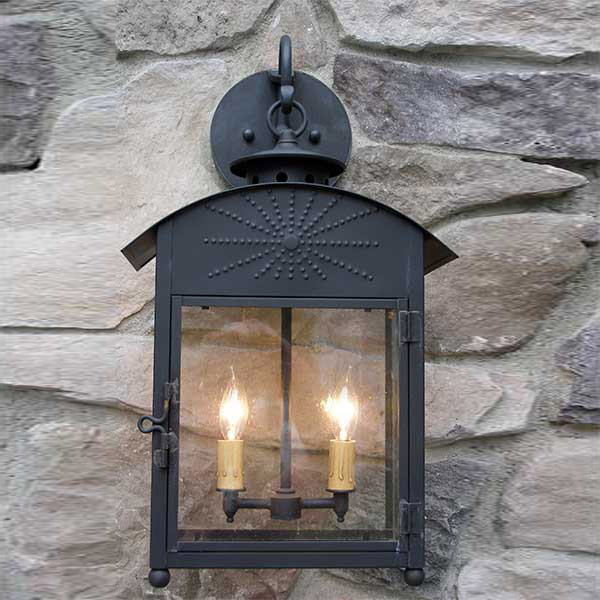
Arden Star Medium Wall
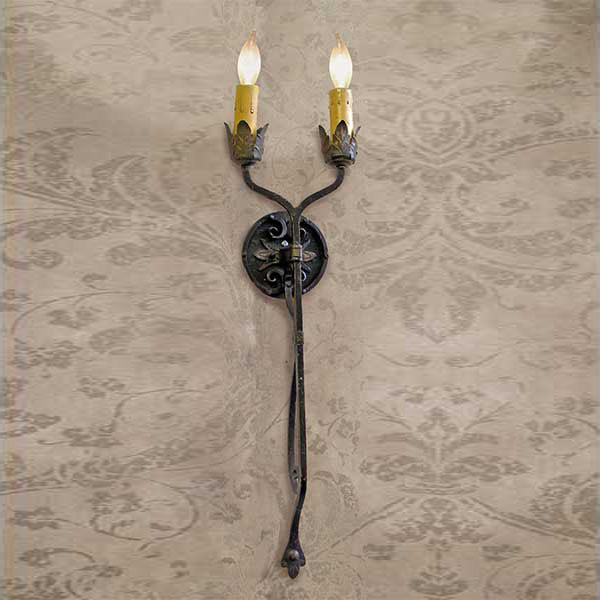
Ariana's Sconce
Armen's Sconce
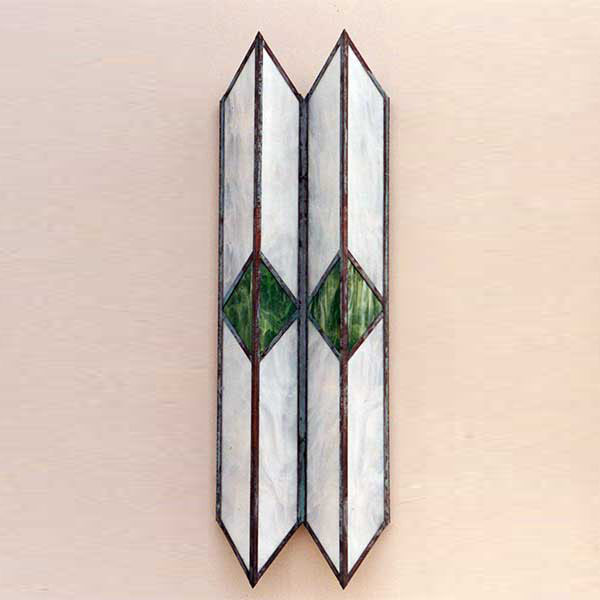
Art Deco Flush

Art Deco Pilaster
Atlai Pendant
Atlas Pendant
Atlas Pendant - Modified - Shown with Optional Polished Nickel Finish
Avi's Ceiling Flush - Modified Straight

Baccio Sconce

Baccio Sconce Elongated - Shown with Optional Strass Crystals

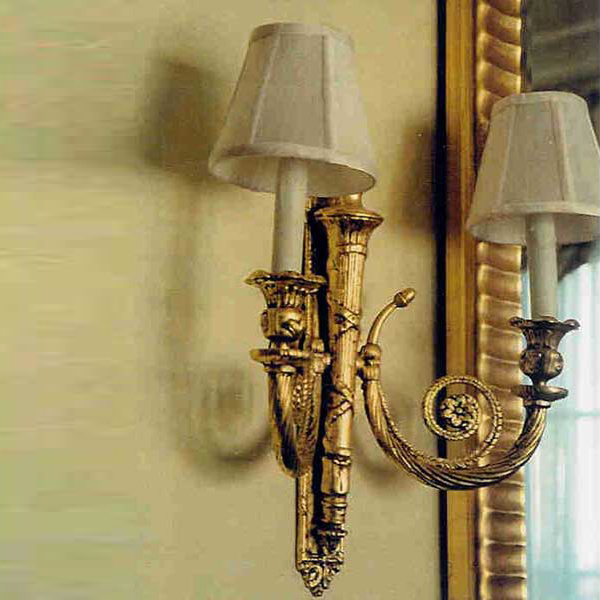
Bamboo Sconce
Bay Front 4 Medium Pendant with Optional Spider Bottom

Bay Front 4 Medium Wall on Normandy Arm with Spider

Bay Front 4 Medium Wall with Long Backplate and Scrolls - Shown with Optional Leaded Glass
Bay Front 4 Small Wall Shown with Optional Leaded Glass
Bay Front 6 Medium Wall on Normandy Arm Shown with Optional Leaded Glass
Bay Front 6 Small Wall with Optional Leaded Glass

Bayfront 4 Medium Pilaster

Bayfront 4 Medium Pilaster with Dentil Detail shown with Optional Leaded Glass
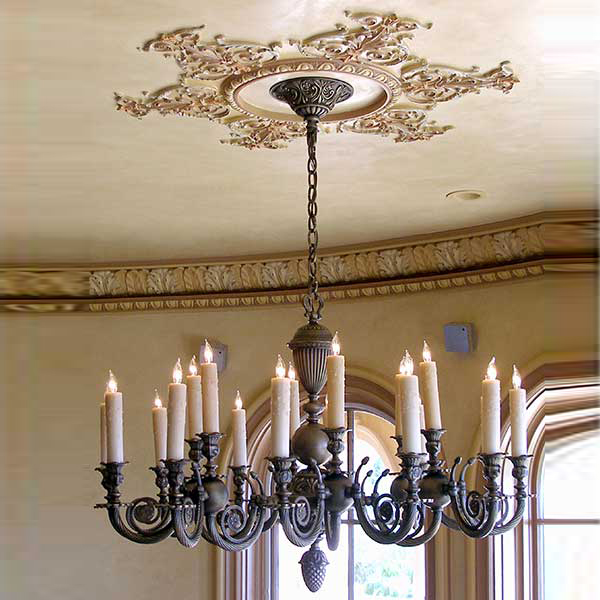
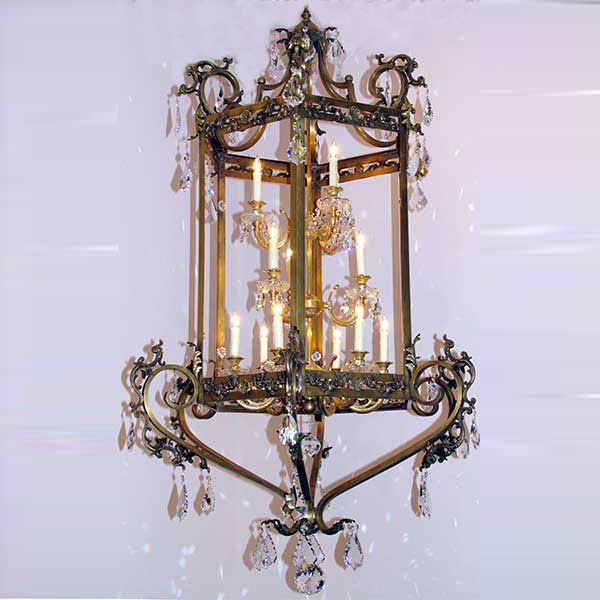
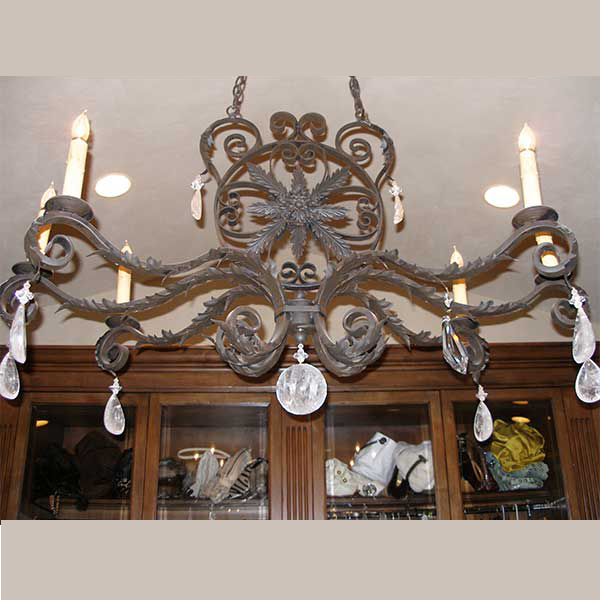
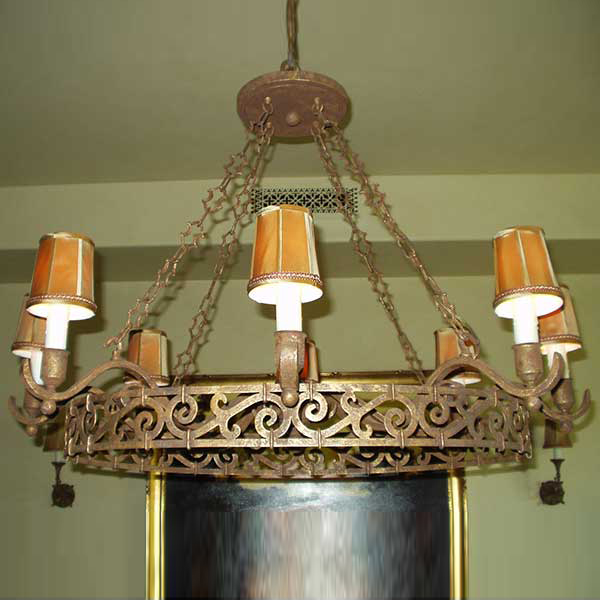
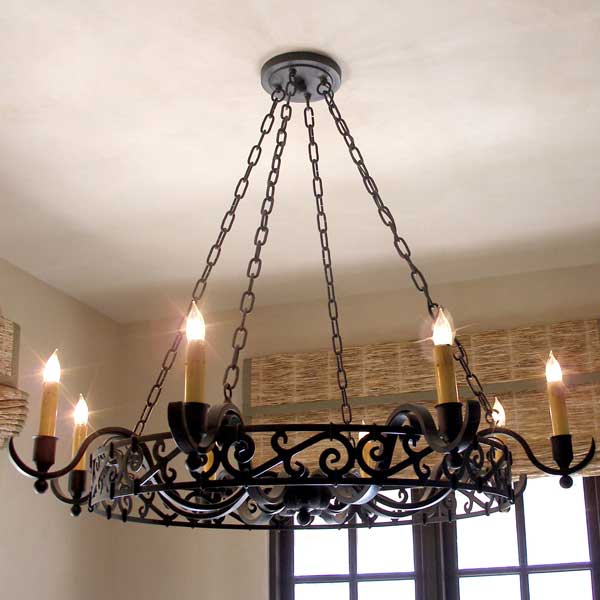
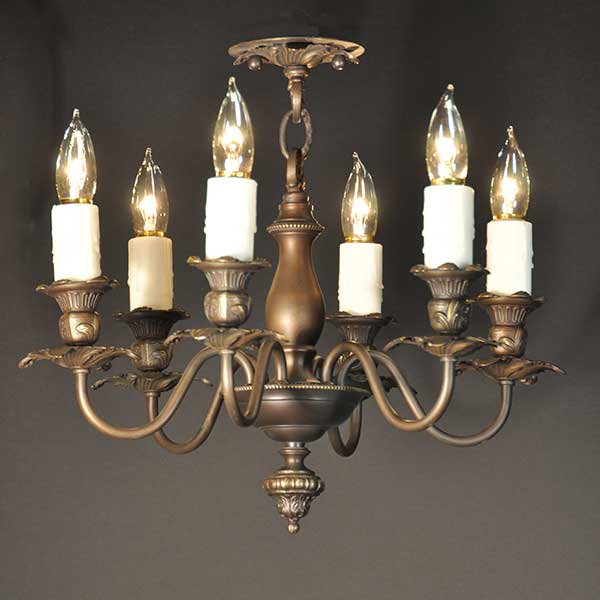
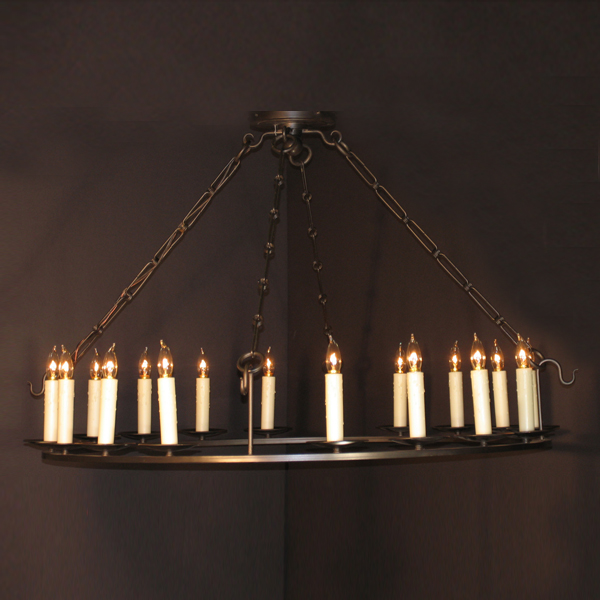
Belvedere Chandelier
Bess Small Sconce
Bess Small Sconce - Mesh Shade
Betty's Chandelier
Bibiloteca Small Wall
Biblioteca Extra Large Wall - Shown with Optional Gallery
Biblioteca Large Wall
Biblioteca Large Wall with Open Bottom - No Scroll
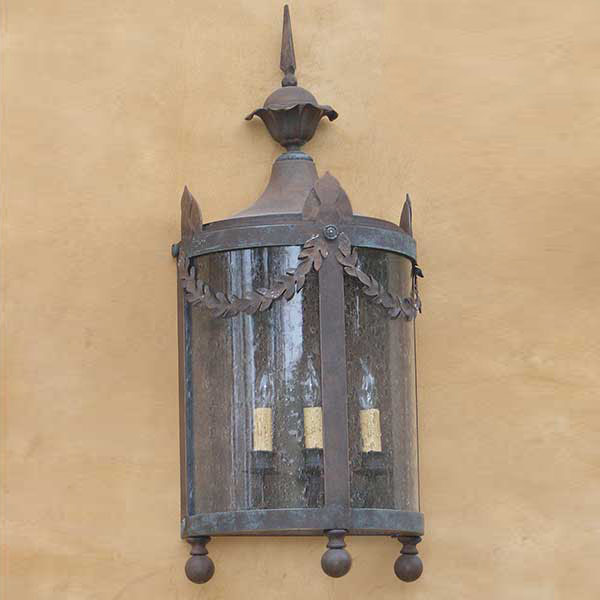
Biblioteca Medium Wall
Bill's Medium Wall
Blais Sconce
Bloom Medium Wall with Bloom Scroll
Bo's Sconce

Bobbies Basket
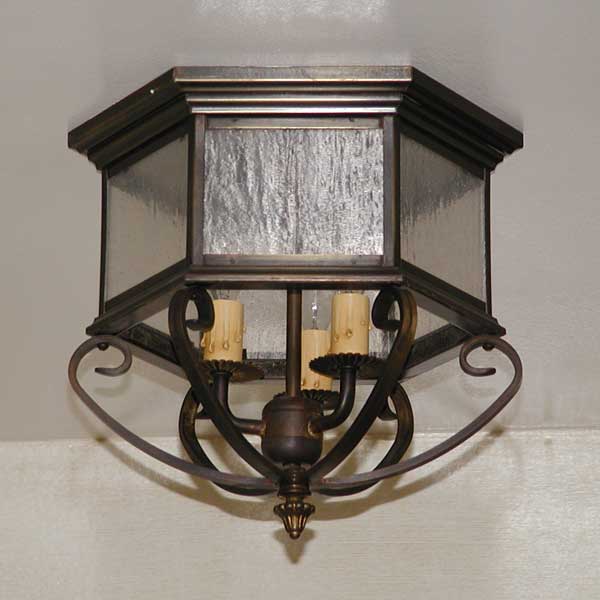
Boh Ceiling Flush
-(3)-409.jpg)
Bombay Sconce
Bonnie's Large Pendant

Bonnie's Medium Pendant
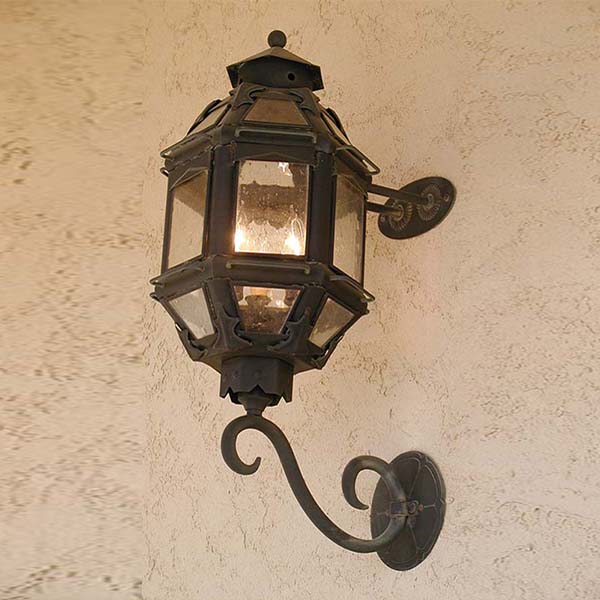
Boxter Large Wall

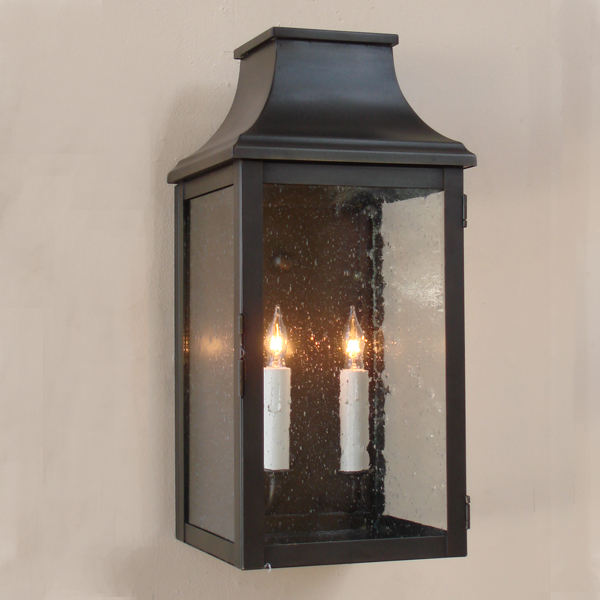
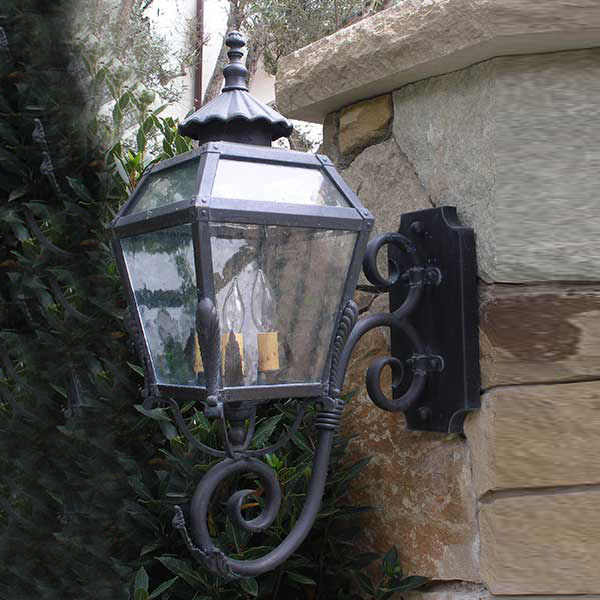
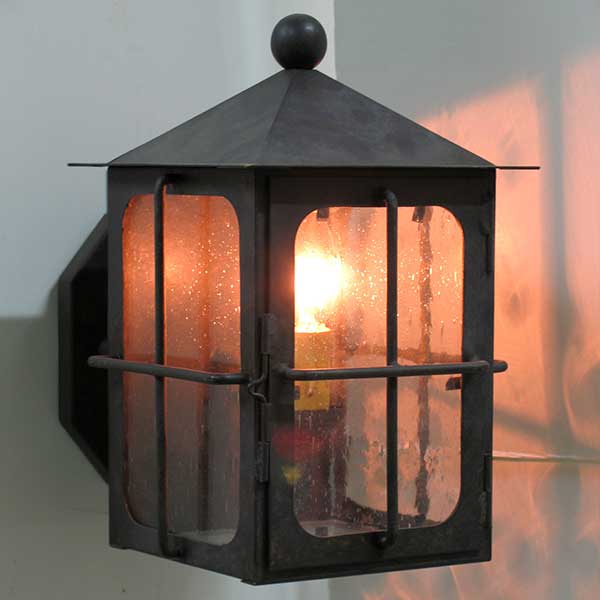
Boxter Medium Wall

Brian's Medium Pilaster

Brian's Medium Wall - Shown with Optional Campo Angelo Overlay

Brian's Medium Wall on Campo Angelo Arm - Shown with Optional Dwight's Overlay & Spider Bottom

Brian's Medium Wall on San Paolo Arm - No Garland - Modified Finials

Brian's Medium Wall with Scroll
Brian's Medium Wall with Scroll - Shown with Optional Campo Angelo Overlay

Brians Medium Pendant - Modified
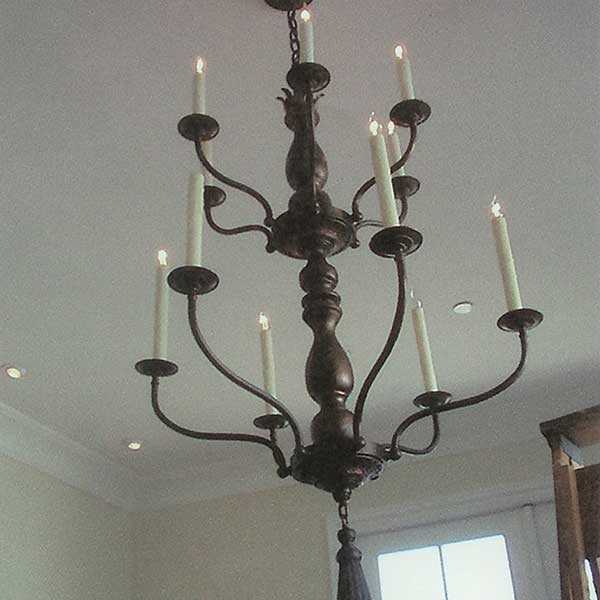
Brooke's Iron and Wood Chandelier
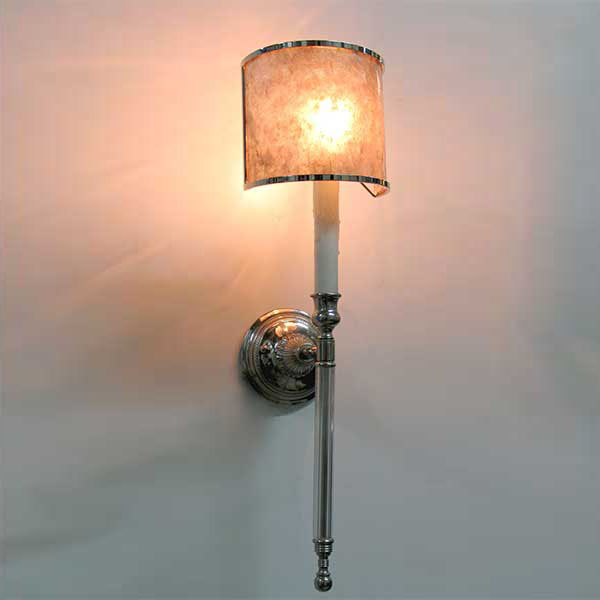
Bruce's Sconce - Shown with Optional Polished Nickel Finish and Linen Shade
-7368.jpg)
Bruce's Sconce - Shown with Optional Polished Nickel Finish and Mesh Shade
Campo Angelo Medium Wall on Arm
Campo Angelo Small Wall on Arm
Candace's Large Ceiling Flush with Drop
Candy's Basket with Optional Crystals
Candy's Medium Ceiling Flush
Candy's Medium Pendant
Candy's Medium Wall on Appleton Medium Arm
Candy's Small Wall

Capello Arm
Cassidy's 1 Tier Chandelier - Heavy Version
Cassidy's 2 Tier Iron Chandelier
Cast Bronze Large Wall
Cast Bronze Small Wall
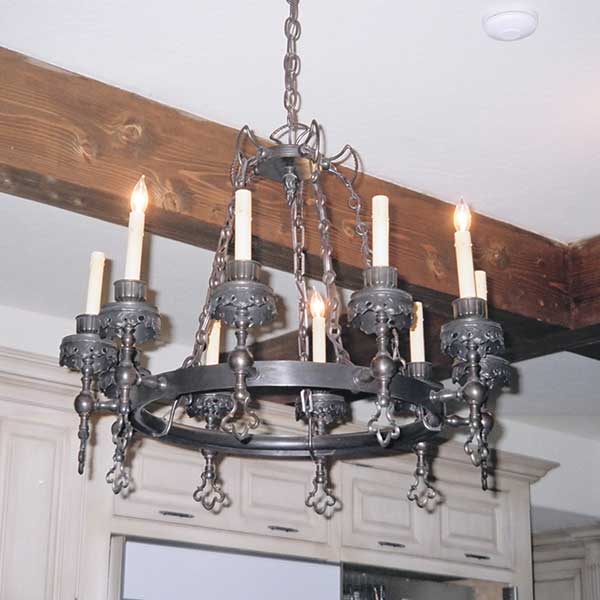
Chamber's Iron Chandelier
Chase's Ceiling Flush with Drop
Chesie's 2 Light Sconce
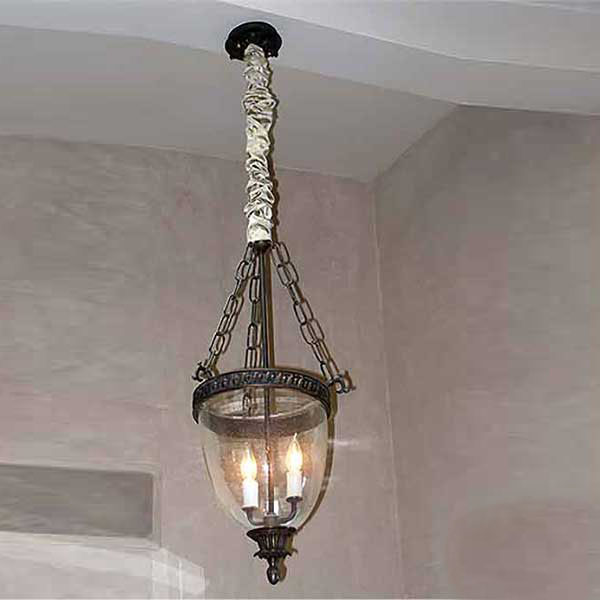
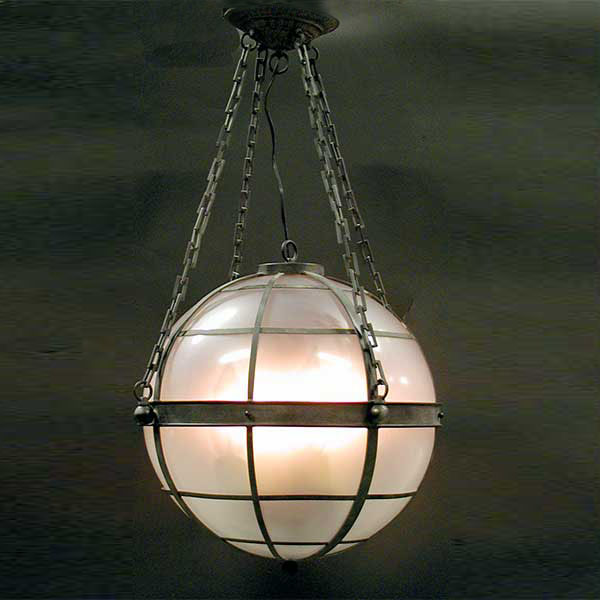
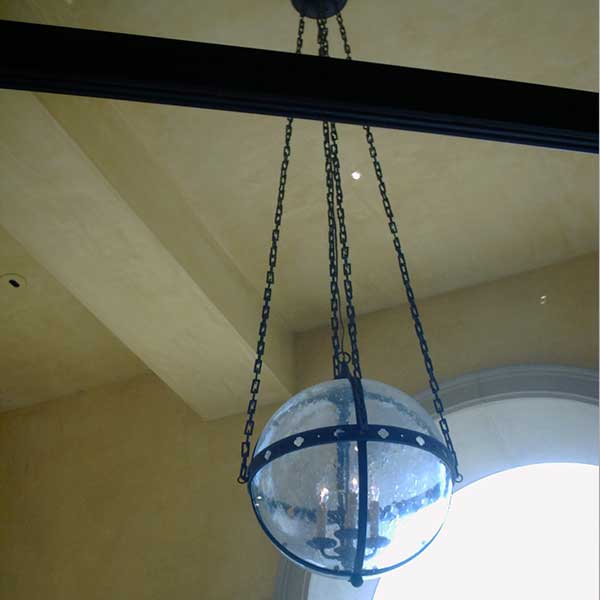
Chris' Whale Oil Pendant
Circulo Extra-Large Pendant

Circulo Medium Pendant
Circulo Small Wall on Arm
Circulo Small Wall on Up Arm
Clairidge Medium Wall on Arm
Clairidge Small Pilaster
Colicchio Iron Chandelier
Connor's 2 Light Sconce

Cowboy Iron Chandelier
Cristal Chandelier

Croft Large Wall
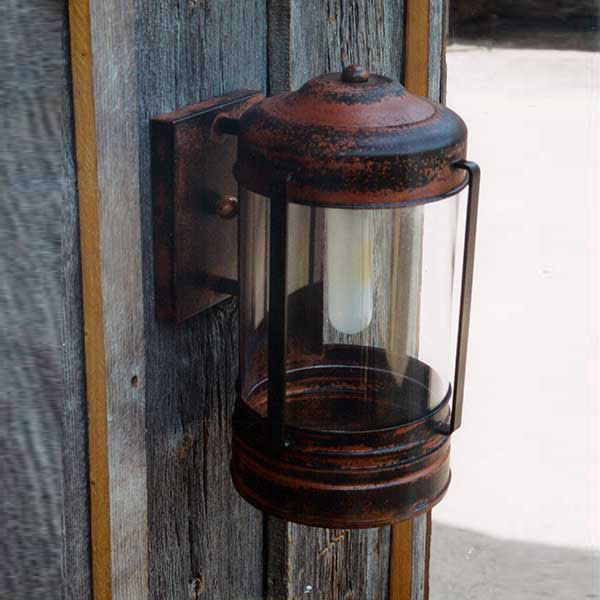
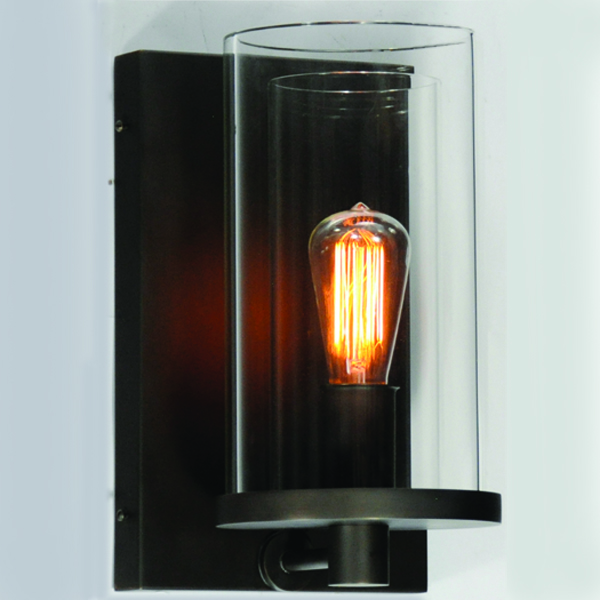
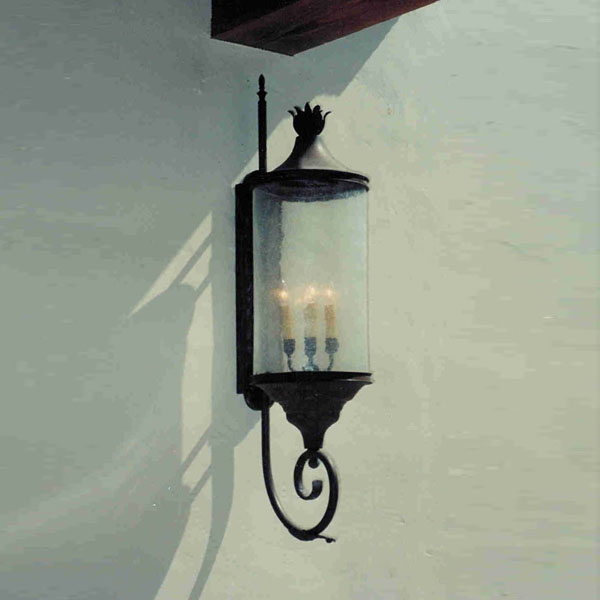
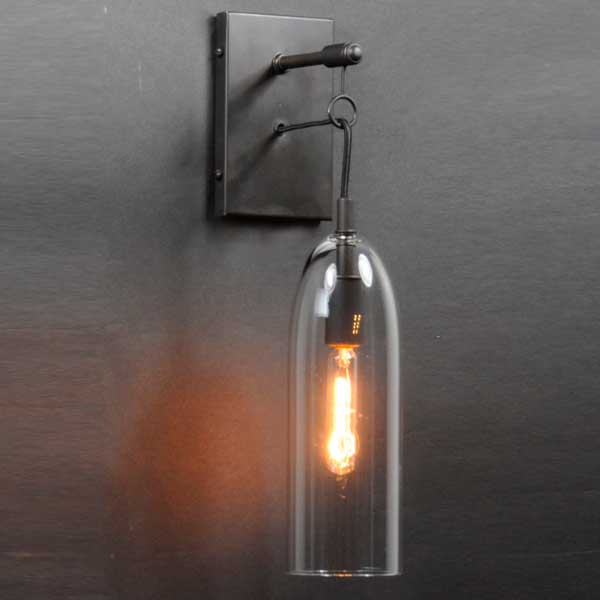
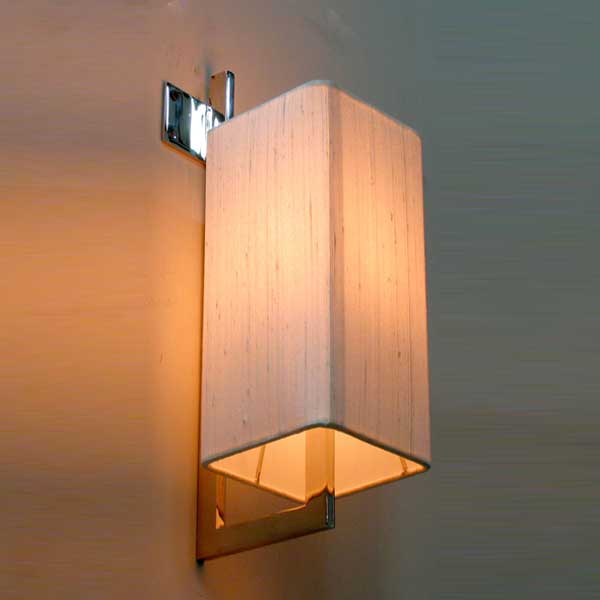
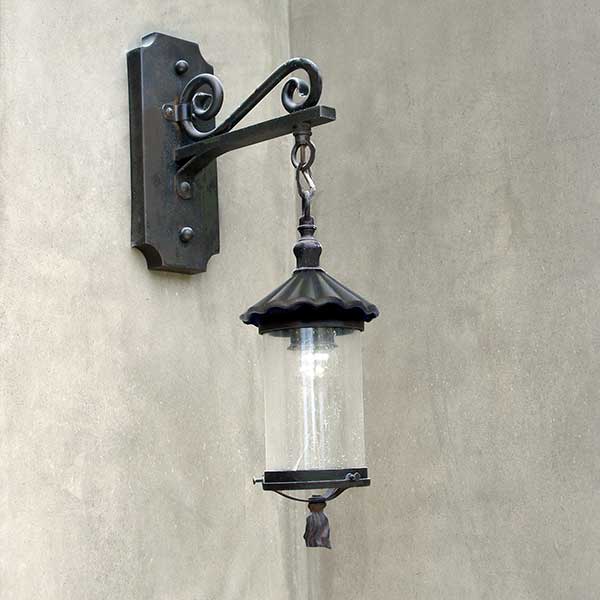
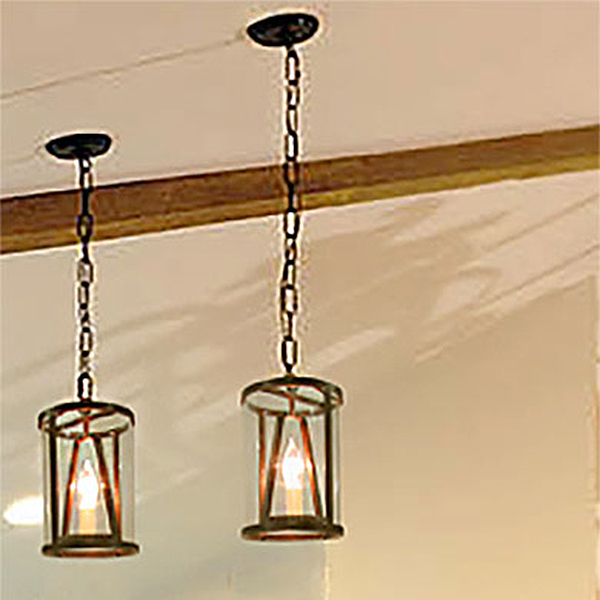
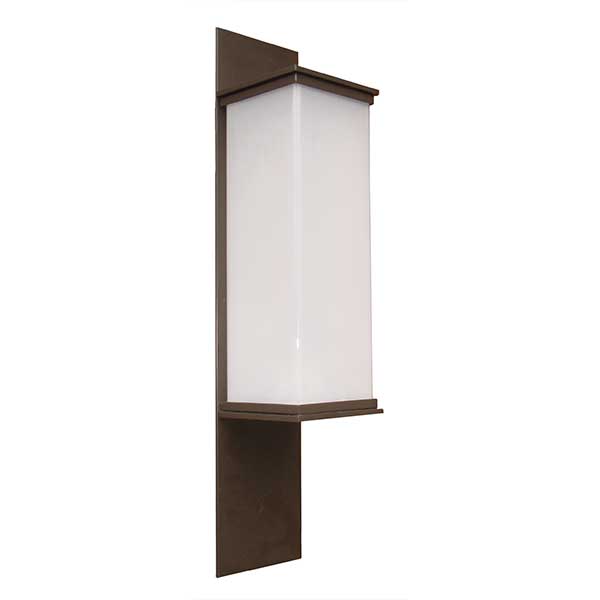
Cylinder Medium Wall
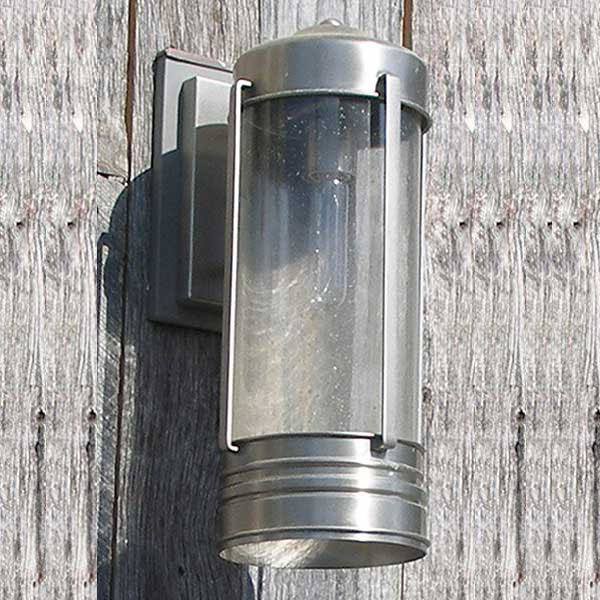
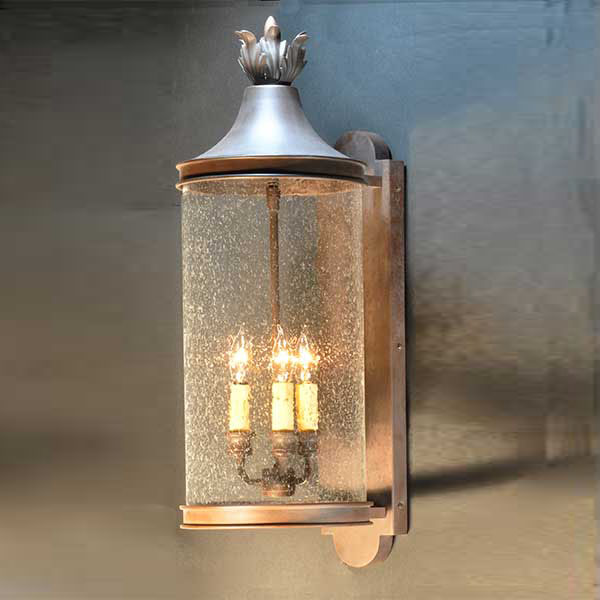
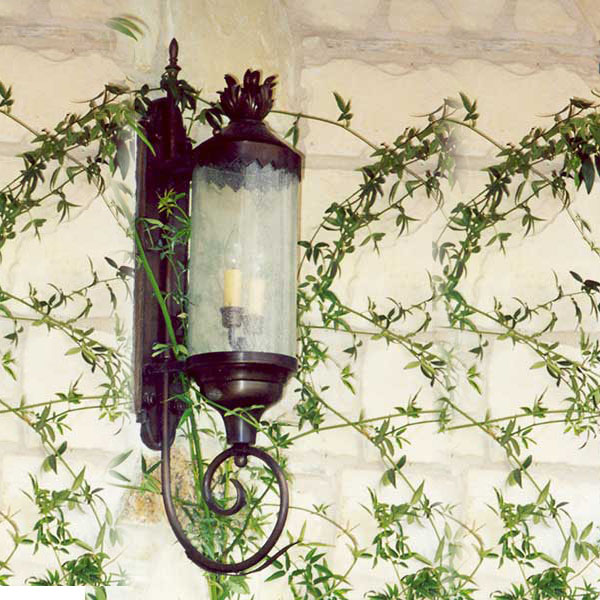
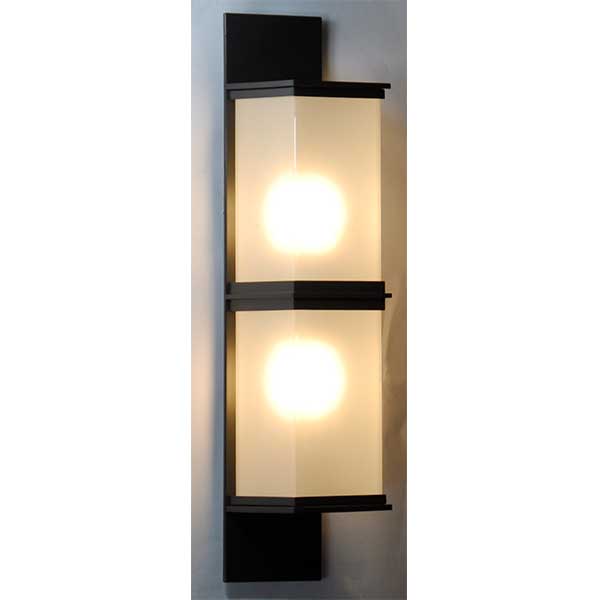
Cylinder Medium Wall Elongated - Shown with Optional Brushed Nickel Finish
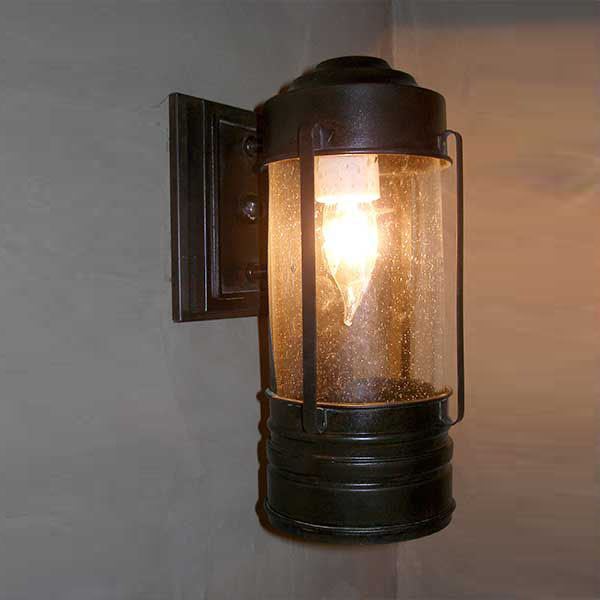
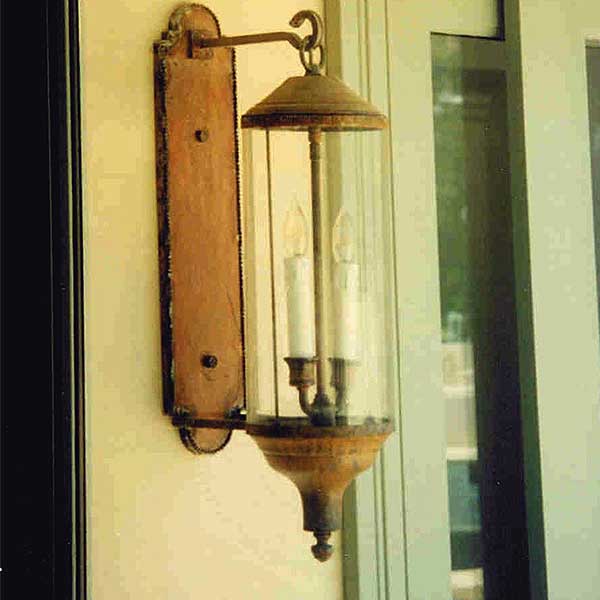
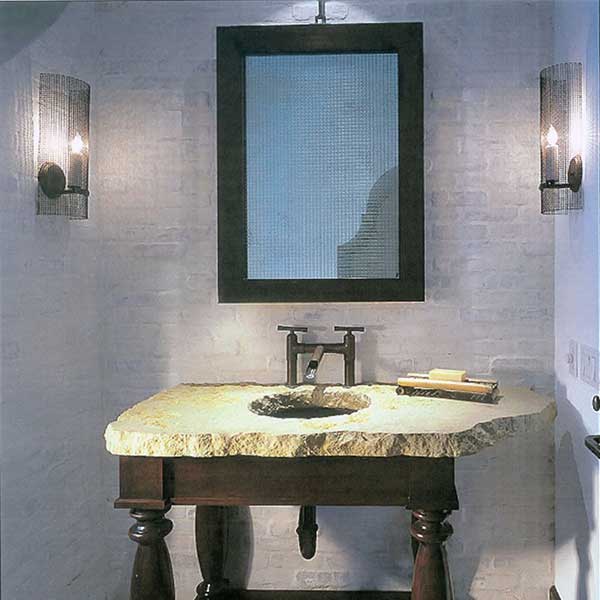
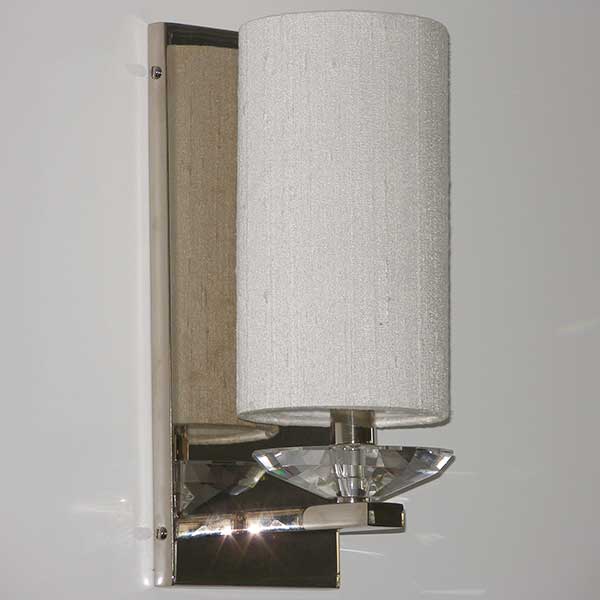
Cylinder Small Sconce - Shown with Stepped Backplate

Cylinder Small Sconce - Shown with Stepped Backplate
Dalice Medium Pendant

Dara's Small Flush
Daryl's Small Wall on Arm - Dressed Up
Dave's Sconce

De la Paz Medium Pilaster

De la Paz Medium Wall with Scroll
Deanna's Chandelier
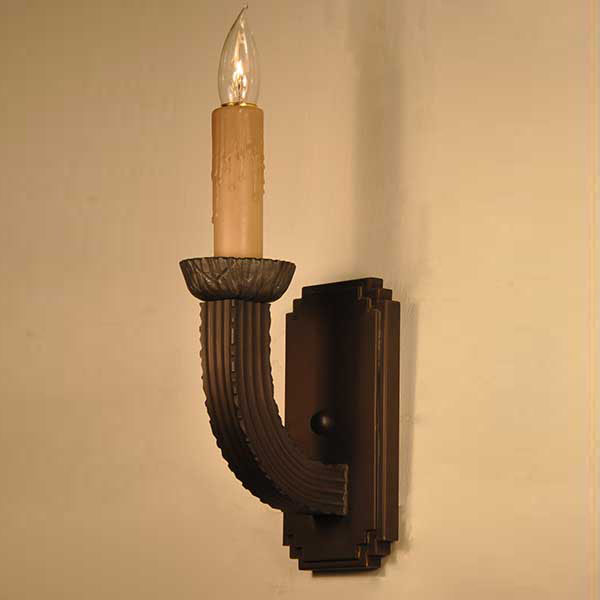
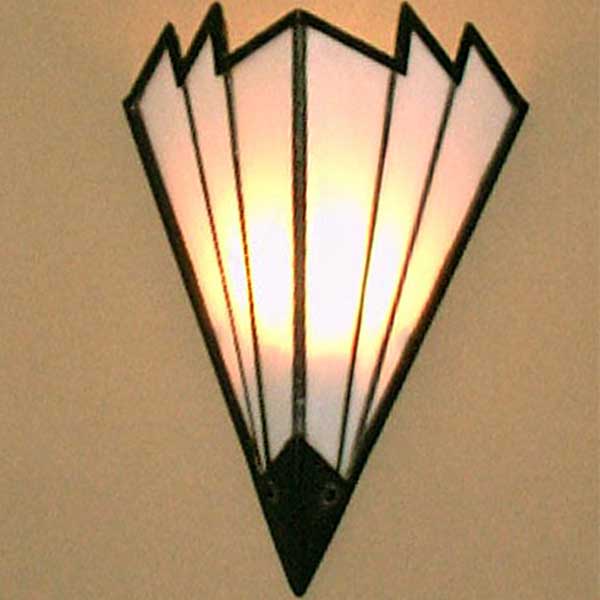
Deco Sconce
Dennis' Large Pendant
Dennis' Medium Pendant

Dennis' Small Flush

Devanee's Large Pilaster - Shown with Optional Gas

Devanee's Medium Flush - Shown with Optional Gas
Devanee's Medium Pendant
-5250.jpg)
Devanee's Medium Wall on Devanee's Arm
Dion's Chandelier
Dion's Chandelier
Dion's Chandelier
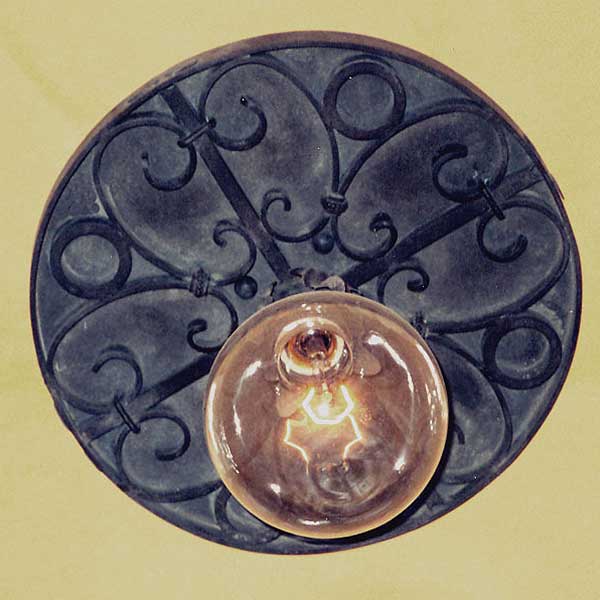
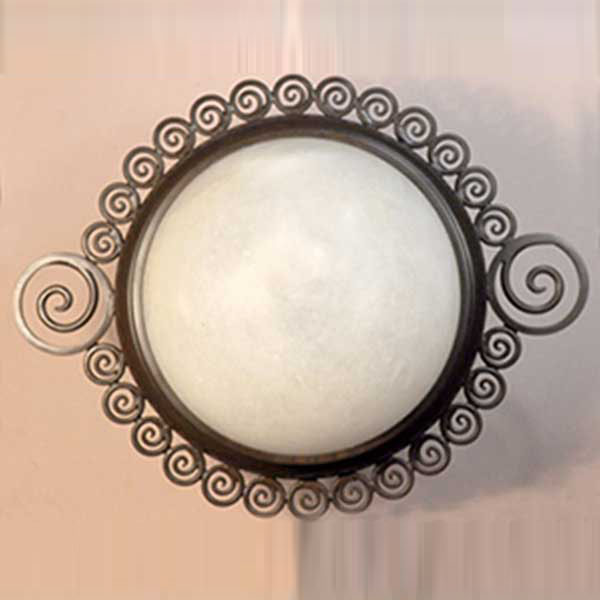
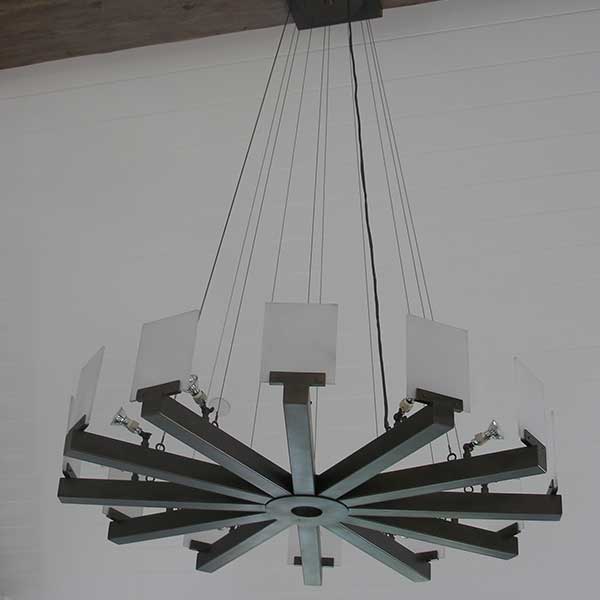
Disc of Lightening
Dwight's Pendant
East Harvard Medium Pilaster
ECB Medium Wall - Modified
ECB Medium Wall on Steve's Arm - Modified
ECB Medium Wall with Spikes
ECB Small Wall
Edwina's Pendant

El Libro Medium Wall
Ella's 1 Lite Sconce
Ella's 2 Lite Sconce

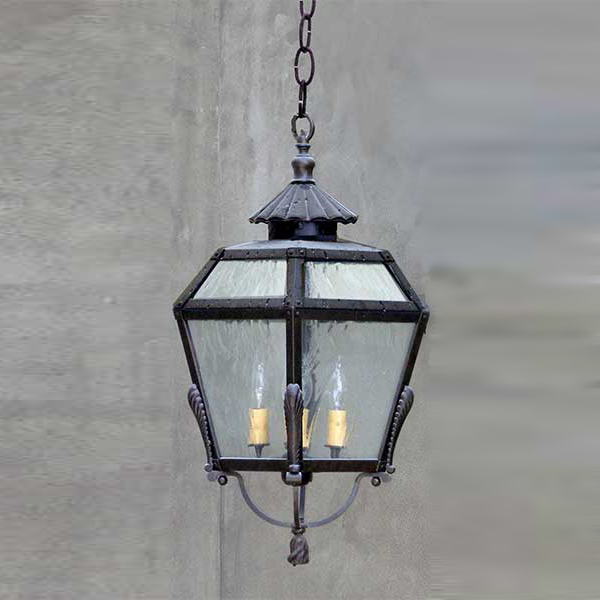
Empire Medium Pendant
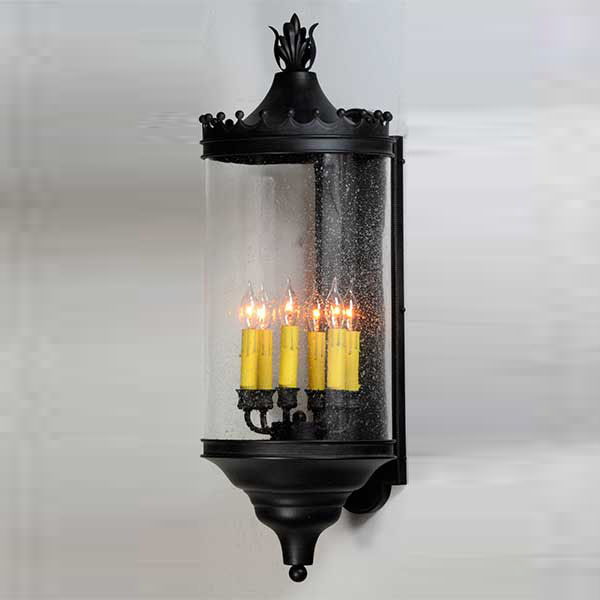
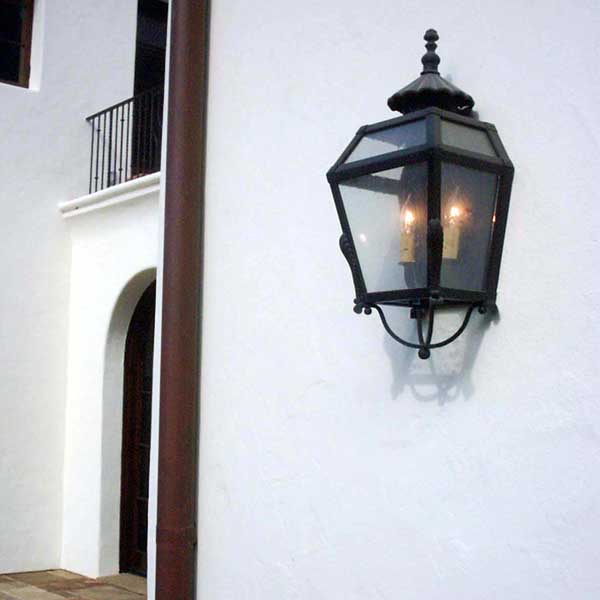
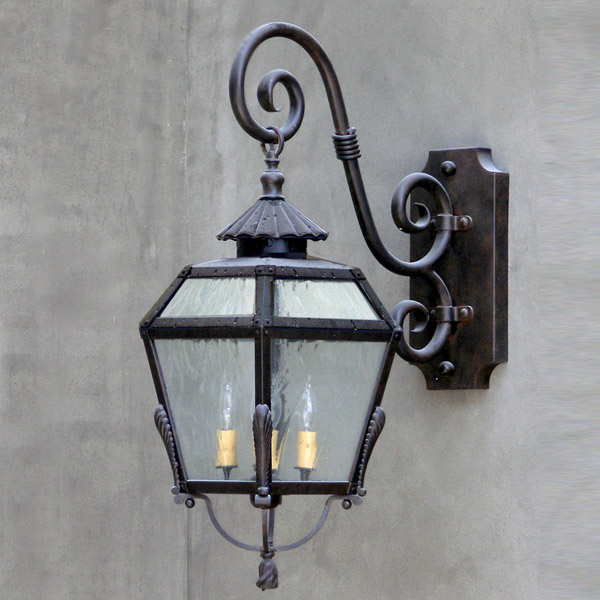
Empire Medium Wall

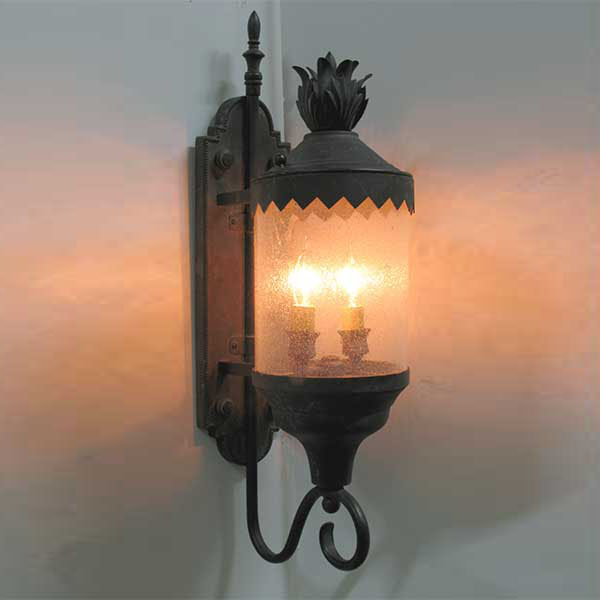
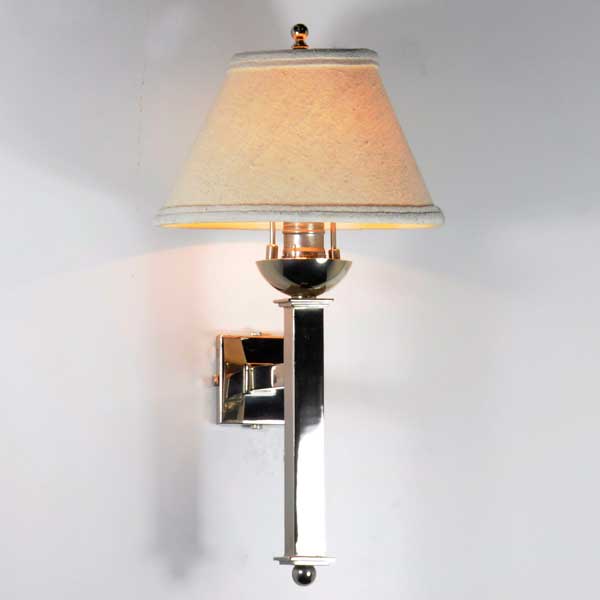
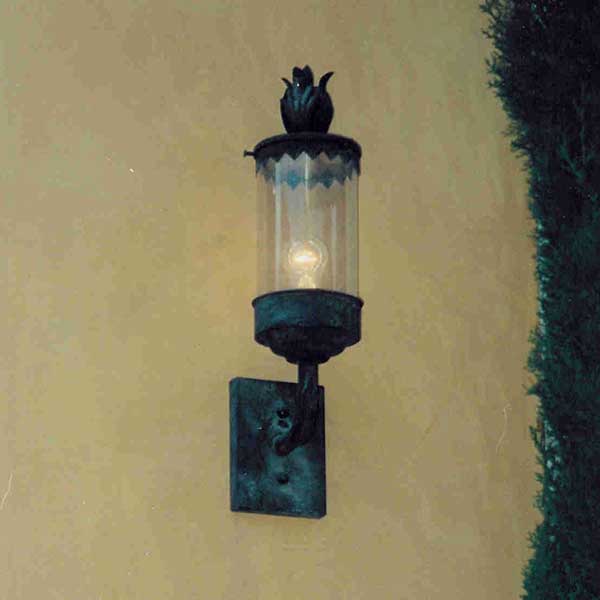
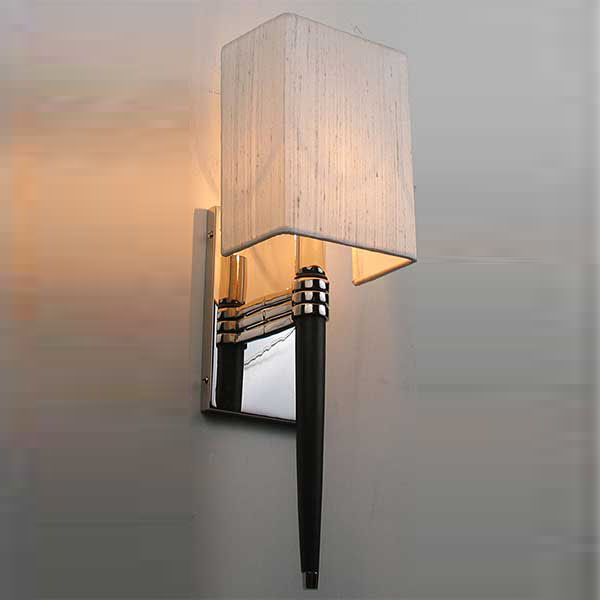
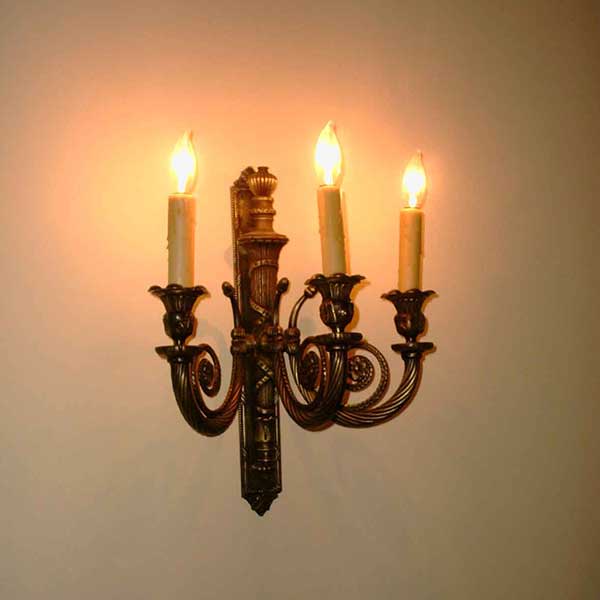
Empire Torch Medium Wall
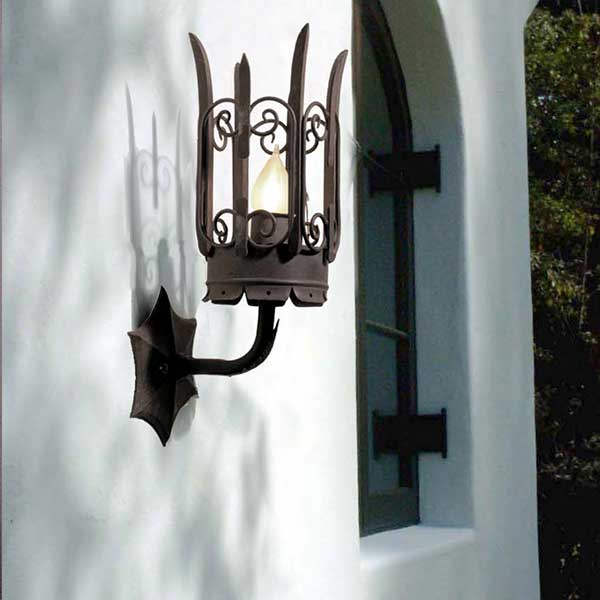
Empire Torch Small Wall
Erte's Sconce
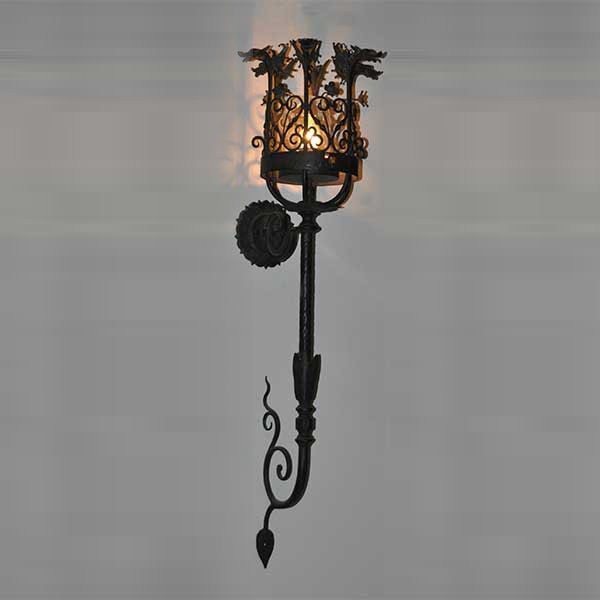
Euripides Medium Wall with Tail
Euripides Medium Wall with Tail
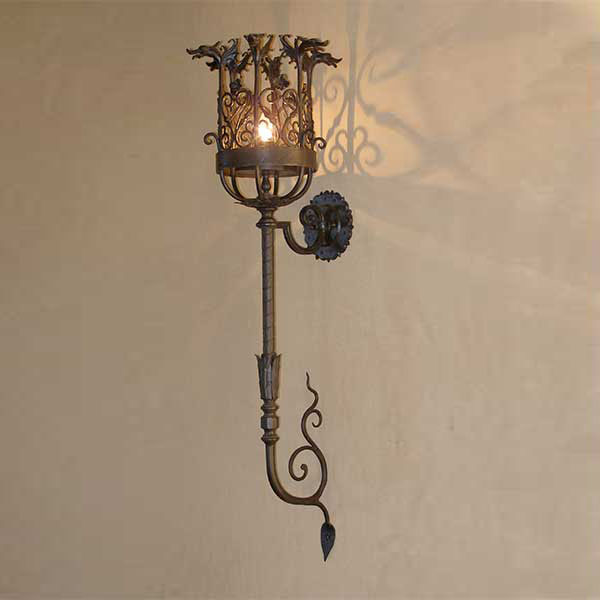
Euripides Medium Wall without Tail
Euripides Medium Wall without Tail
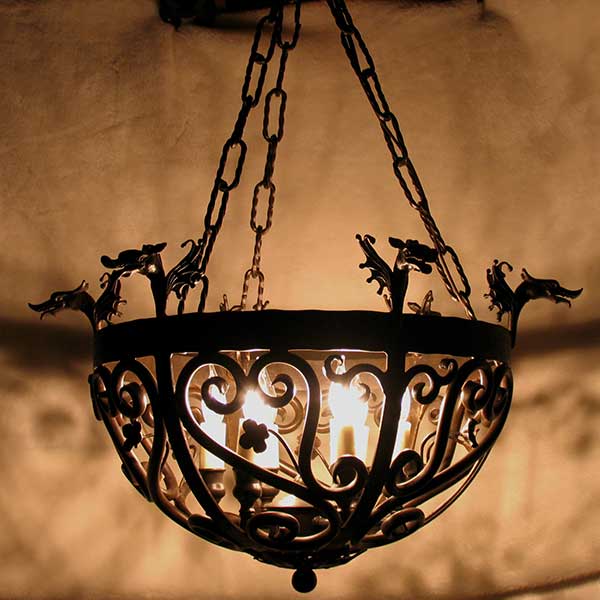
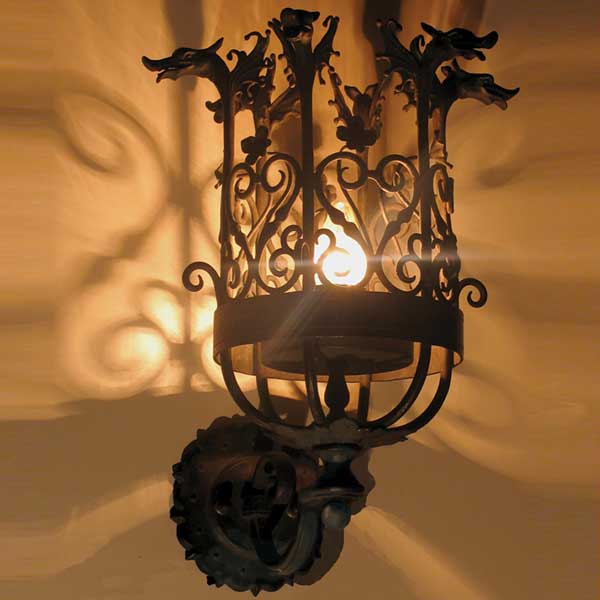
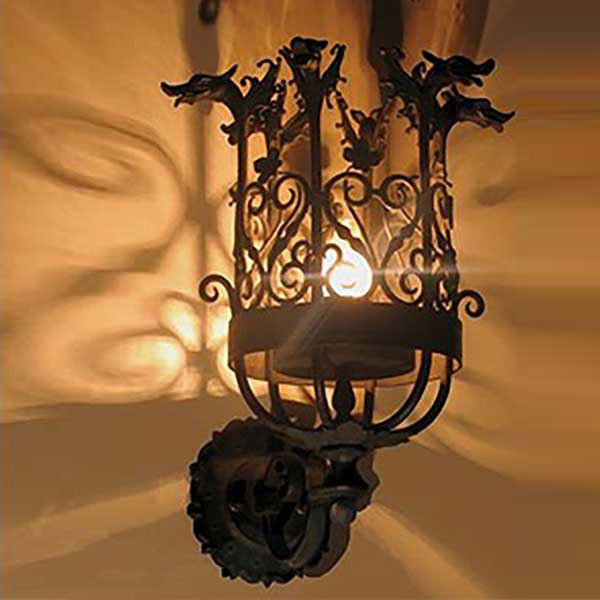
Euripides Pendant with Dragons

Eyelid Bronze Cover

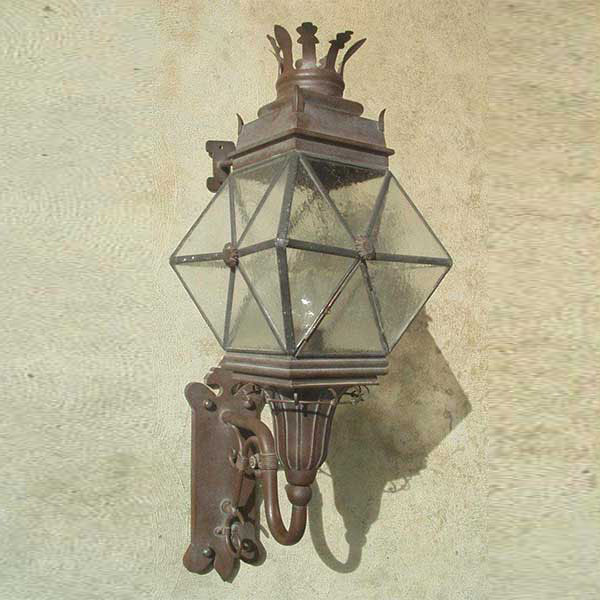
Ferdinand's Large Wall with Tail

Ferdinand's OG Medium Pendant

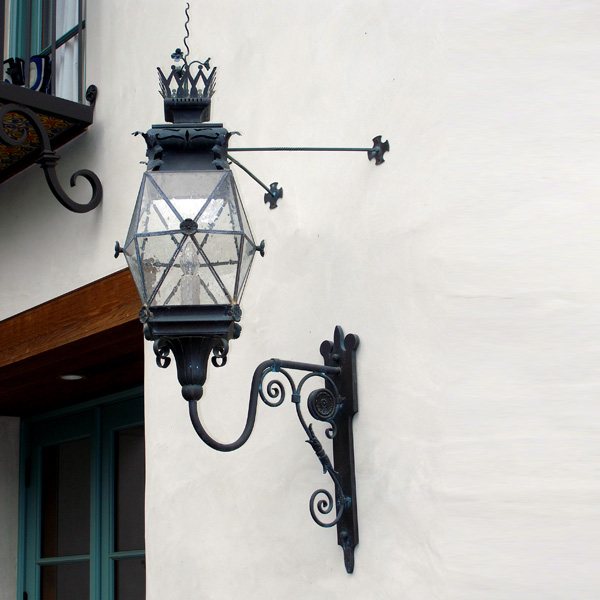
Ferdinand's OG Medium Wall on Arm

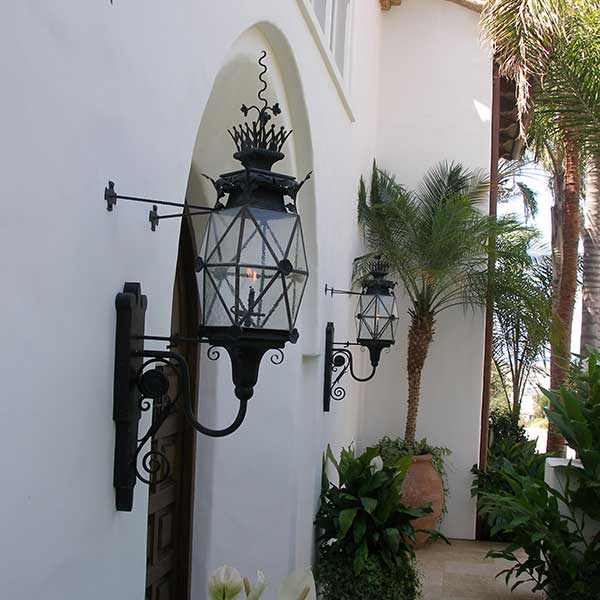
Ferdinand's OG Small Wall on Arm
Ferdy's Medium Wall on Arm
Ferguson's Large Wall on Arm
Ferguson's Medium Wall on Arm - Shown with Optional Gas

Flax Medium Flush - Shown with Optional Gold Plated Ornamentation
Flax Medium Wall Modified with Custom Scroll - Gas
Flax Medium Wall on Arm - Shown with Optional Gold Plated Ornamentation
Flax Small Pilaster
Flynn Pendant
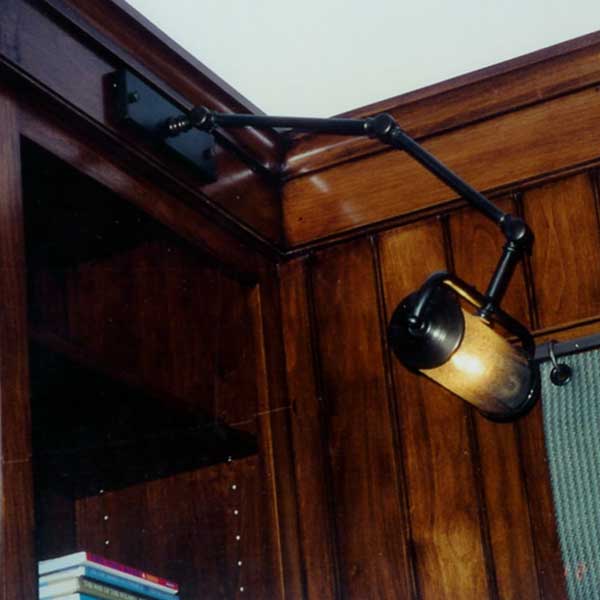
Foot Light
Francesca's 4 Medium Ceiling Flush
Francesca's 4 Medium Flush
Francesca's 4 Medium Flush with Tracery

Francesca's 4 Medium Pendant

Francesca's 4 Medium Wall

Francesca's 4 Medium Wall on Custom Arm - Mounted on Square Wood Post with Metal Accents

Francesca's 4 Small Flush - Shown with Open Section
Francesca's 6 Medium Wall with Bloom Scroll

Francesca's 6 Small Pilaster
Francesca's 6 Small Wall

Francois' 6 Large Wall on Francois' Arm
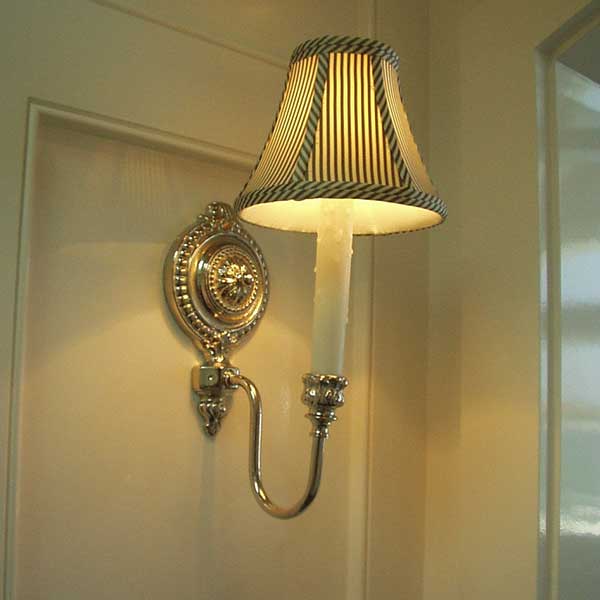
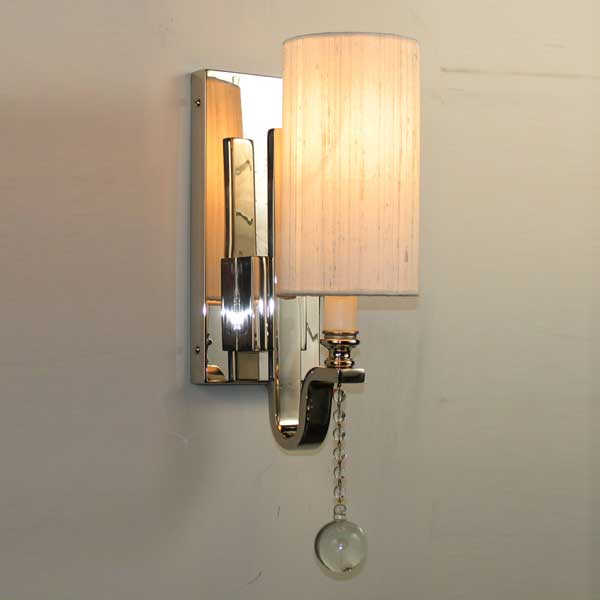
Frederick's Sconce - Shown with Optional Polished Nickel Finish & Silk Shade
Galesi 18 Pendant
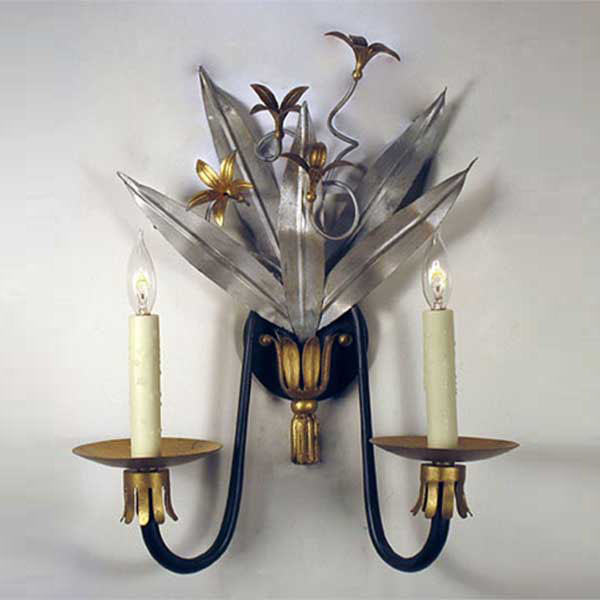
Garland 2 Light Sconce
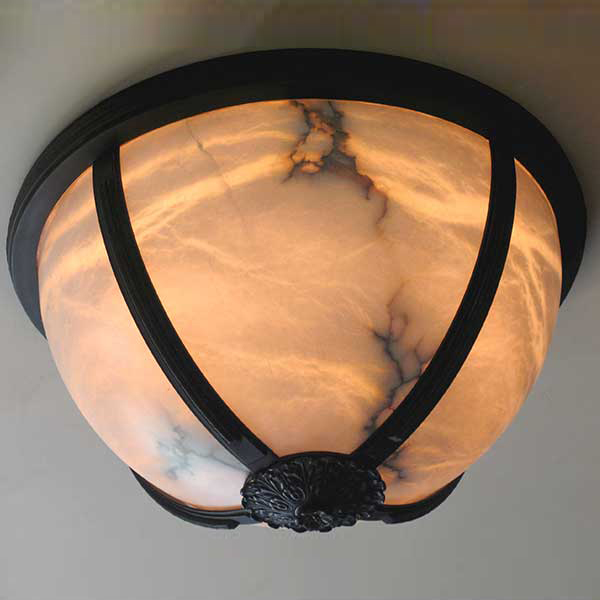
Gene's Alabaster Pendant - Bottom View
Georgia's 2 Sconce
Getty Spike Large Wall
Gil's 4 Pendant
Gil's Alabaster Ceiling Flush

Gilly's Medium Ceiling Flush with Drop - Shown with Optional Polished Nickel Finish
Gillys Medium Ceiling Flush with Drop

Gordon's 2 Tier Chandelier

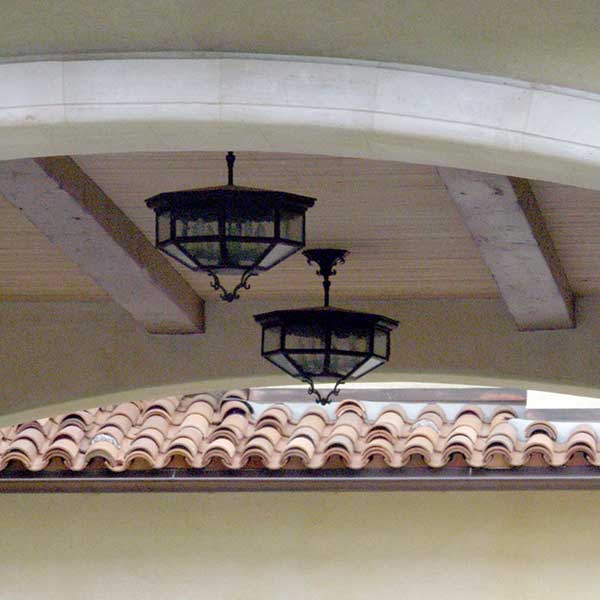
Gordon's 2 Tier Chandeliers
Grace Amago Pendant
Green's Sconce
HEARST 25 Chandelier
Heather House Medium Flush
Heather House Medium Wall
Helga's Sconce

Helma's Medium Wall on Helmas Medium Arm
Hershey's Extra-Large Pendant
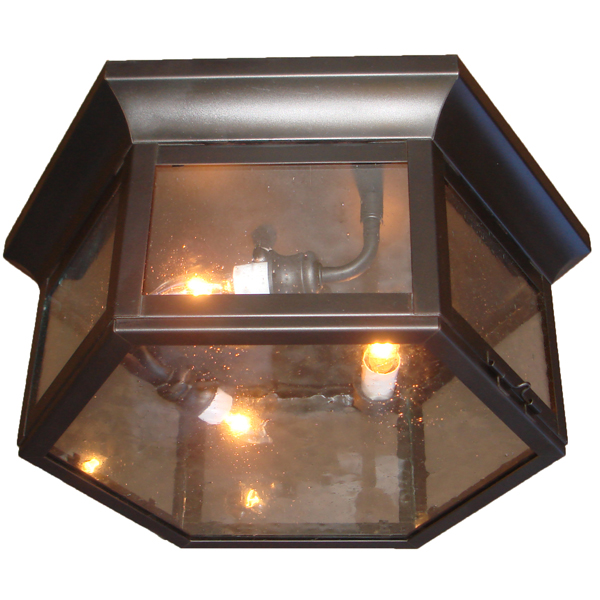
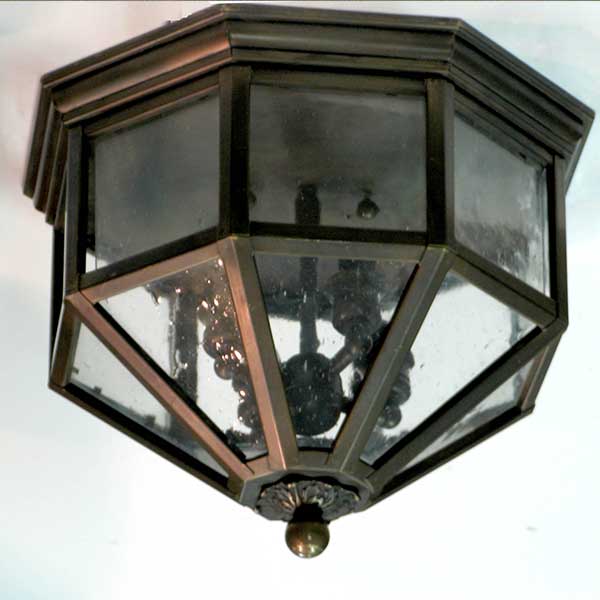
Hexagonal Medium Pendant
Hexagonal Small Pendant
HH Medium Flush
HH Medium Flush - Elongated

Hines Medium Wall
Holly's Chandelier
Holly's Leaf Basket
Hollywood Large Wall on Arm

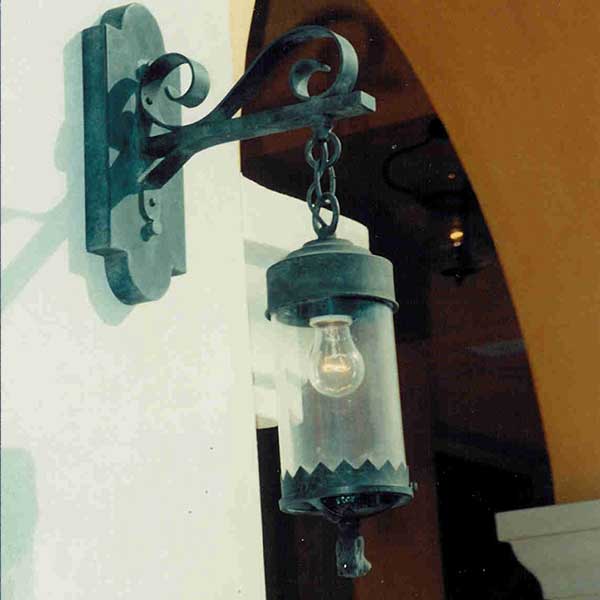
Hosea's Iron Sconce
Ilonit's Sconce
Imperial Large Pilaster
Initial's Sconce
Isripp Rectangular Flush

Isripp Square Flush
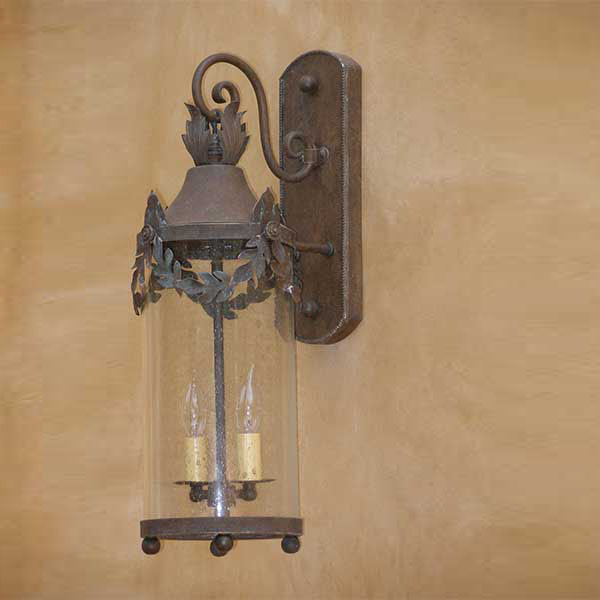
Italian Large Wall with Scroll

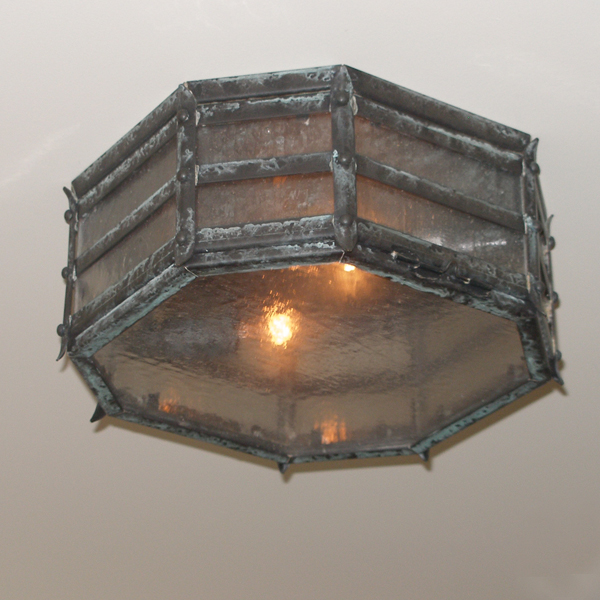
Italian Medium Flush

Jace's Large Wall on Arm
Jackie's 12 Pendant
Jackson Double Flush

Jackson Single Flush
Jakes Pendant
Janey's Sconce

Jeff's Pendant
Jeff's sconce
Jimmy's Sconce
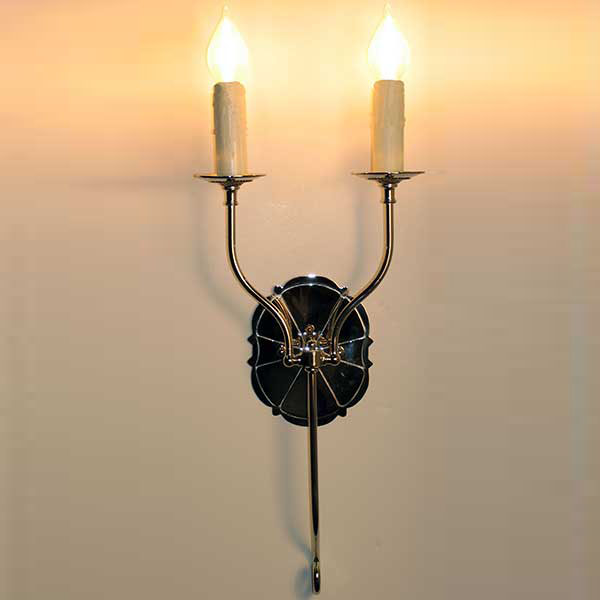
John's Pendant - Shown with Optional Two-Tone Satin and Polished Nickel Finish
Josie's Sconce
Joss Pendant

Julies Medium Wall on Julies Arm
Julio's Sconce

Justin's Sconce
JW Medium Pilaster
JW Medium Wall
JW Medium Wall on La French Arm

Kairey Large Pendant
Kairey Medium Pilaster with Double Leaf Garland
Kairey Medium Wall with Clairidge Scroll
Kairey Petite Medium Wall
Kairey Small Flush
Kairo's Sconce
Kaleb's Sconce
Karleen's Sconce

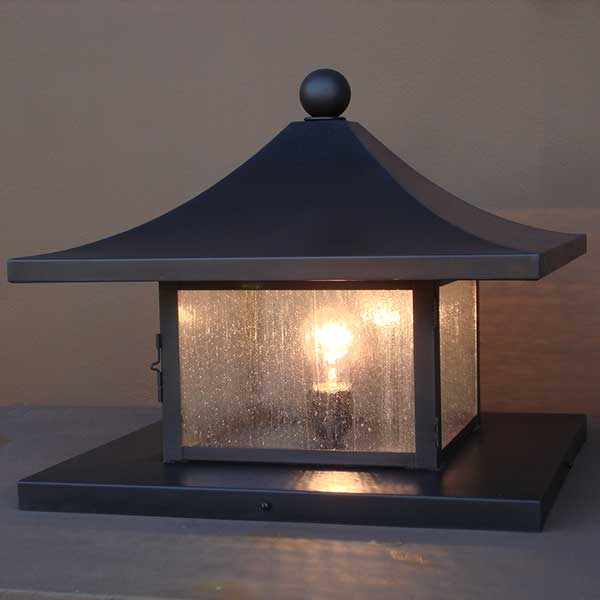
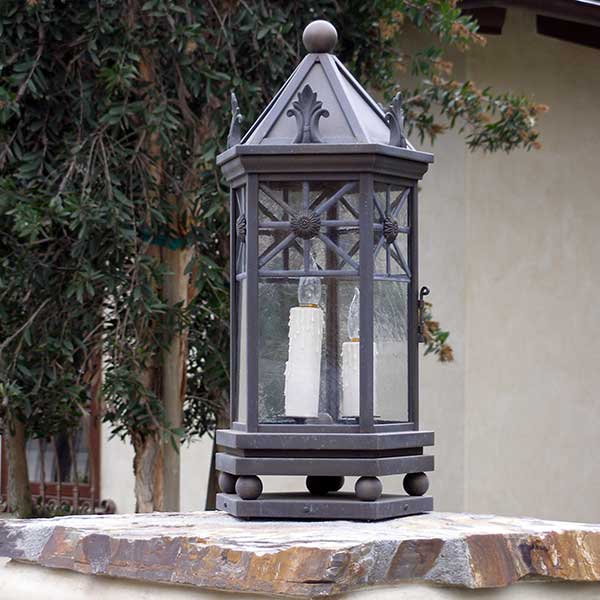
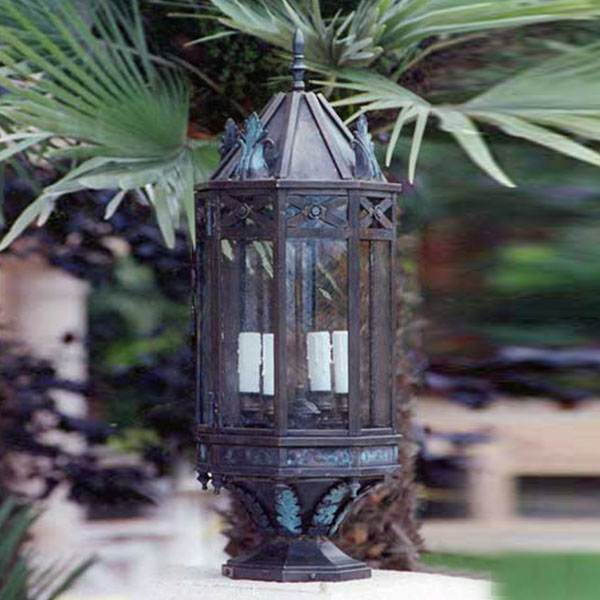
Karlin Medium Post
Karly's Chandelier
Karrington Sconce

Karrington Sconce
Kate's Extra-Large Pendant
Kate's Medium Flush
Kate's Medium Pendant
Kate's Medium Wall on Normandy Arm
Kate's Medium Wall Sitting on Normandy Arm
Kate's Petite Small Wall on Arm

Kelian Extra-Large Post Lantern on Fluted Post with Double Arms and Flower Baskets
Kelian Large Pendant

Kelian Large Wall on Sylvia's Arm with Elongated Backplate
Kelian Medium Wall
Kendall's Rectangular Chandelier
Kendall's Round Chandelier

Kerry Small Flush
Kevin's Sconce
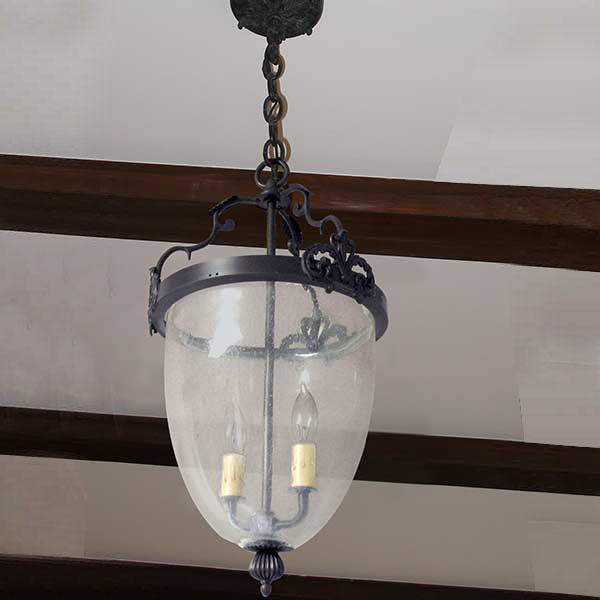
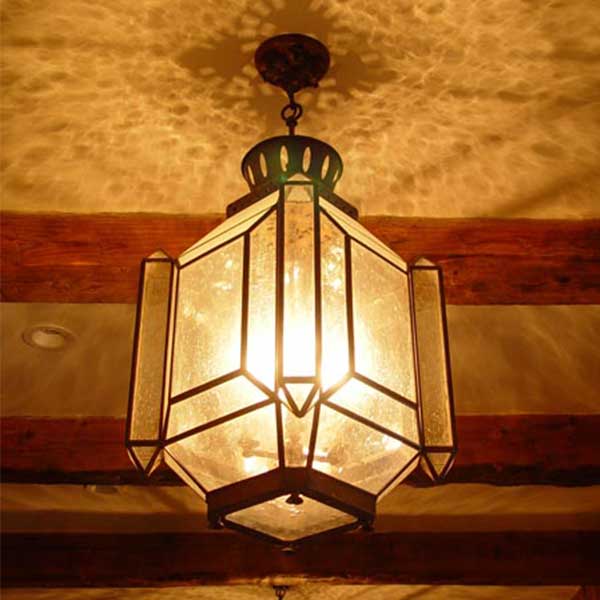
Khouri Pendant

Kiana's Sconce

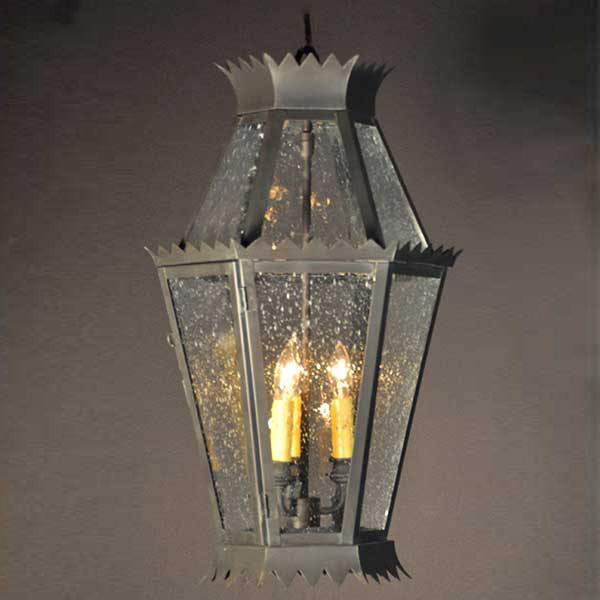
King Crown Pendant
King George Large Pilaster
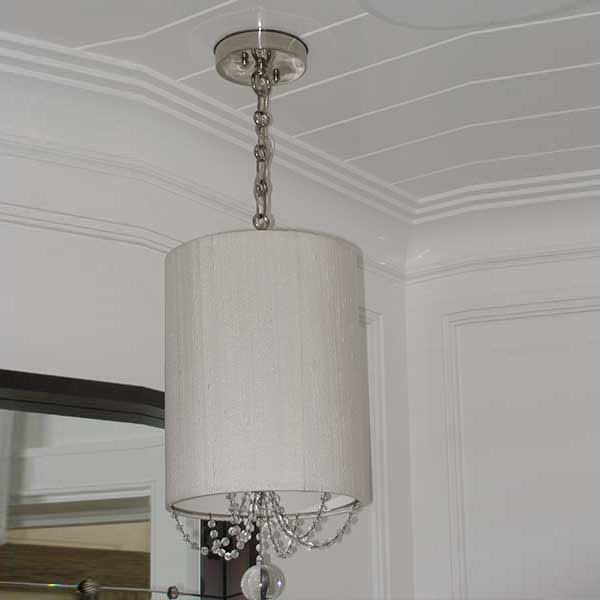
Kirby's Silk Pendant
Klein Pendant

Knox Pendant
La Espana Medium Pendant
La French Alabaster Ceiling Flush - Shown with Optional Gold Plated Tassel
La French Alabaster Pendant - Shown with Optional Gold Plated Ornamentation
La French Large Wall on B Straight Arm
La French Medium Flush - No Ornamentation

La French Medium Flush with Ornamentation
La French Medium Pendant with Ornamentation
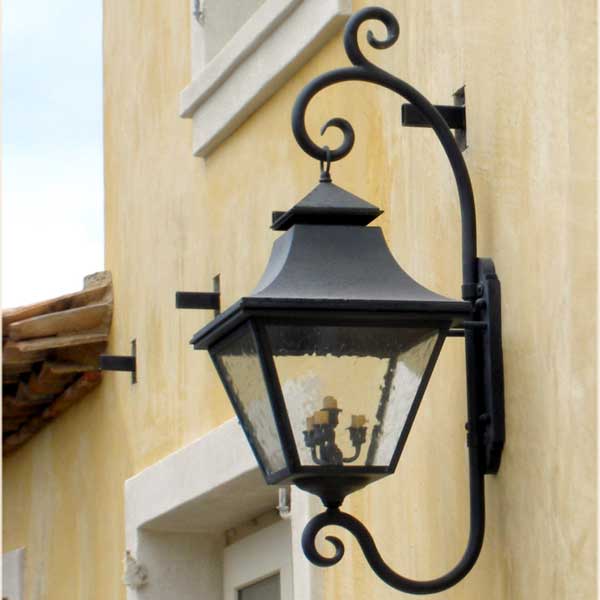
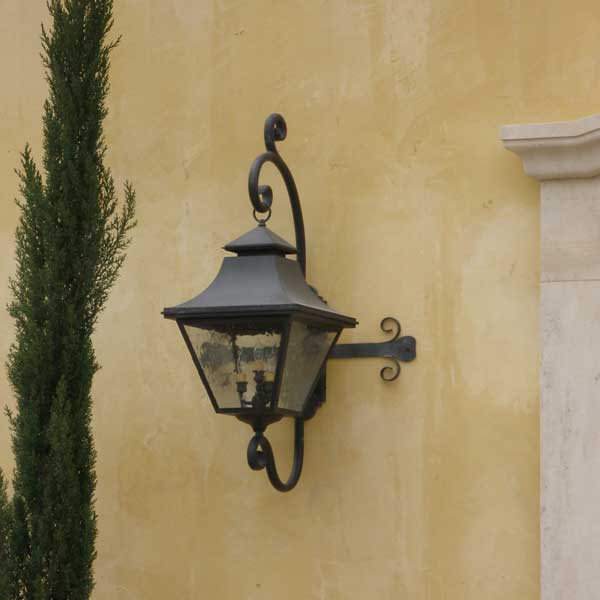
La French Medium Wall
La French Medium Wall on B Straight Arm

La French Medium Wall on J Arm - No Ornamentation

La French Medium Wall on La French Arm - No Ornamentation
La French Medium Wall on La French Arm - Shown with Optional Gold Plated Rosettes & Tassels

La French Medium Wall on San Paolo Arm - No Ornamentation

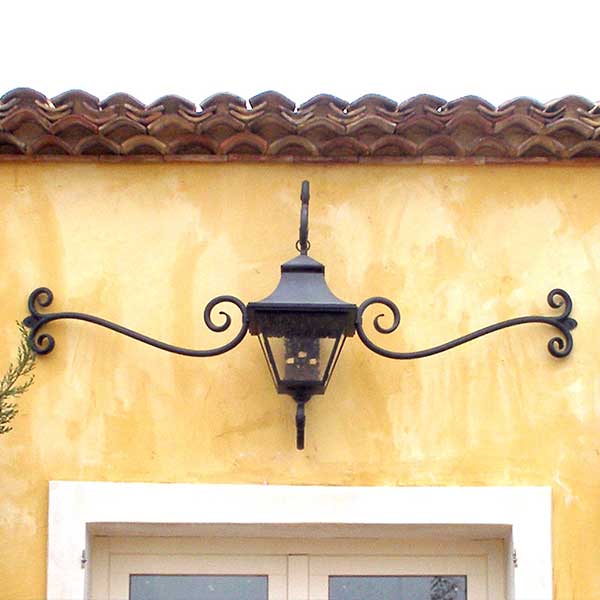
La French Small Wall with Moustache - No Ornamentation
Lago Pendant
Lainer Spiked Large Wall
Leah's Pendant

Leonard's Follie Medium Wal lon Leonard's Follie Arm
Leonardo's Medium Pendant
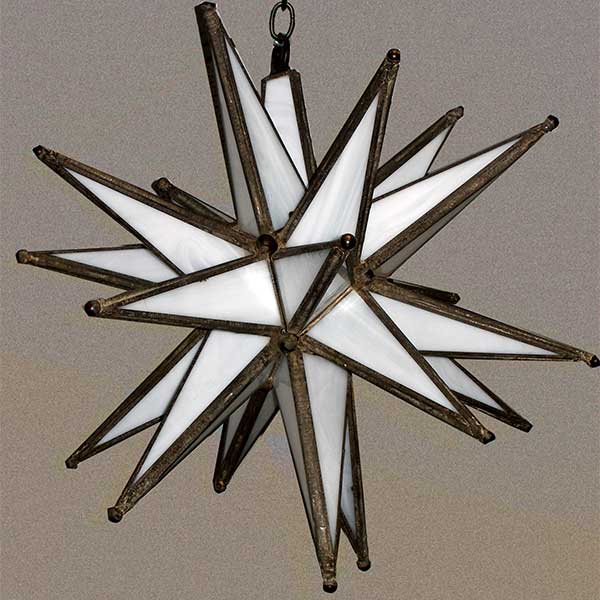
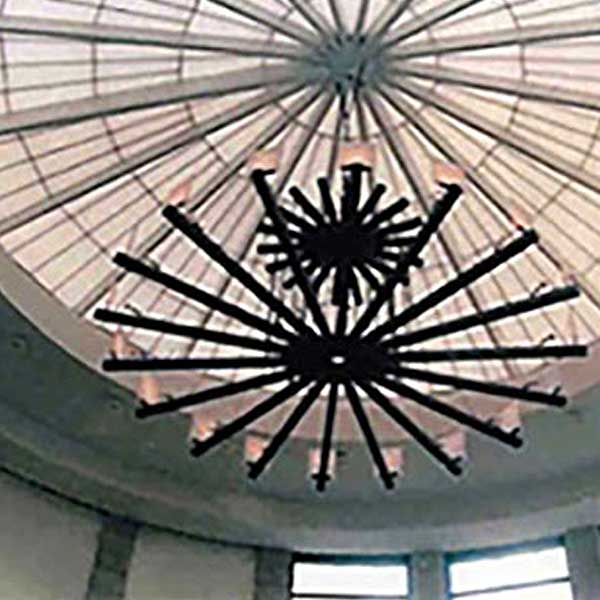
Liberace Star Pendant
Lila's Chandelier
Linda's Large Bound Glass Ceiling Flush
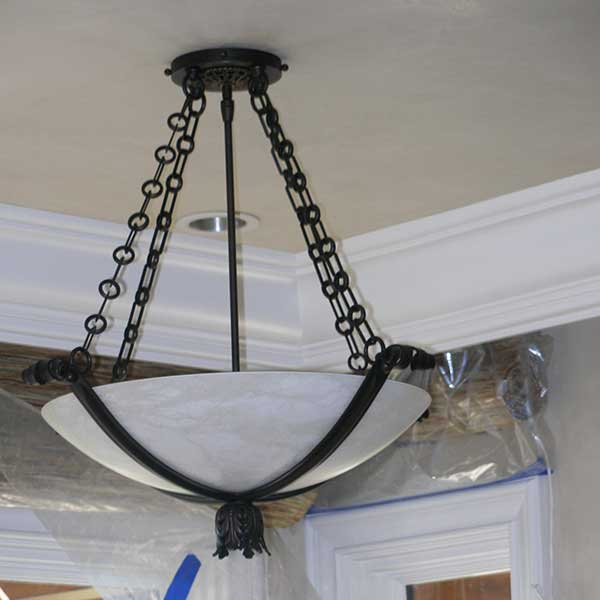
Lisa's Chandelier with Alabaster Bowl
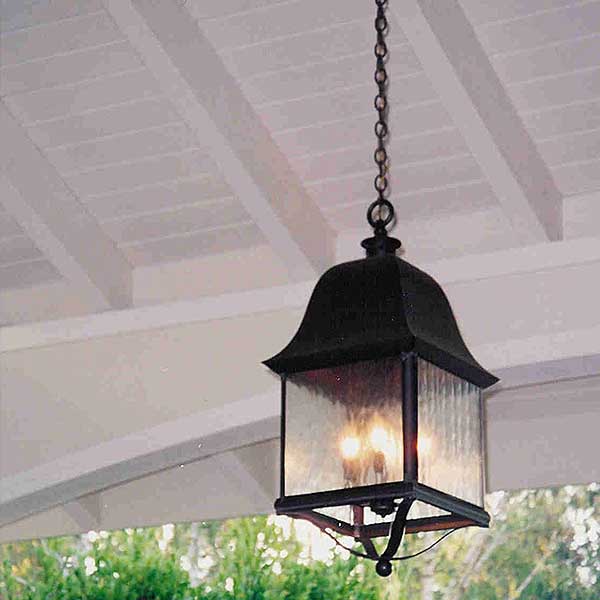
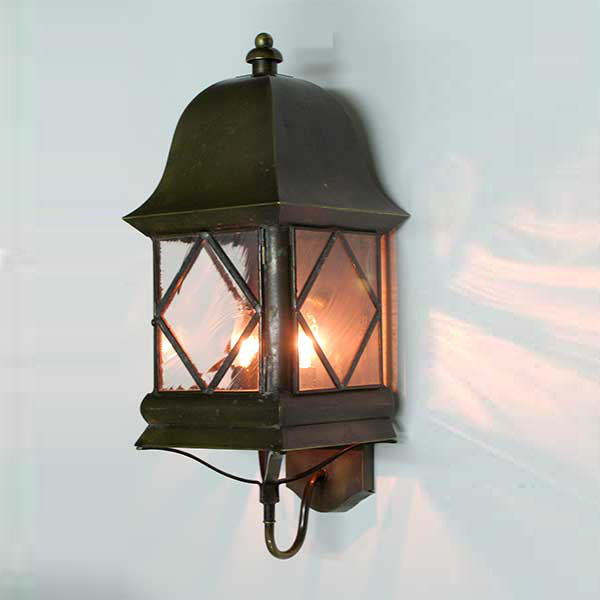
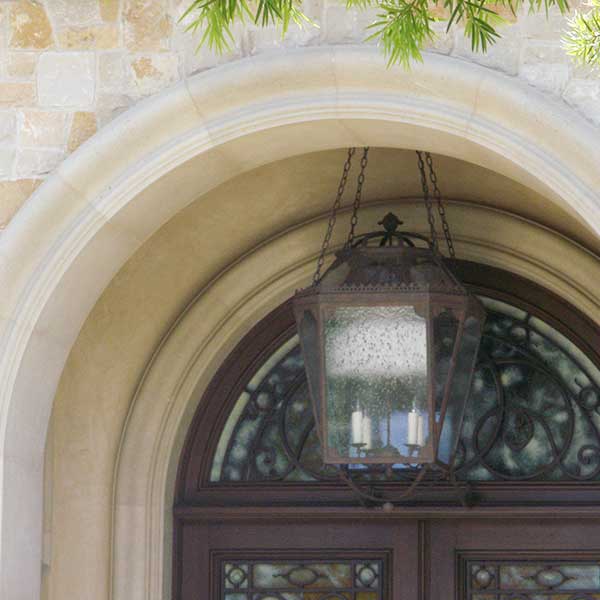
London Pendant
Los Agaves Medium Wall on Deercliff Arm - Shown with Optional Gas

Los Altos Medium Pilaster
Los Altos Small Pilaster
Los Altos Small Wall - Shown with Gallery Between Spikes
Lou Anne's Extra-Small Wall
Lucy's Pendant with Clear Glass
Madeline's Medium Wall on Carol's Arm

Madelines Medium Flush with Large Tracery
Mae's Ceiling Flush with Drop
Mae's Ceiling Flush with Drop - Shown with Optional Brushed Nickel Finish
-4301.jpg)
Magni Sconce - Shown with Optional Dupioni Silk Shade and Leather Tooled Backplate
Manhattan Medium Flush - Shown with Optional Polished and Brushed Nickel Finishes
Manny's Large Pendant
Manny's Small Pendant
Marcie's Large Pendant

Marcie's Large Wall on Marcie's Arm - Shown with Optional Antique Mirror
Marcie's Medium Wall on Arm
Marguerite's Chandelier
Marmy's Chandelier
Matt's Extra-Large Wall
Melford Ceiling Flush

MGM Torch Style 1

Michael's Chandelier
Michael's Pendant
Michael's Sconce
Michelle's Sconce

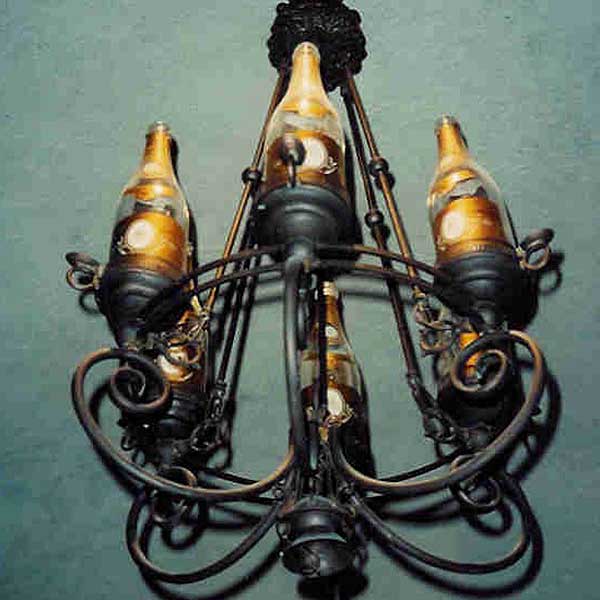
Milk Bottle Chandelier
Milly's Ceiling Flush
Mimi's Pendant
Mitch's Pendant
Monterey Sconce

Monty's 3 Pendant
Moreno Large Pendant
Morgan's Pendant
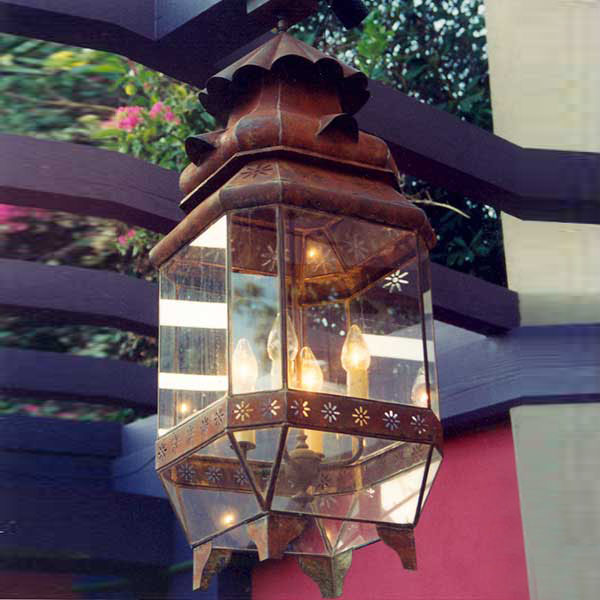
Moroccan Custom Sized Pendant

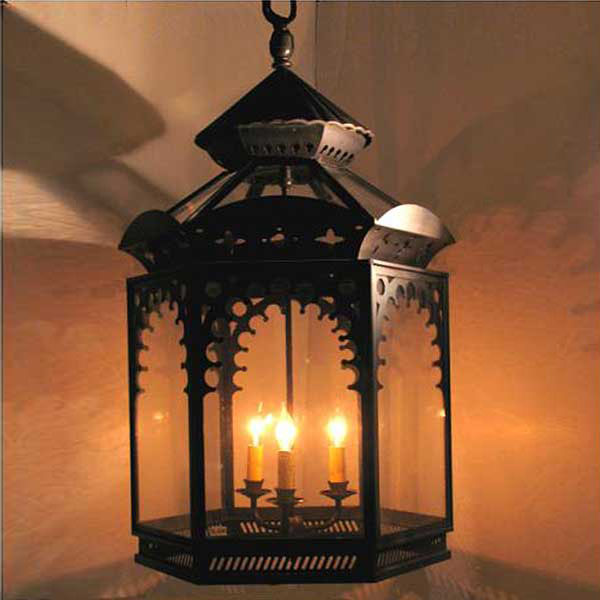
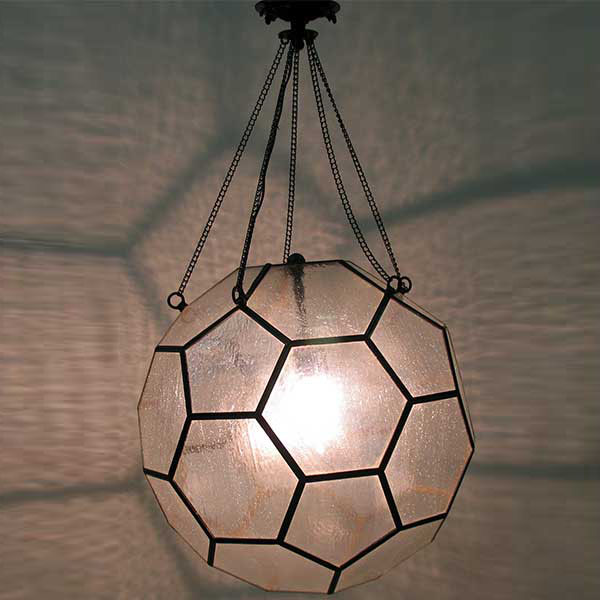
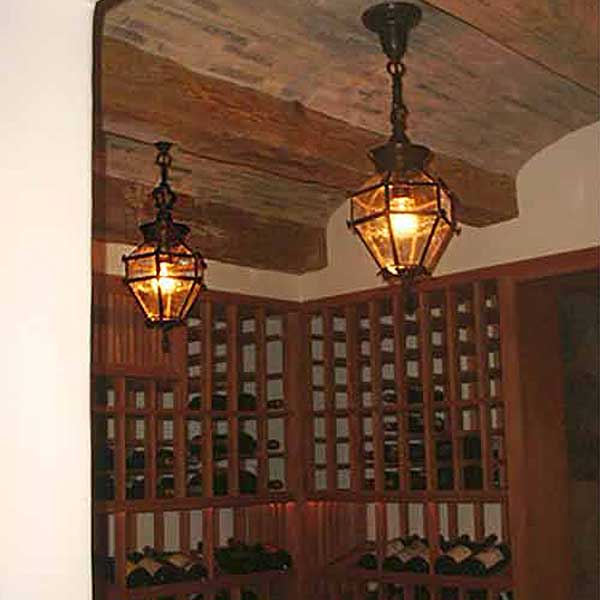
Moroccan Medium Pendant
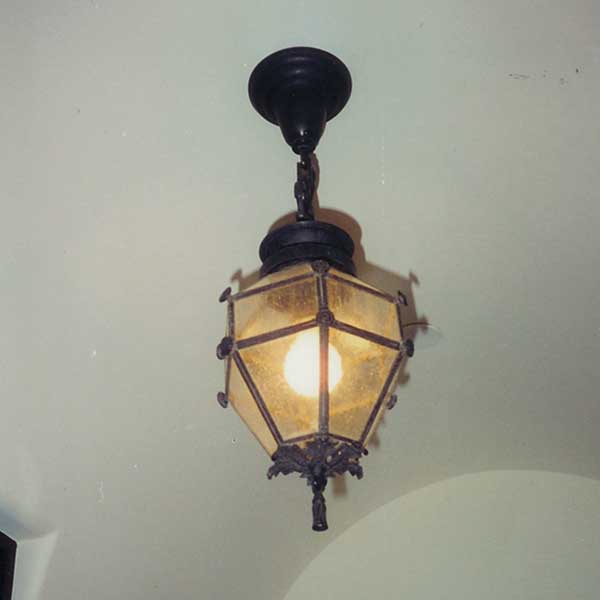
Moroccan Small Pendant
Morton's Sconce

Murray's Small Pendant
Murray's Small Wall on Arm
Natalie's Sconce
Newport Pendant

Newport Pendant with Crystal
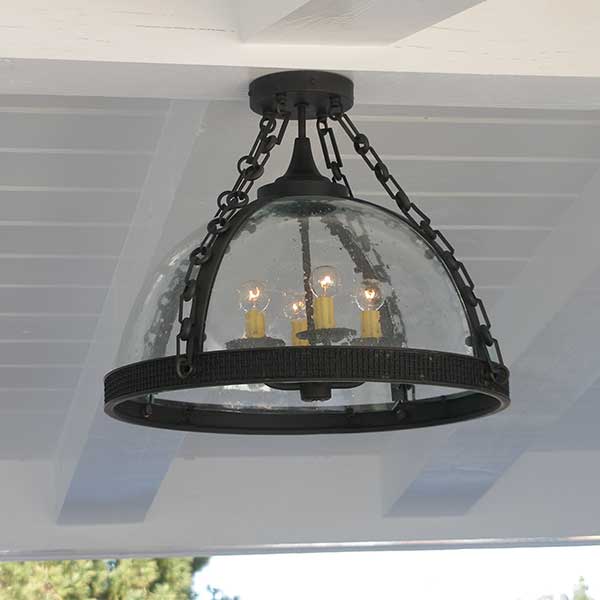
Nicholai Ceiling Flush

Nigel's Sconce
Nuss Sconce with Shield Backplate
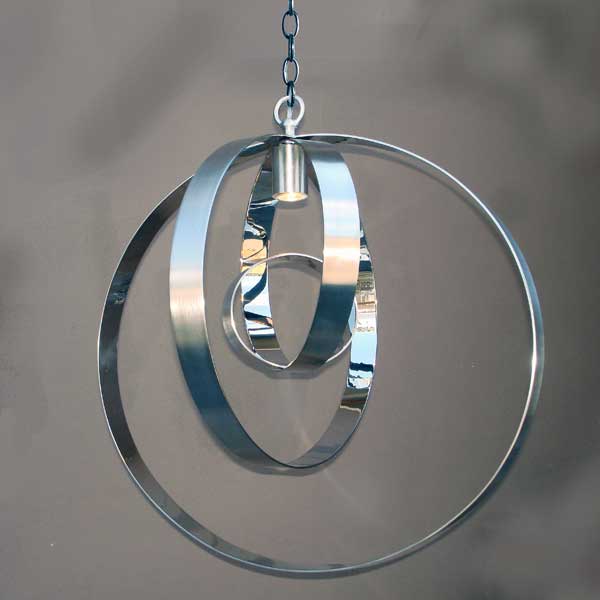
O Chandelier

Olivia's Chandelier

Orly Chandelier
Ourisman 6 Large Pendant

Padma's Sconce
Padua Pendant
Paolo's Medium Flush - Shown with Optional Mirror
Patrick Ruth's Pendant
Patrick's Pendant
Patrick's Sconce with Tail
Paula's Pendant
Peggy's Pendant
Perry's Iron Chandelier with Rock Crystal

Peyton's Iron Chandelier
Phillips Pendant

PJ's Wall on Arm

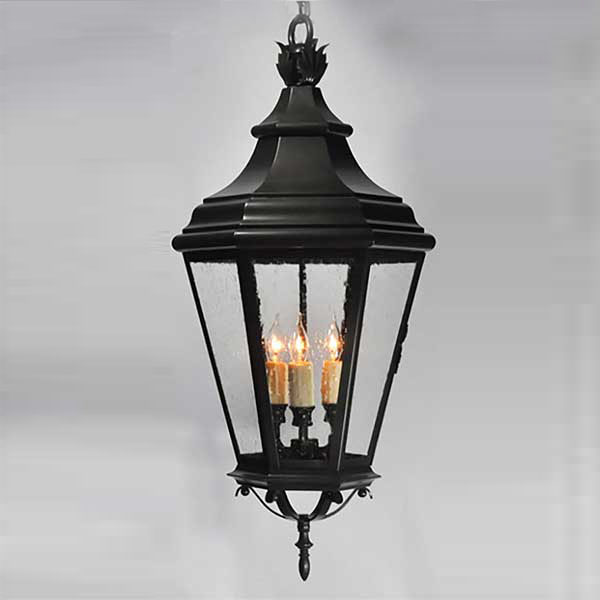
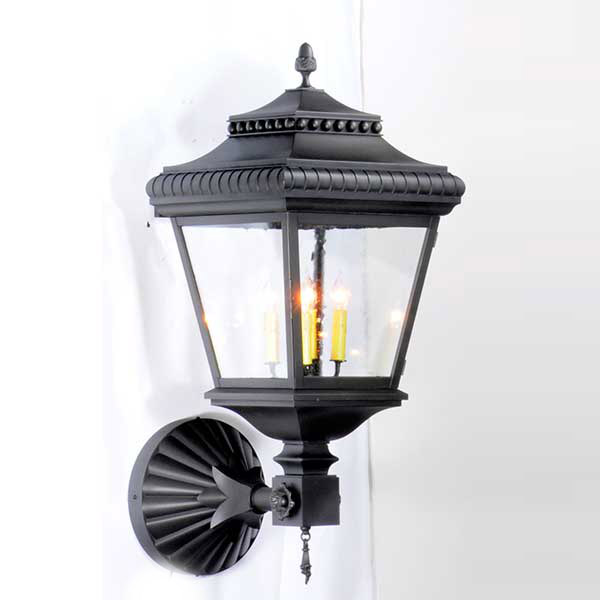
Prince Edward Medium Pendant

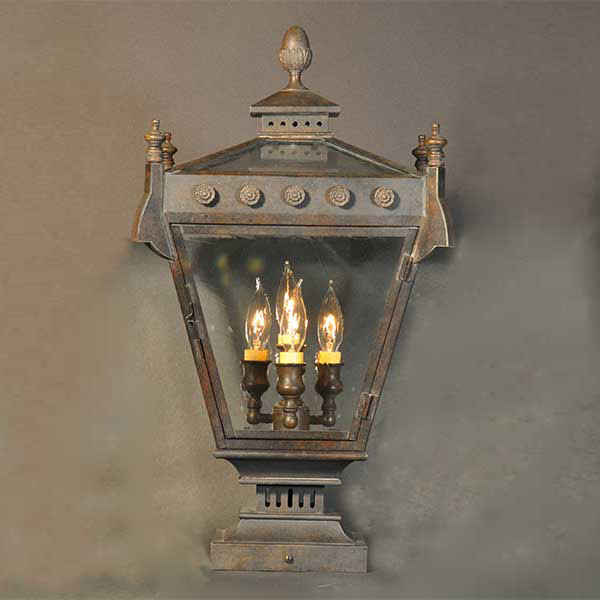
Prince Edward Small Pilaster

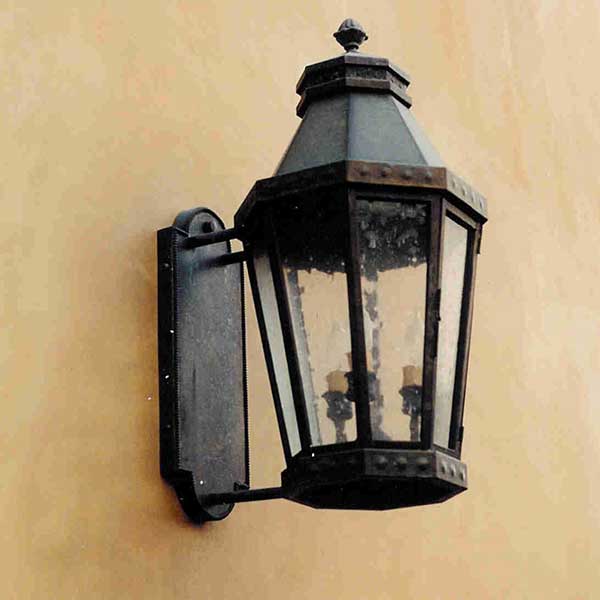
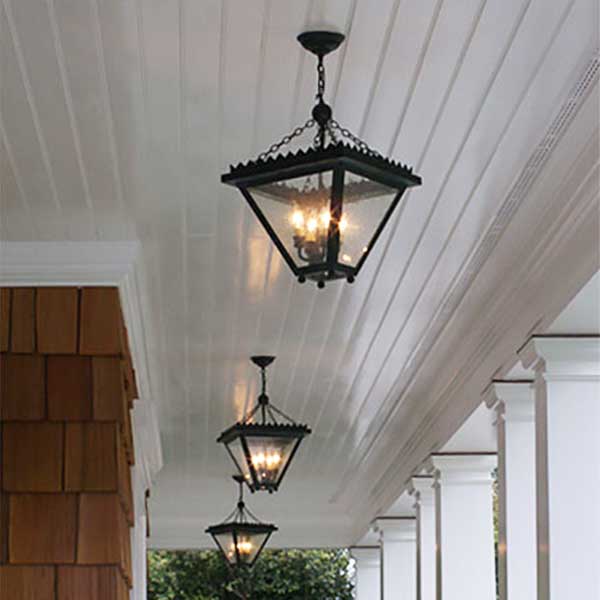
Prince Edward Small Wall

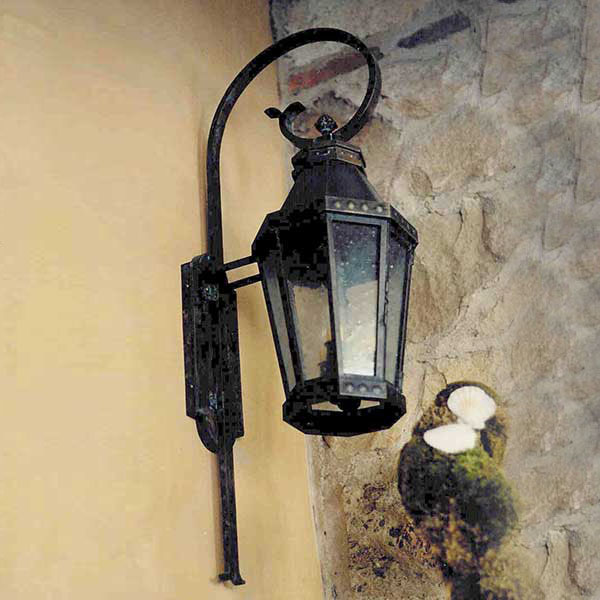
Prince Edward Small Wall on Robe's Arm and Rosette
Prince Edward Small Wall with Open Bottom
Prince Edward Small Wall with Open Bottom and Oak Scrolls

Radika's Iron Sconce
Ramisha's Ceiling Flush

Randy's Sconce
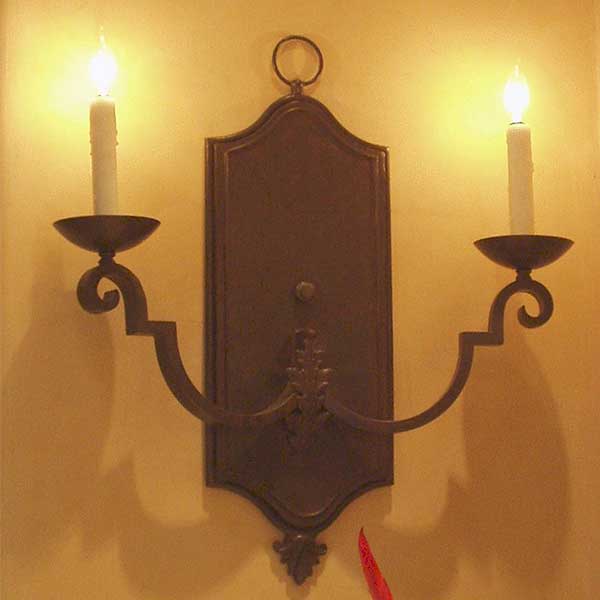
Raymond's 2 Light Sconce

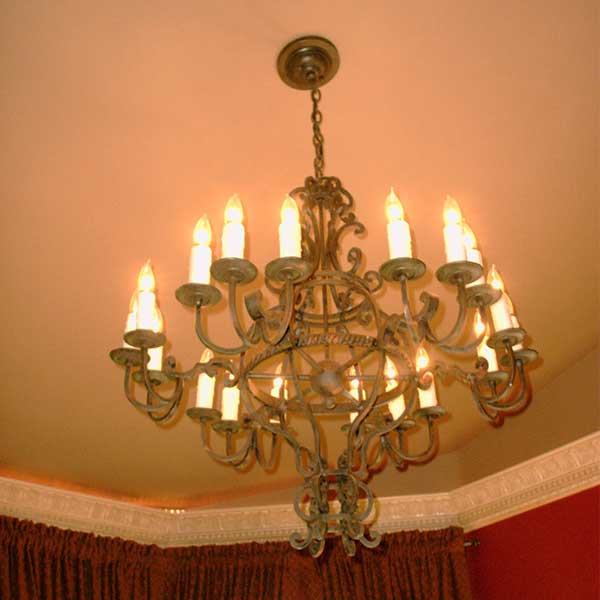
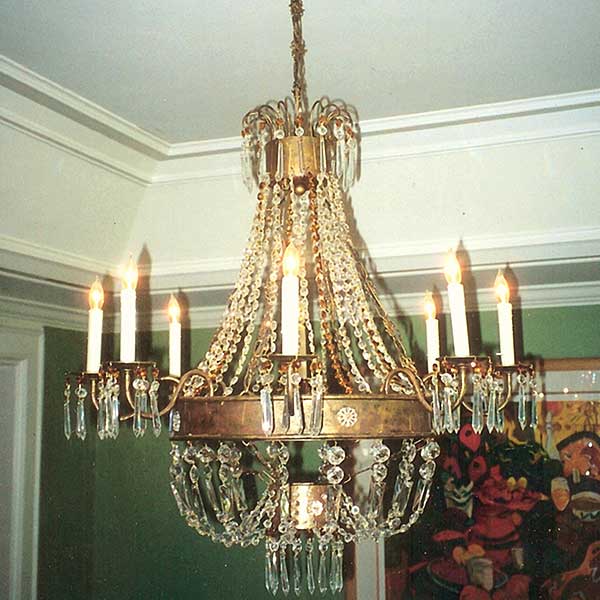
Regency Chandelier
Regent Park Medium Wall on B Straight Arm
Ressler 4 Large Pendant
Ressler B Small Pendant
Ressler B Small Wall on Arm
Reuben's Sconce
Ribbon and Reed 2 Sconce
Ribbon and Reed 3 Sconce
Richard's Large Chandelier - 2 Tier
Richard's Small Chandelier - 1 Tier
Ripert Alabaster Pendant
Roberta's Iron Chandelier
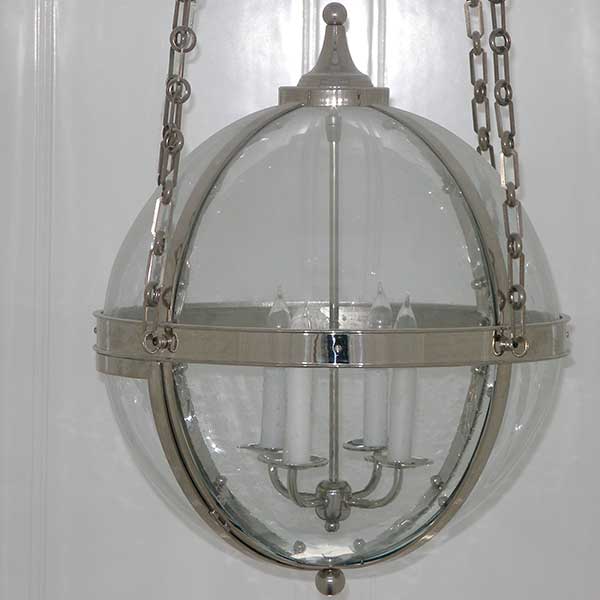
Rotunda Large Pendant
Rudy Medium Pendant
Rudy Medium Pilaster
Rudy Medium Wall
Rudy Medium Wall with J Scroll

Rudy Medium Wall with Scroll
Rudy Small Flush
Rudy Small Pilaster

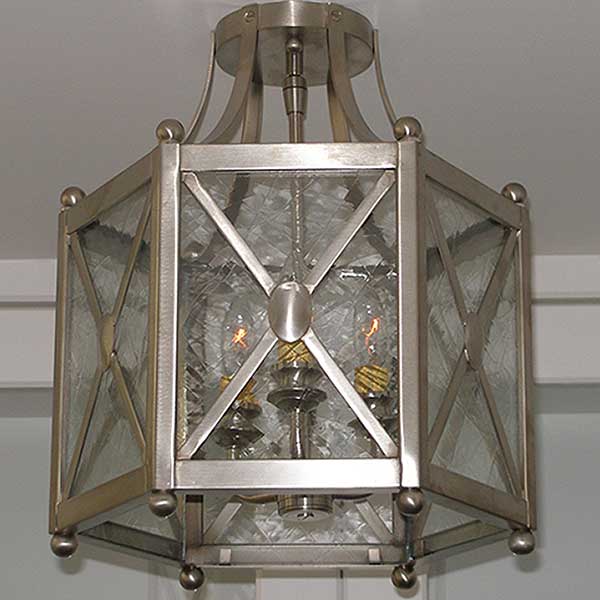
Saber Large Pilaster with "X" Detail

Saber Medium Wall with Teeth on Bill's Arm
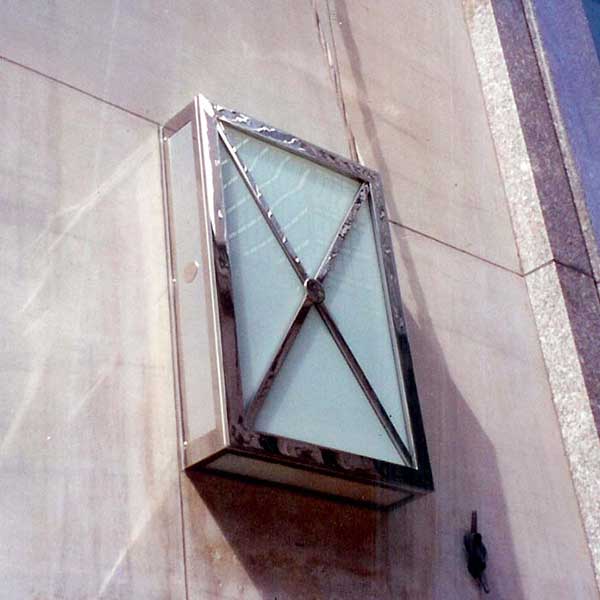
Saber Medium Wall with X Detail
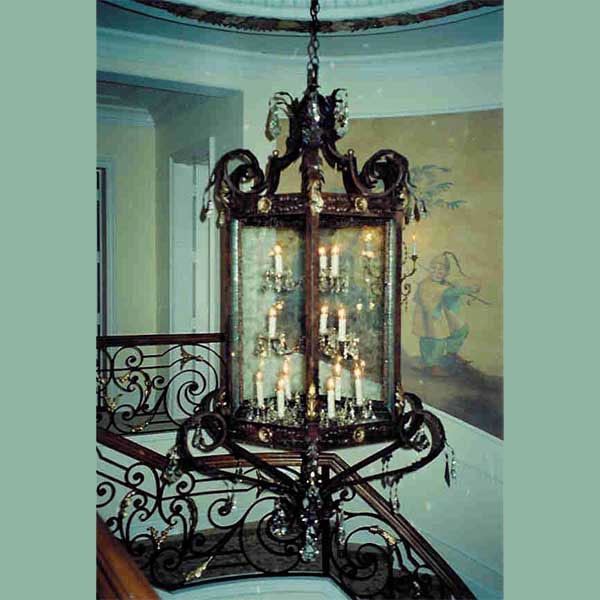
Sabrina's Pendant
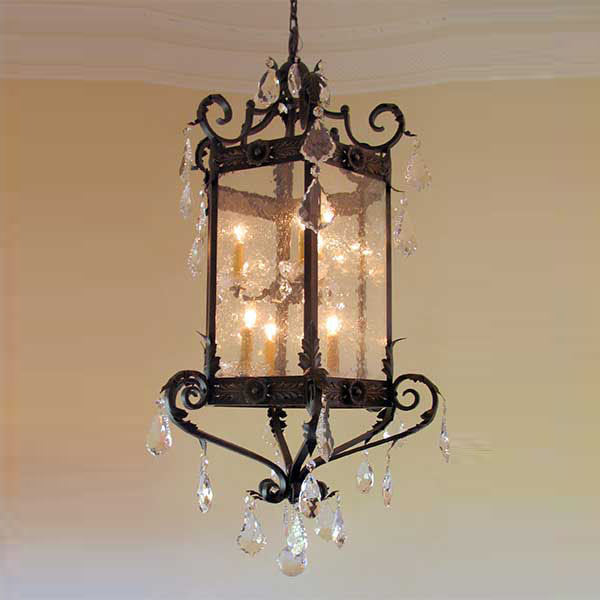
Salinger Medium Pendant

San Francisco Chandelier
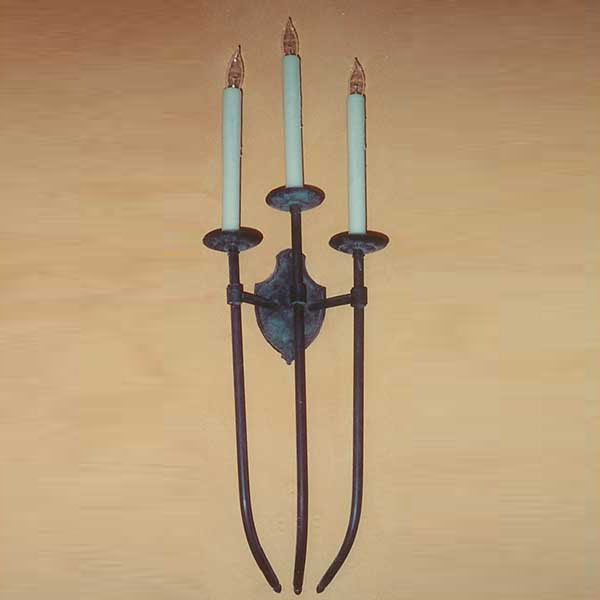
San Marino 3 Sconce
San Remo Oval Chandelier
San Remo Round Chandelier
Sanderson's 4 Medium Wall on Helma's Arm

Sanderson's 6 Medium Wall
Sandra's 4 Medium on Helma's Arm
Sandra's 4 Medium Pilaster with Scrolled Base
Sandra's 4 Small Wall
Sandy's 4 Medium Pendant

Sandy's 4 Medium Pilaster
Sandy's 4 Medium Wall

Sandy's 4 Medium Wall with Amalfi Moustache
Sandy's 4 Medium Wall with Scroll
Sandy's 4 Small Pendant
Sandy's 4 Small Wall with Scroll
Sandy's 6 Large Pendant
Sandy's 6 Large Wall
Sandy's 6 Large Wall on Barbara's Arm
Sandy's 6 Large Wall with Scroll
Sandy's 6 Medium Wall with Scroll
Santa Barbara Chandelier
Santa Barbara Sconce
Shady Canyon Pendant
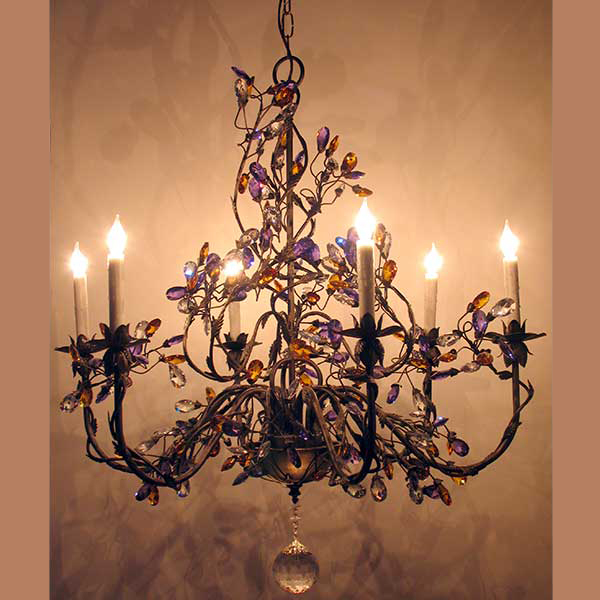
Sharyn's Large Iron Chandelier - Shown with Optional Strass Colored Crystals
Simon's Sconce
Sion's Pendant
Slaven Sconce

Smith Medium Flush

St Ives Medium Ceiling Flush - Cage + Scrolls
St. Ives Medium Ceiling Flush - Cage Only - Open Bottom
St. Ives Medium Ceiling Flush - Scrolls Only
St. Ives Small Ceiling Flush - Cage + Scrolls

St. Ives Small Ceiling Flush - Cage Only - Open Bottom
Stefan's Ceiling Flush
Stefan's Mini Chandelier
Stella's Pendant
Stella's Pendant - Shown with Optional Polished Nickel Finish
Stephen's Pendant
Stephen's Sconce
Stoli's Pendant

Taft Large Flush
Taft Small Wall on Arm
Tamer Medium Walll with Scroll
Timmy's Iron Chandelier
-5952.jpg)
Toby's Sconce
Todd's Chandelier

Tracey's Small Flush - Modified

Trellis Ceiling Flush
Turner Double Sconce
Turner Single Sconce
Type D Medium Ceiling Flush with Drop
Type D Small Ceiling Flush
Val Verde Large Wall on Corner Bracket

Valente Sconce
Veranda Pendant
Vito's Chandelier
West Harvard Extra-Large Flush
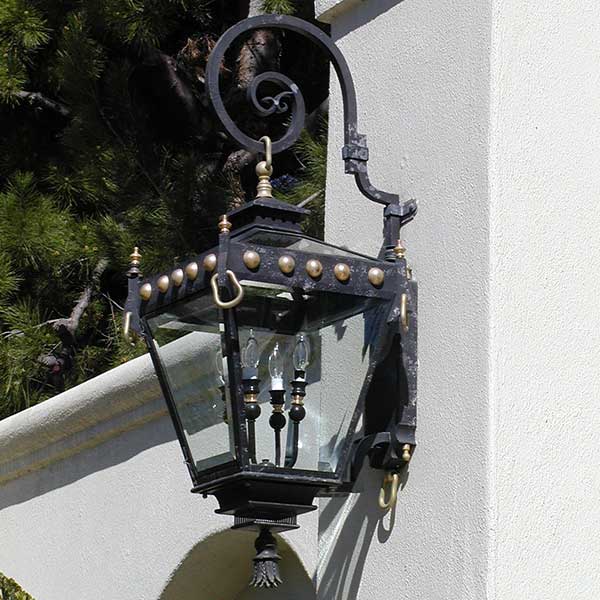
Westminster HS Medium Pilaster
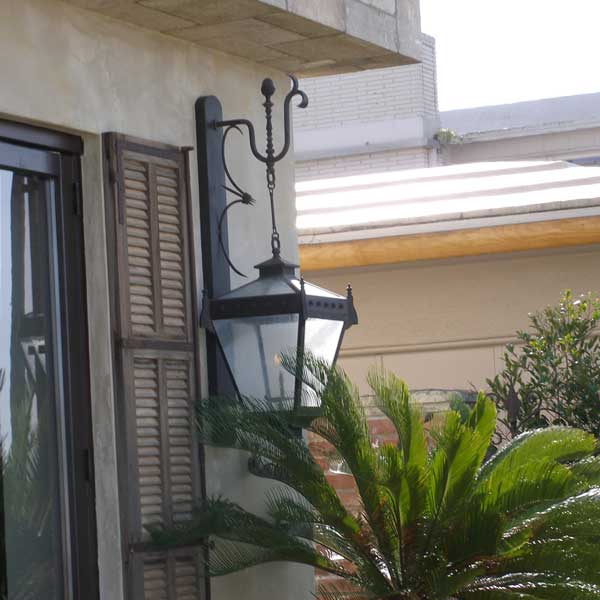
Westminster HS Medium Wall

Wilson Chandelier
Ziggy's Pendant
